
Happy Holidays! I have popped in to share about a couple of crafts I made recently!

IT’S SNOWINGGGGGGGGG!!!!! Button snow anyways… so I had to celebrate with some Christmas crafty action.
I made this simple paper wreath, and will share my tutorial in a sec. I also created these paper trees that I found in an old Martha Stewart magazine! Let me see if I can find the instructions online… HERE they are 🙂 They are so charming and simple. I just traced different sized dishes and cut them out to get my circles. One day I will have Martha’s circle cutter! (HINT HINT HUSBAND.) I also used straws to hold them together, not skewers, and I skipped the trunk.
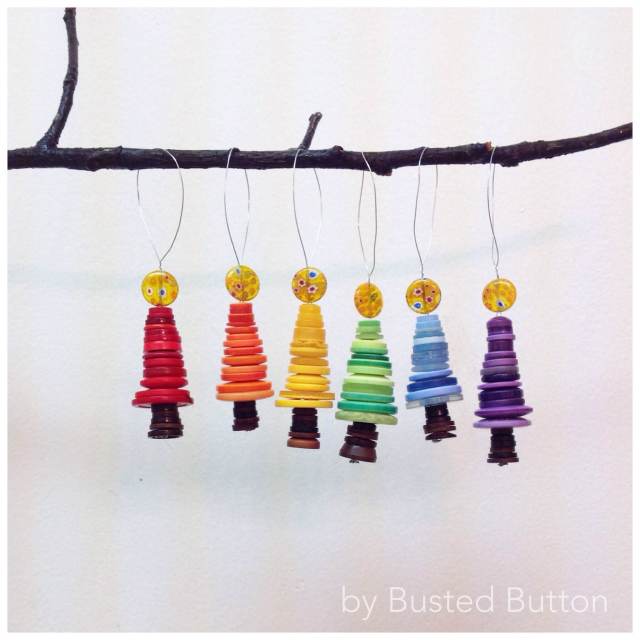
Next I whipped up my first button tree ornaments of the season! These are so nifty and simple to make- give them a try! Here’s how I did it:
Fold 10″ of beading wire in half, and twist the loop end a few times to create the hanger. Slide a bead (the star) up to the loop, then add buttons through both wires(use diagonally-facing holes if you are using 4-hole buttons) going from smallest to largest. I use about 12-13 buttons for this step. To make the tree stump, slide about 5 smaller brown buttons on the wires, and to finish it off, simply twist the two end wires together, cut it to leave about 1-2 centimeters, then roll it up like a snail, hiding it under the bottom button. So, give them a try and don’t forget to Share your photos with me on Facebook or Instagram!
Now, on to the more detailed wreath instructions.

I am just SO pleased with how this project turned out! It really didn’t take long, considering there is a bit of cutting to do! I have seen paper leaf wreaths around, but not with 3-D leaves and sweet button berries, so I took pictures as I created, so I could share them with you!
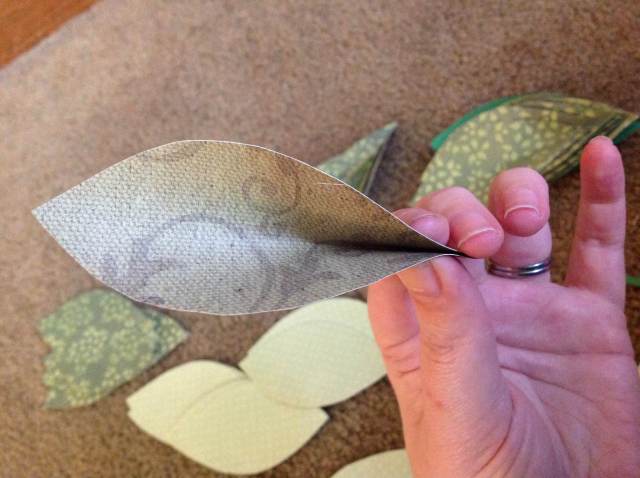
First things first, you are going to need some leaves! The size can vary depending on how big you want your wreath to be. It is a very simple shape, so once you create one you like, you can use it as a template. I just cut out a few at a time from an assortment of green scrapbook paper that I had kicking around. Then I pinched and folded the leaves at one end. This doesn’t need to be perfect because the bottoms of the leaves should be hidden for the most part.

Once the leaves were cut and folded, I started to hot glue them like so onto a cardboard ring.
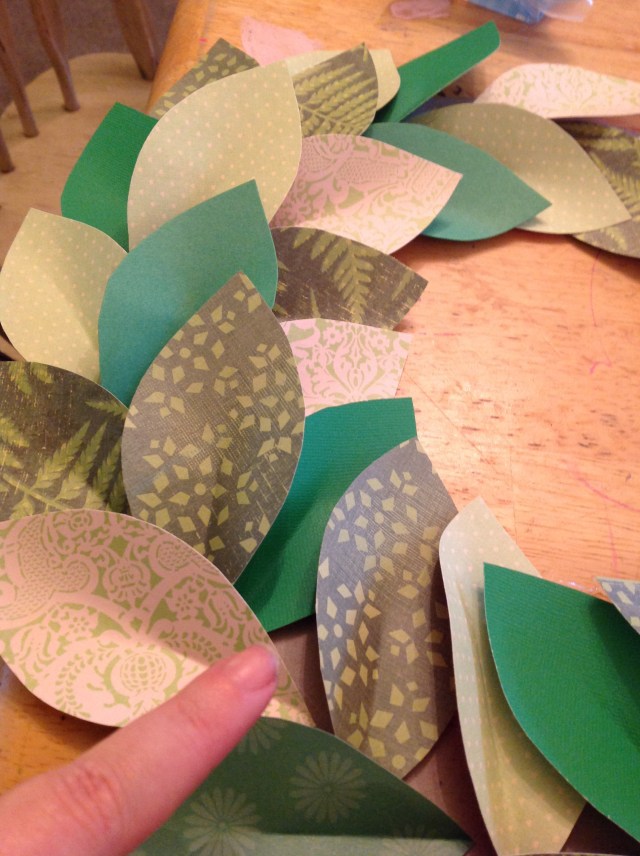
Once I went all the way around the ring, I started to add a final layer of leaves in the middle (to cover the blank spaces I am pointing at in the above photo).
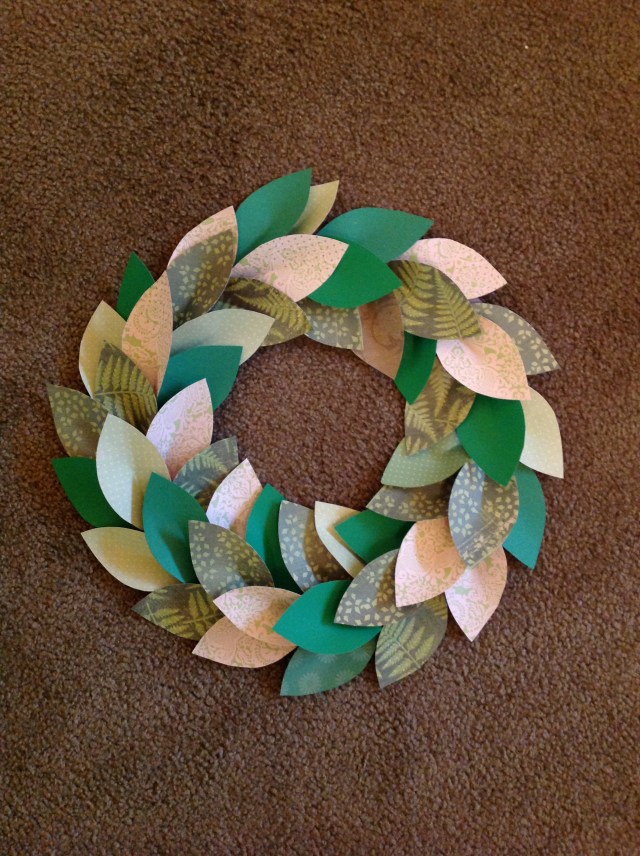
It was very pretty after this step, and would work well as a summer or spring wreath, but it definitely needed something for the season!
I used more hot glue & added a simple paper bow and embellished the wreath with button berries. I am embarrassed to admit this, but I originally didn’t think of using buttons until my daughter heard me thinking out loud, “Hmmmmm what do I have that’s red, small, and round? Mercie! Do you have any red beads?” She laughed at me and handed me a jar of buttons. OF COURSE! Seriously, my brain is fried these days. The 5 kids are eating my brain. Good thing they’re cute 😉
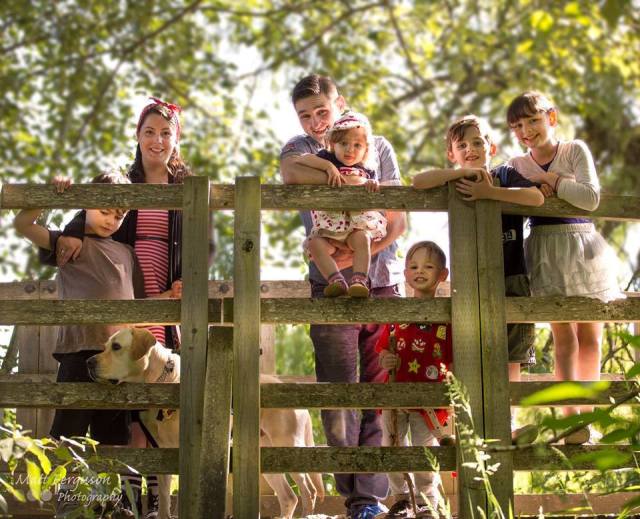
Oops I dropped a family photo here. Haha! I love us. Here we are at Swan Lake with our Autism Support Dog, Landon (Who happens to have his own Facebook and Instagram pages, so be sure to follow him to see how much he has benefited our 10 year old son, who has autism and is profoundly disabled.)
Photo cred: Matt Ferguson Photography (He is the best, and doesn’t usually do portraits, but takes in.cred.i.ble shots of Beautiful British Columbia!
Well, this might be my only Tutorial until the new year, but please do check out my Christmas category on here- there are lots of fun and delicious holiday projects for you to create!
If you want to see what I am up to, I over-share on Instagram, share fun ideas over on Facebook, and am followed by Gordon Ramsay over on Twitter! (Pardon the shameless bragging.) So come give me a follow! I really appreciate your support, and hope you have a great, and stress-free holiday season!
Happy Crafting 🙂
~Dot


