
It’s beginning to look a lot like Christmassssss!
And I FINALLY created a button Christmas tree! I swear a hundred of you have asked me to do this over the years!

And thanks to Buttonlovers.com, I finally did it! And you can too- seriously, this project is one of the easiest button projects ever! My daughter even did a simpler version along with me, and it might even be my favorite! Keep reading to see hers 😉
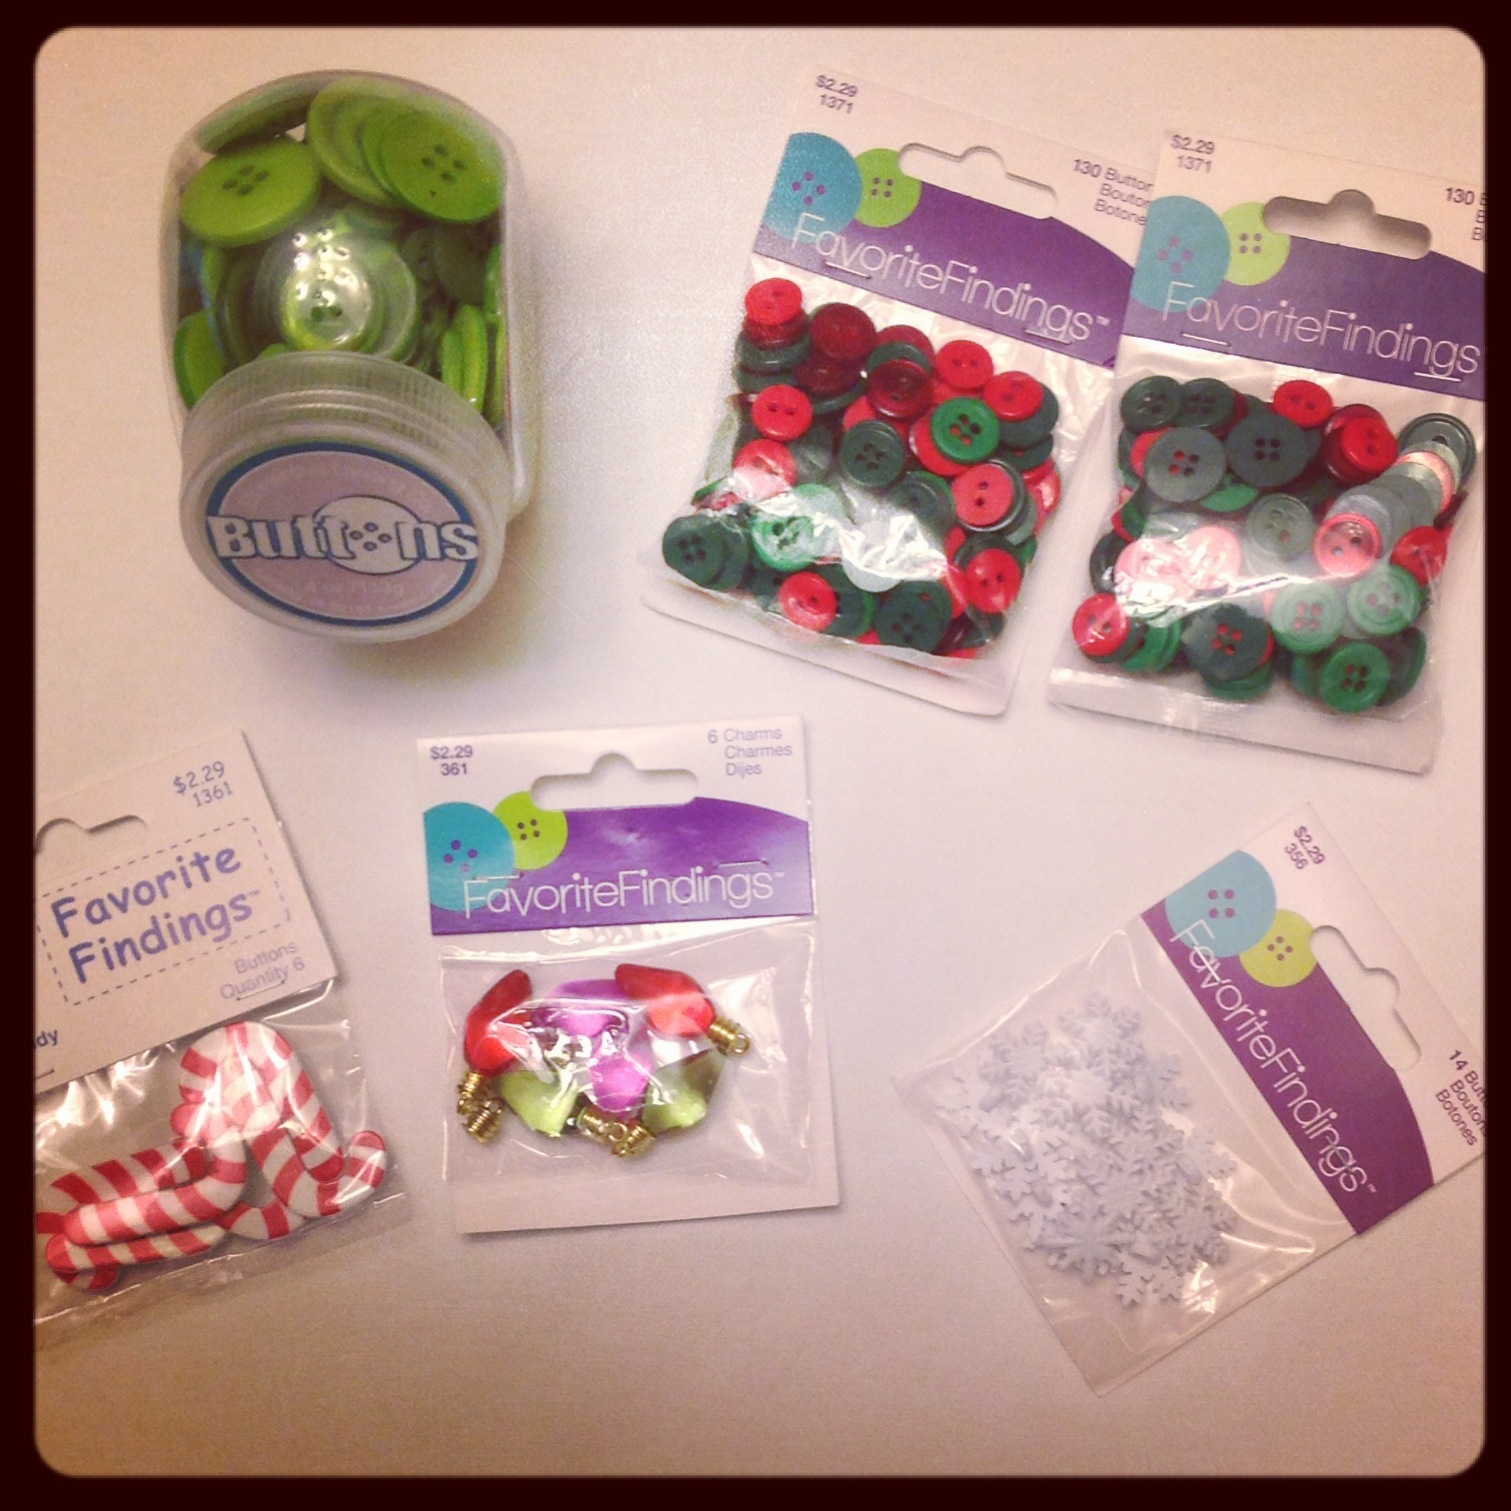
So this was just a small selection of some of the incredible buttons I received to do this project! I originally thought I’d use the cuuute candy cane and Christmas light buttons to adorn the tree, but I kept it simple in the end, though I have a lot of plans for those embellishments too! You can buy these buttons at Jo-Ann Fabrics, or at Joann.com! These ‘Favorite Findings‘ buttons are seriously my favorites- I’ve said it a hundred times, but they are perfect for crafting for so many reasons, and they are really reasonably priced! I just realized as I am writing this, Joann’s buttons are 50% off!!! Seriously, get on this sale, if not for Christmas, but for spring time and more projects!
OKAY! I’m ignoring my kids, so let’s get to the tutorial! You can do this big or small- it would make such a cute little card too- but I went BIG and created this on a 16×20″ stretched canvas!
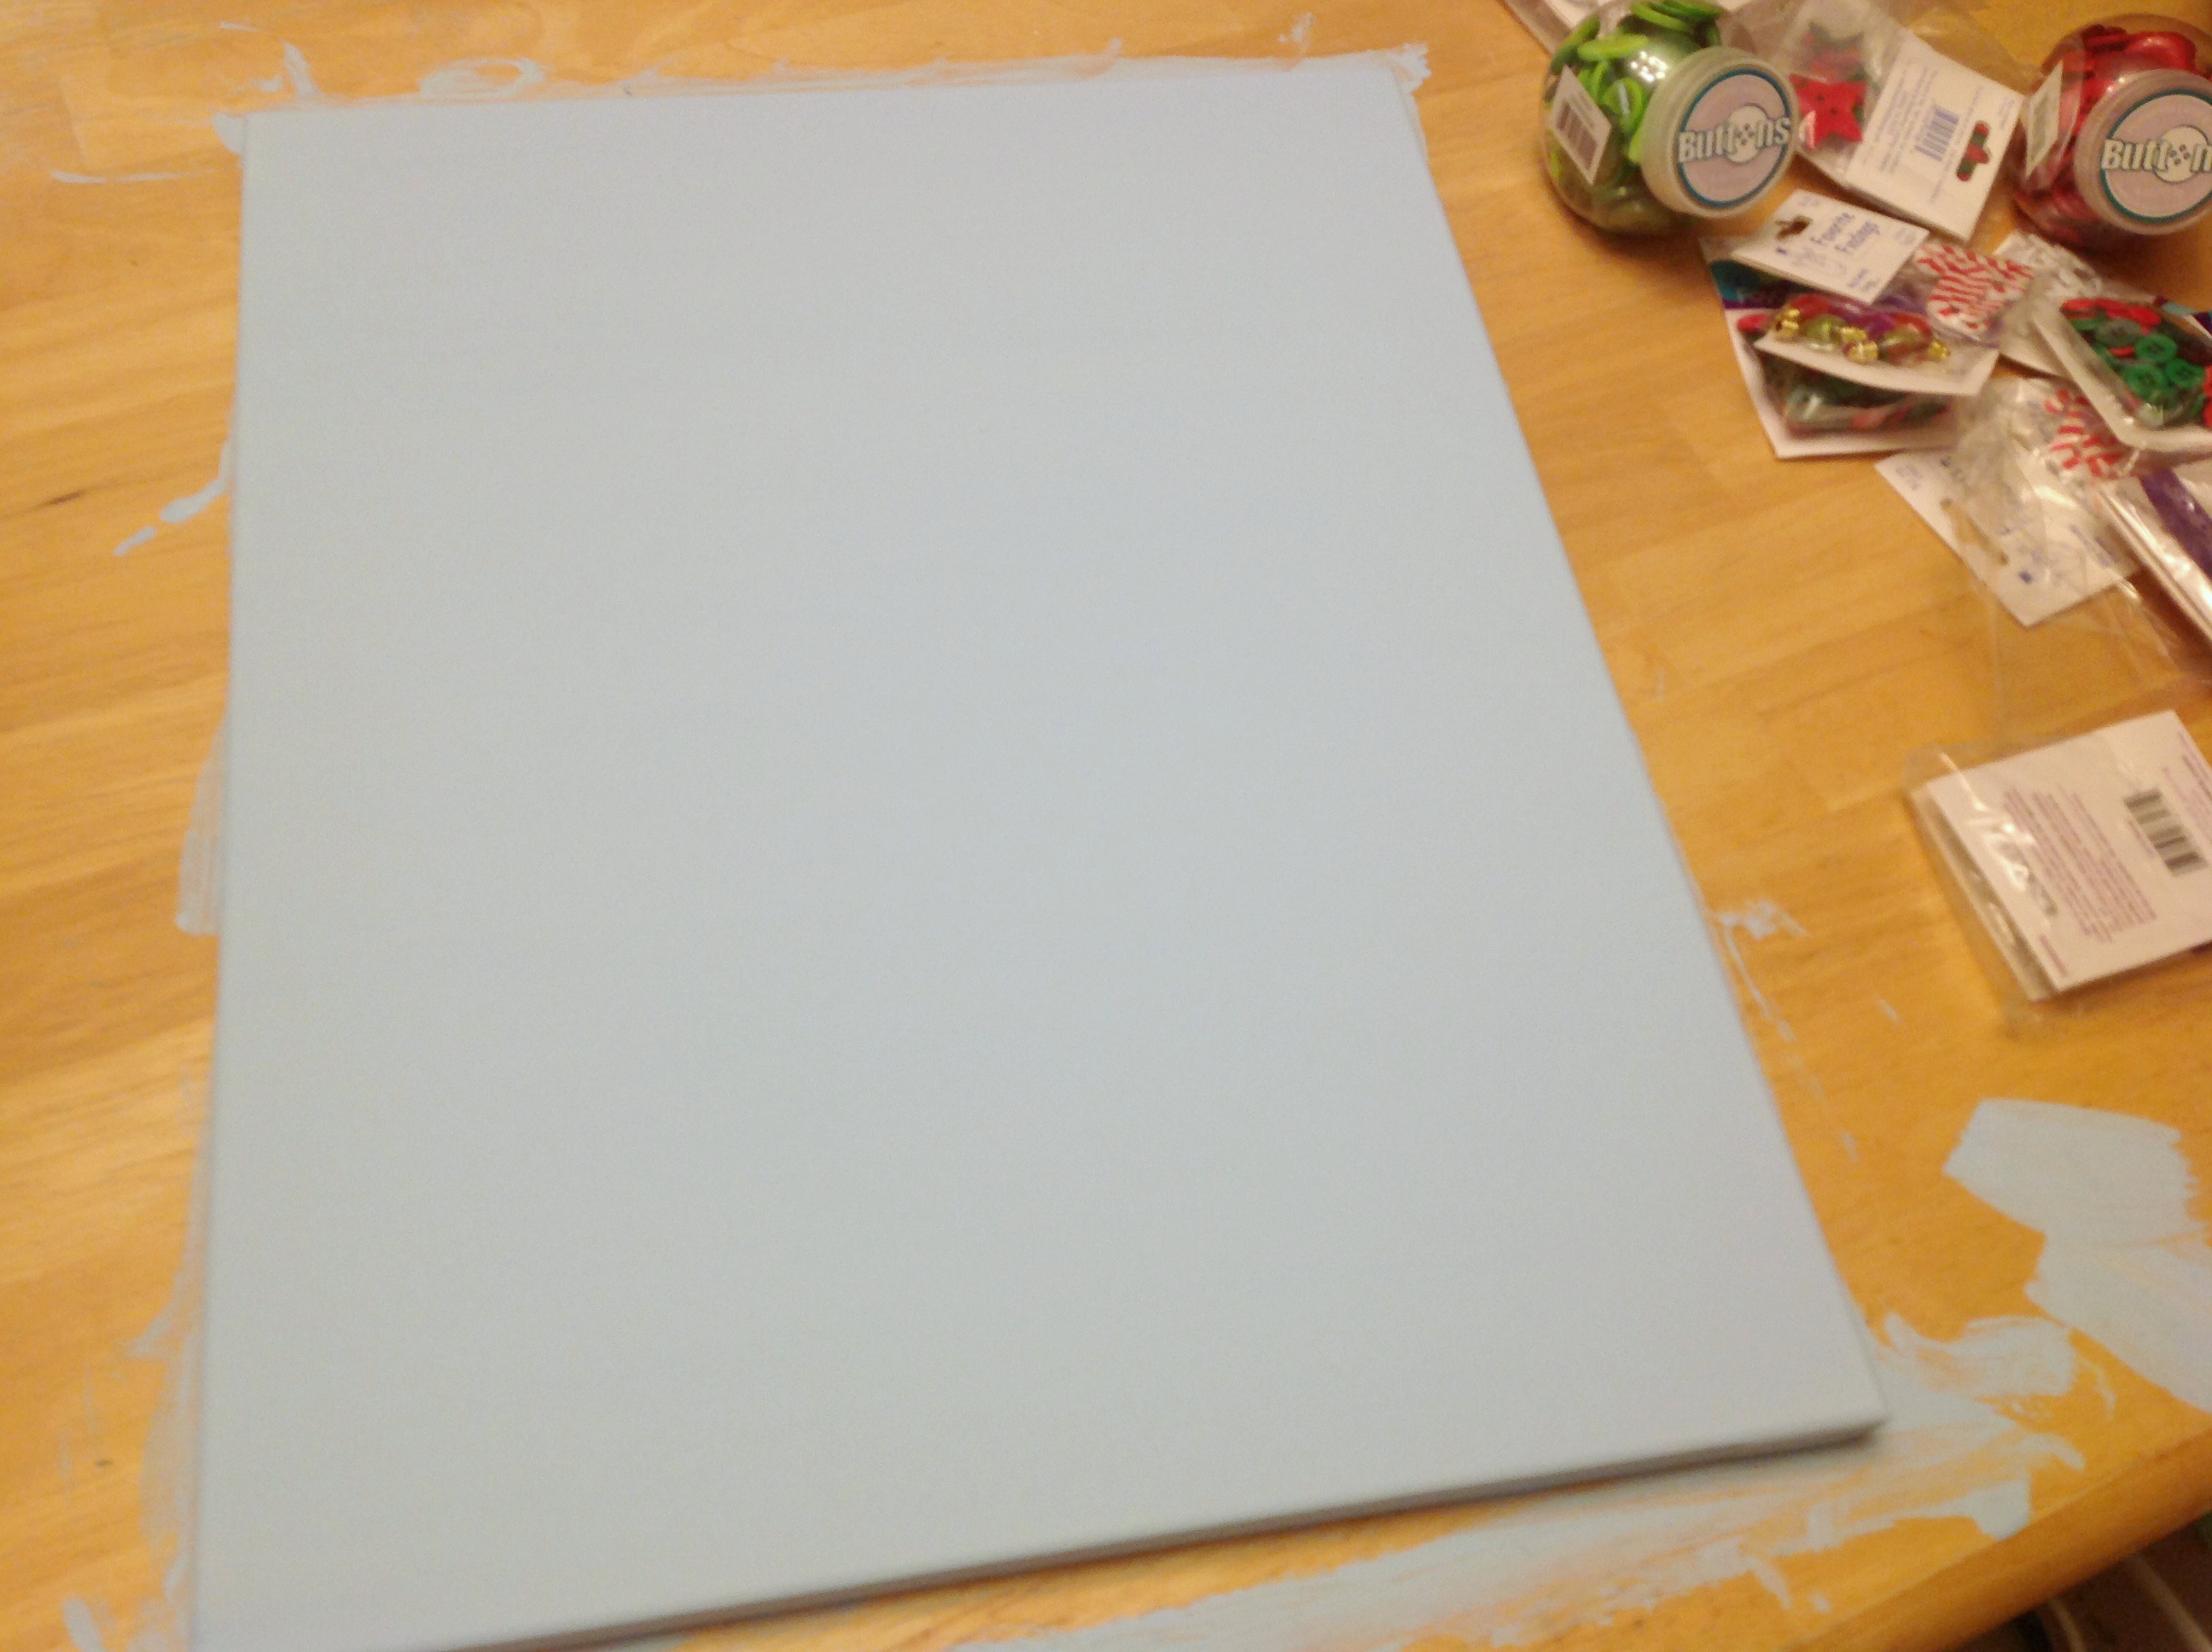
First I painted my background, because I wanted to have some snowflakes in the background, but I would have left it white otherwise! I just used one coat of cheap old acrylic craft paints!
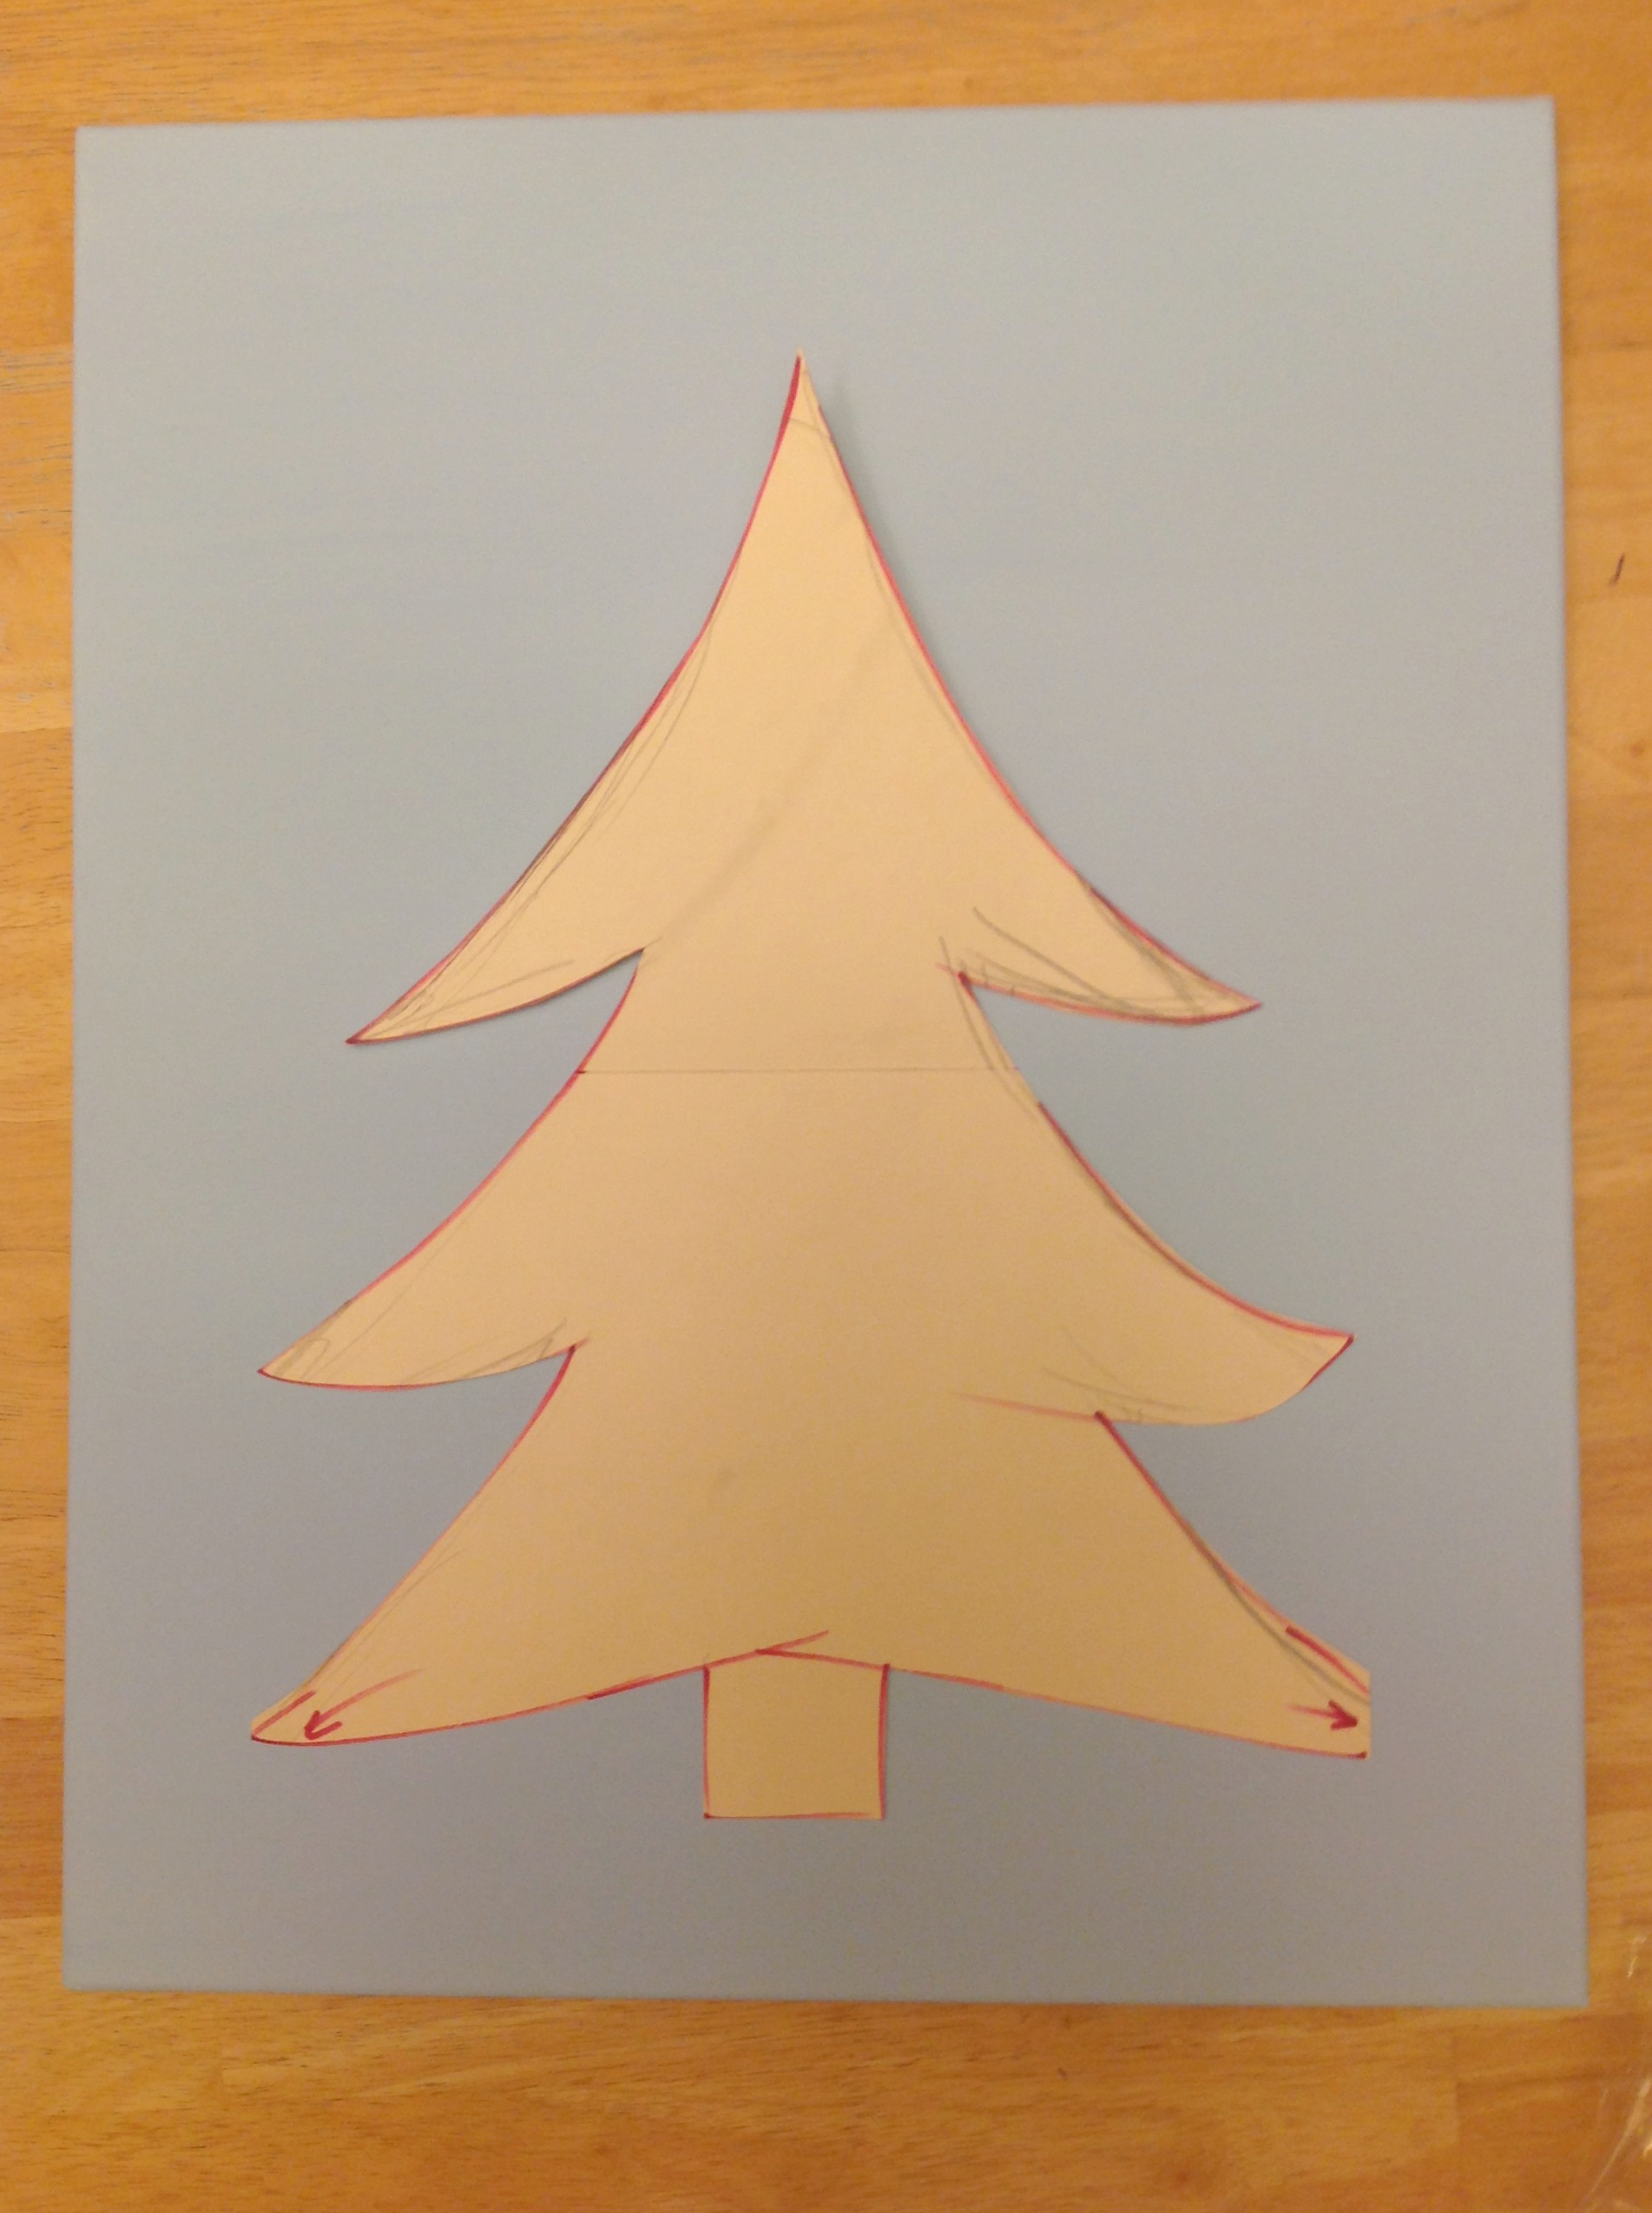
Next I created a simple Christmas tree template and traced it onto the canvas.
I quickly painted in the Christmas tree and trunk, to keep the background coordinating with the buttons. Unlike my more detailed button art, I only wanted to do a single layer of buttons, so since the background would be shining through, this step was very important!
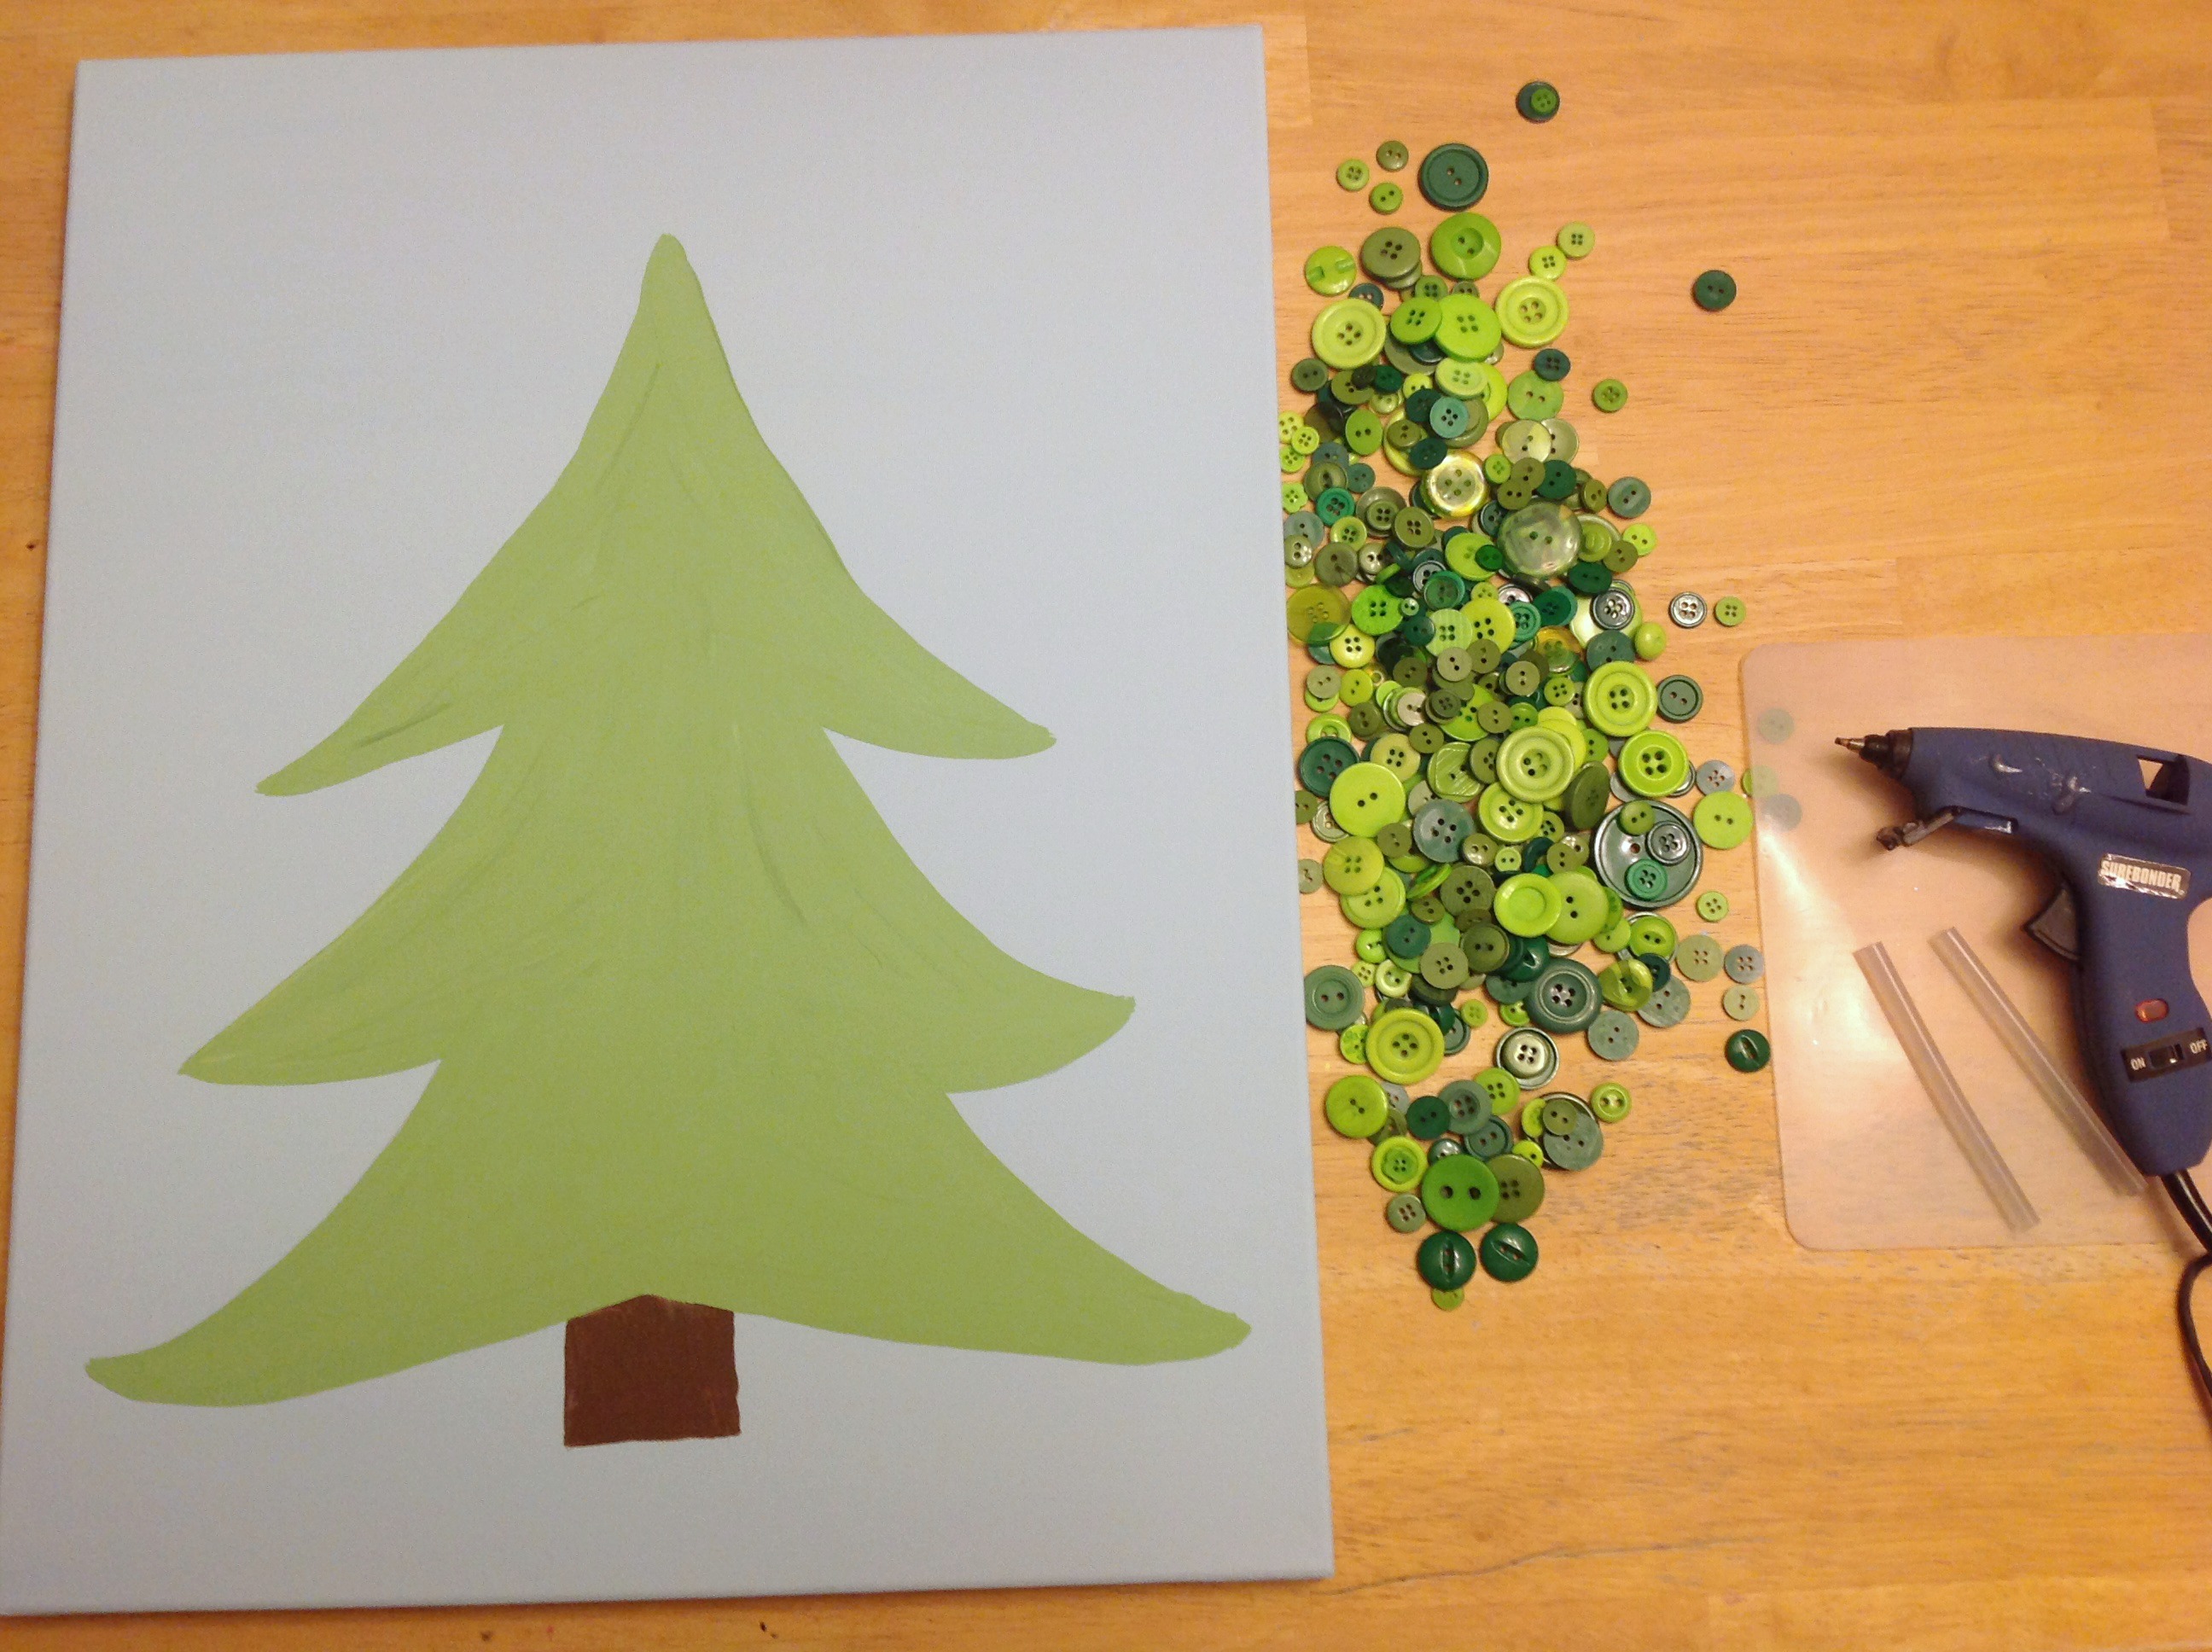
Then I got my hot glue gun ready, and began to button!
Like I said, my oldest daughter joined me on this buttony festive adventure! I let her use some white craft glue, because I am a fan of her and don’t enjoy the thought of her getting hot glue blisters quite yet.
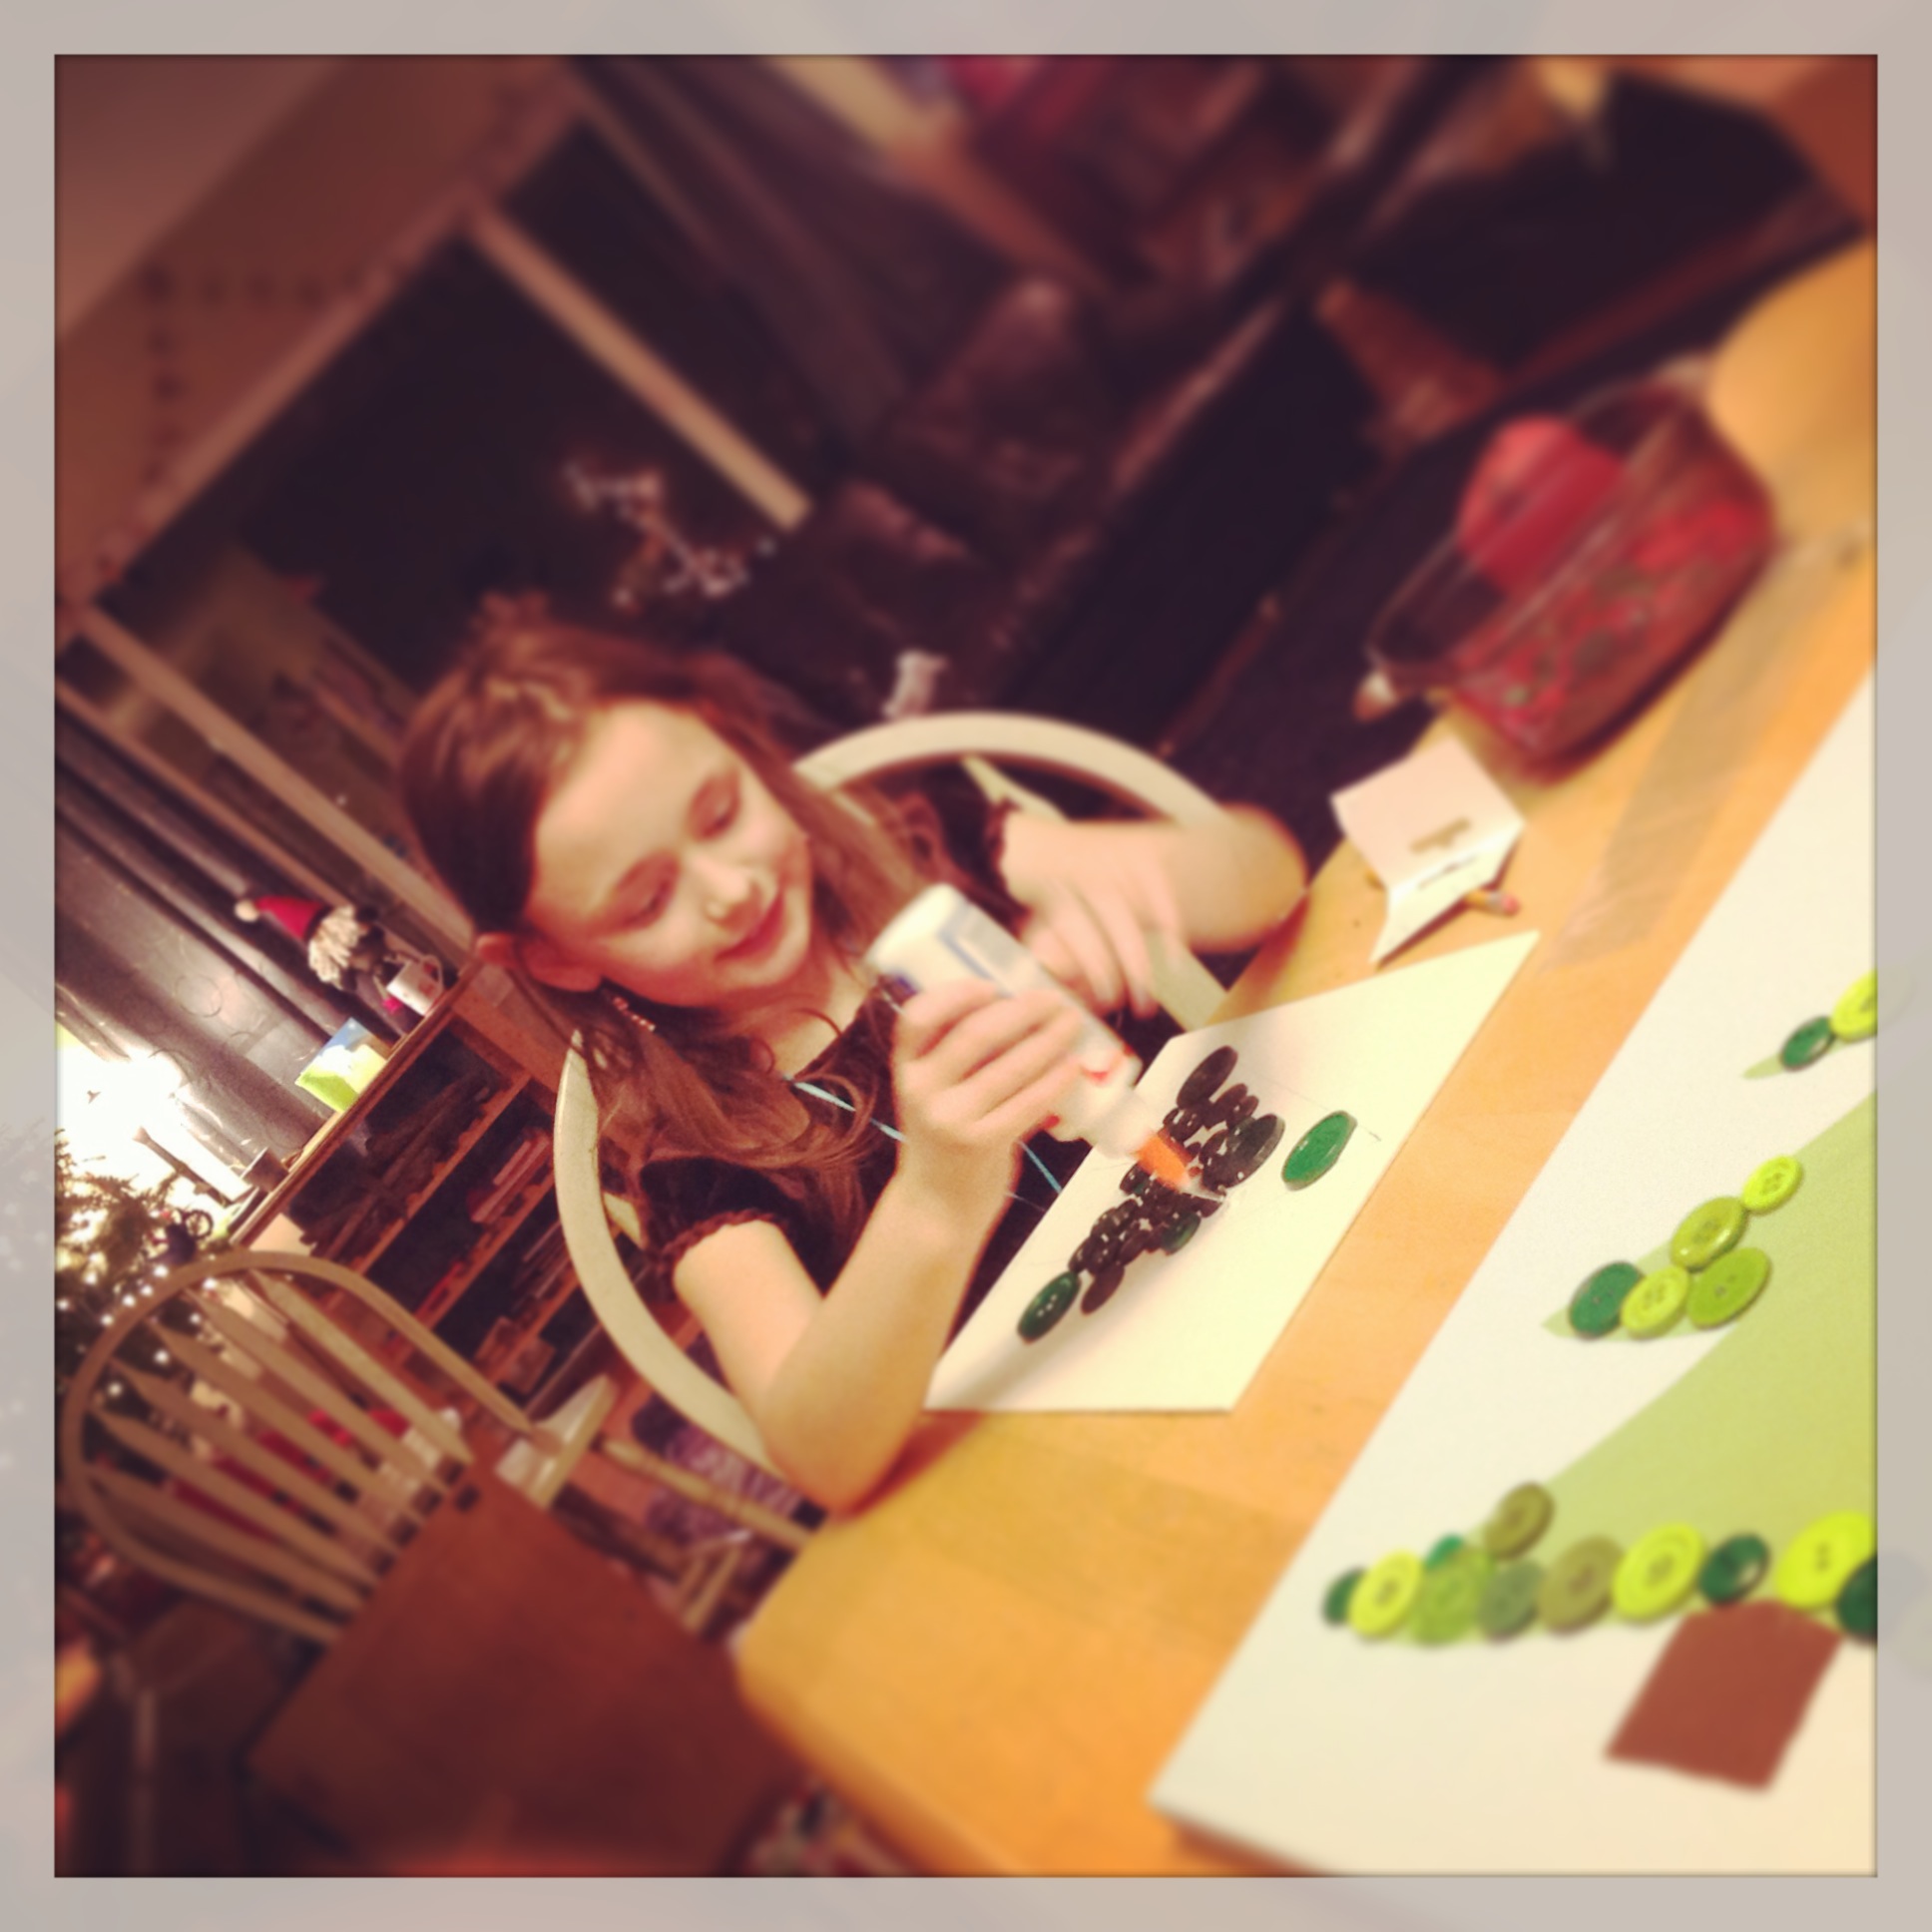
You want to start by gluing your buttons around the edges. This is very important!
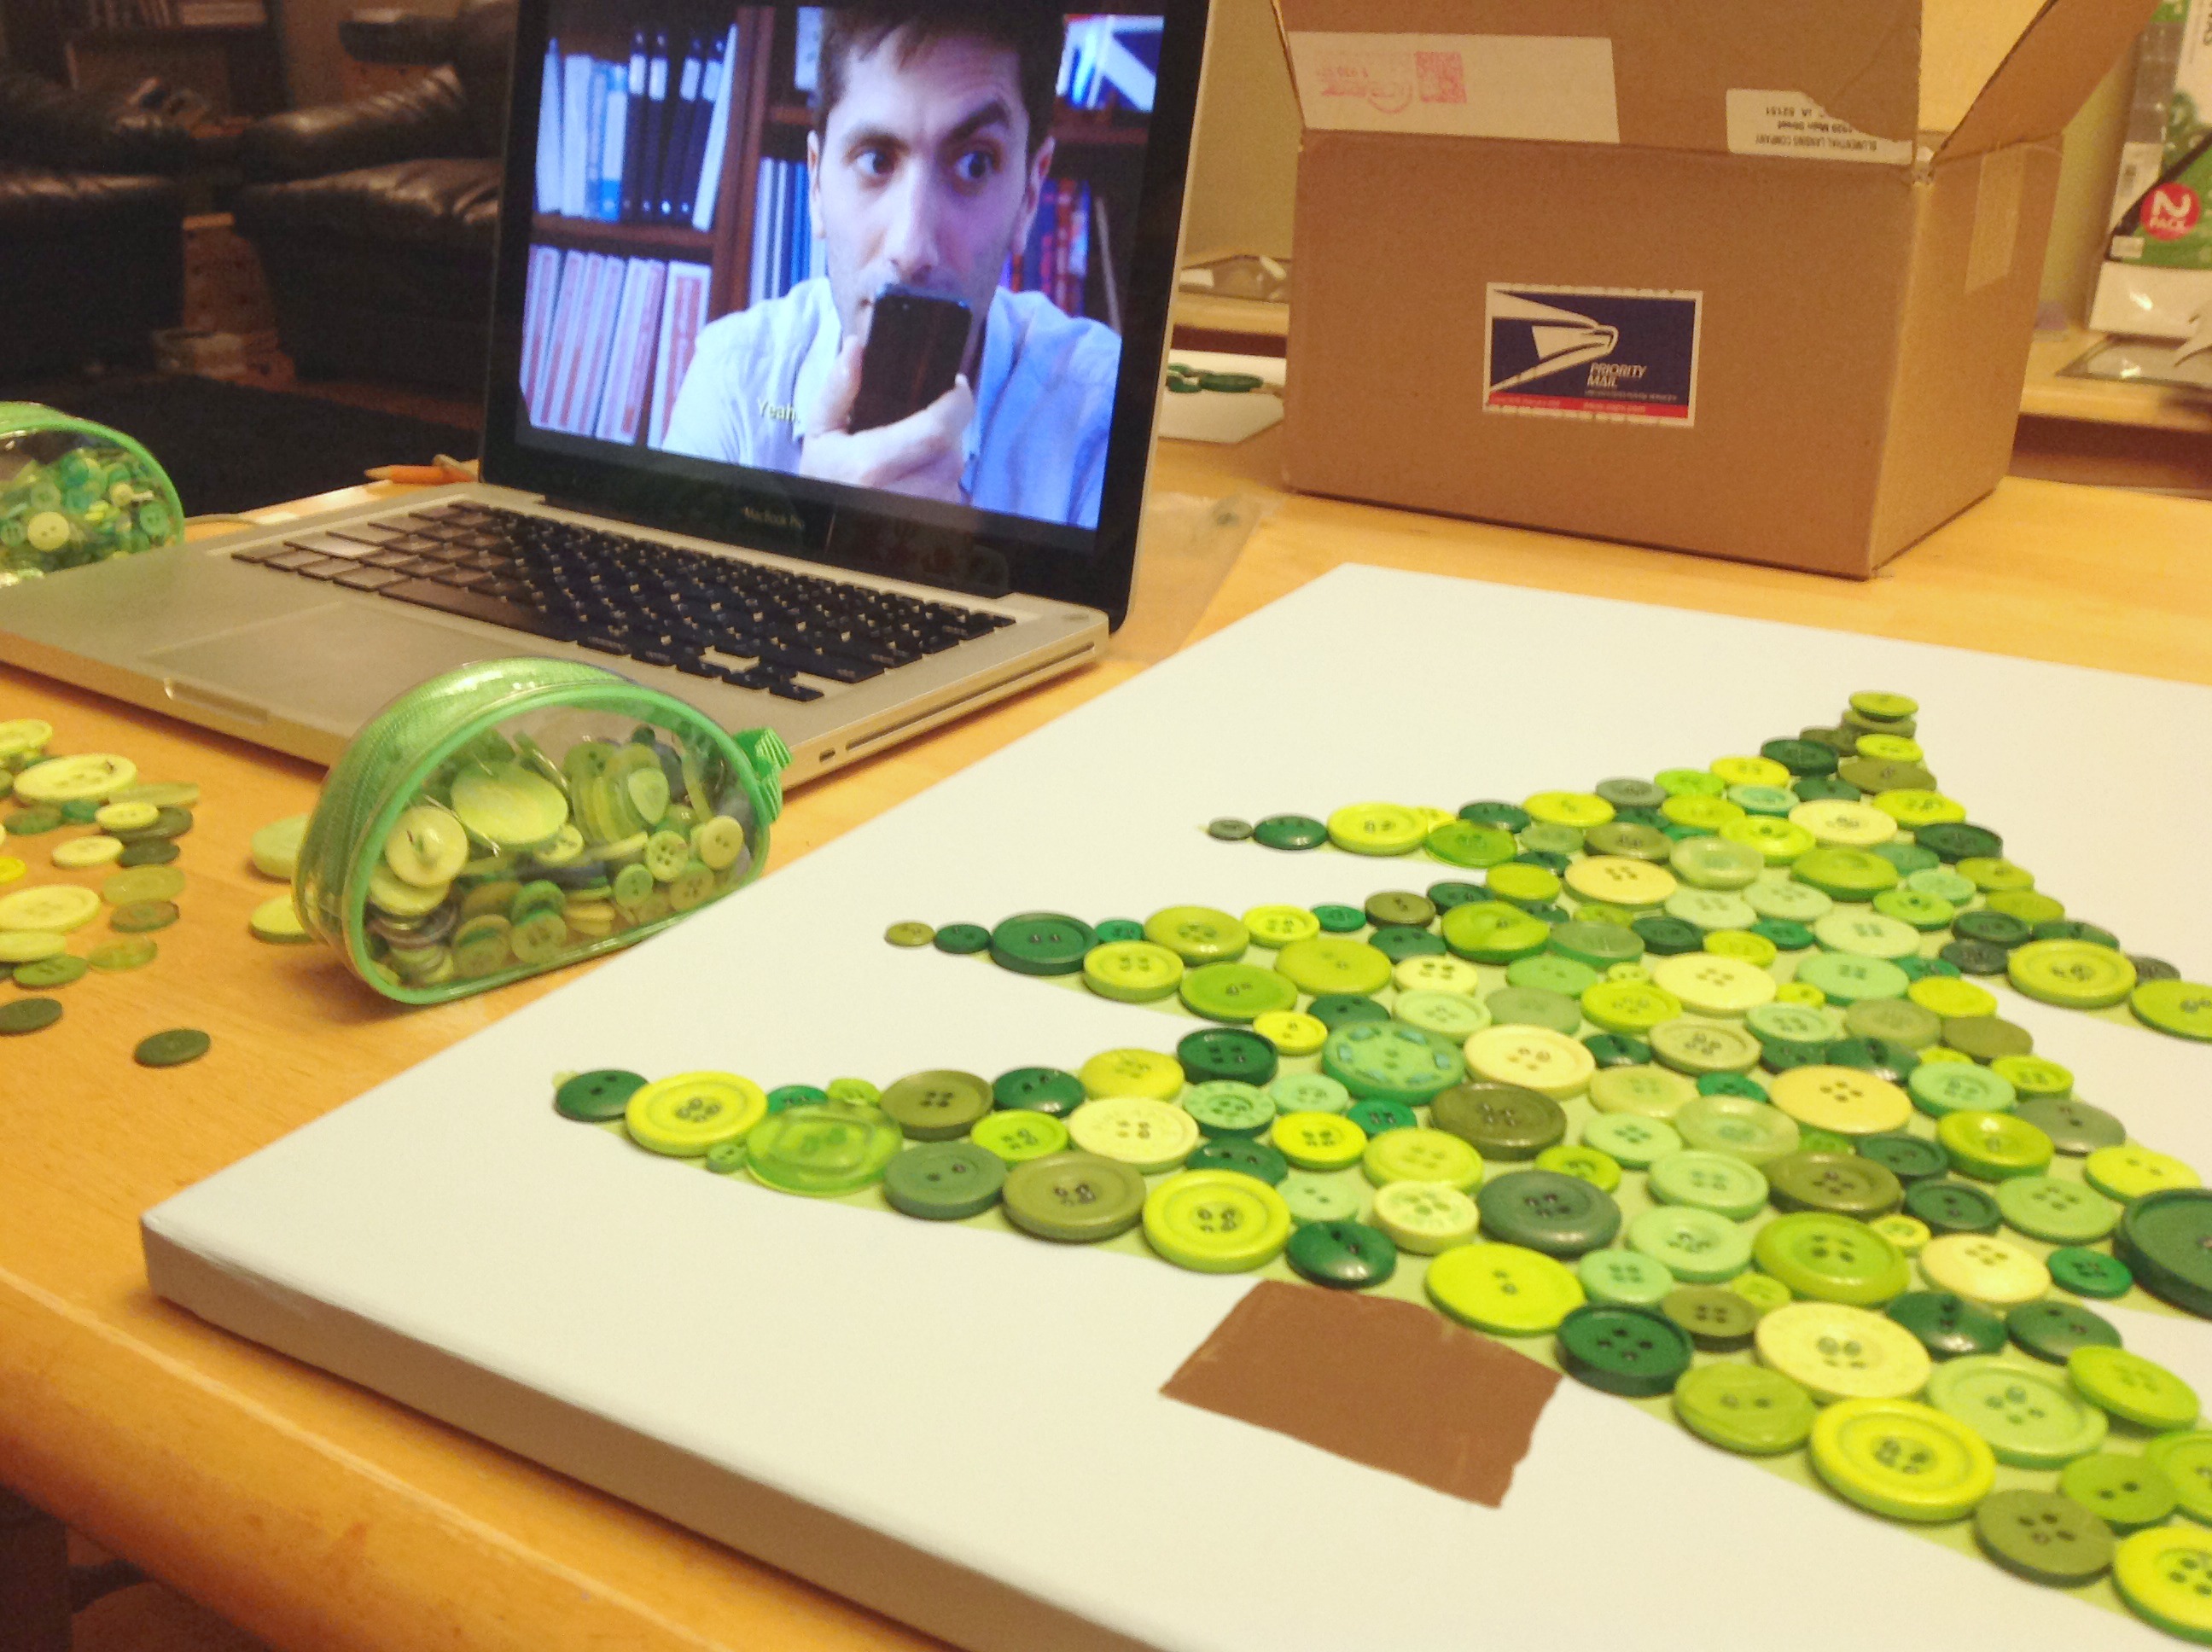
Once you’re daughter is in bed, turn on some trashy reality TV, and continue to fill in the tree with buttons.

Once you’ve filled it in pretty good, you can start filling it in even more with some teensy buttons. Rhinestones or beads would work nicely too, but with this style of button tree, I wasn’t too worried about leaving some spaces, so don’t go all perfectionist on me now.

Isn’t that lovely! It needs some decorations though!
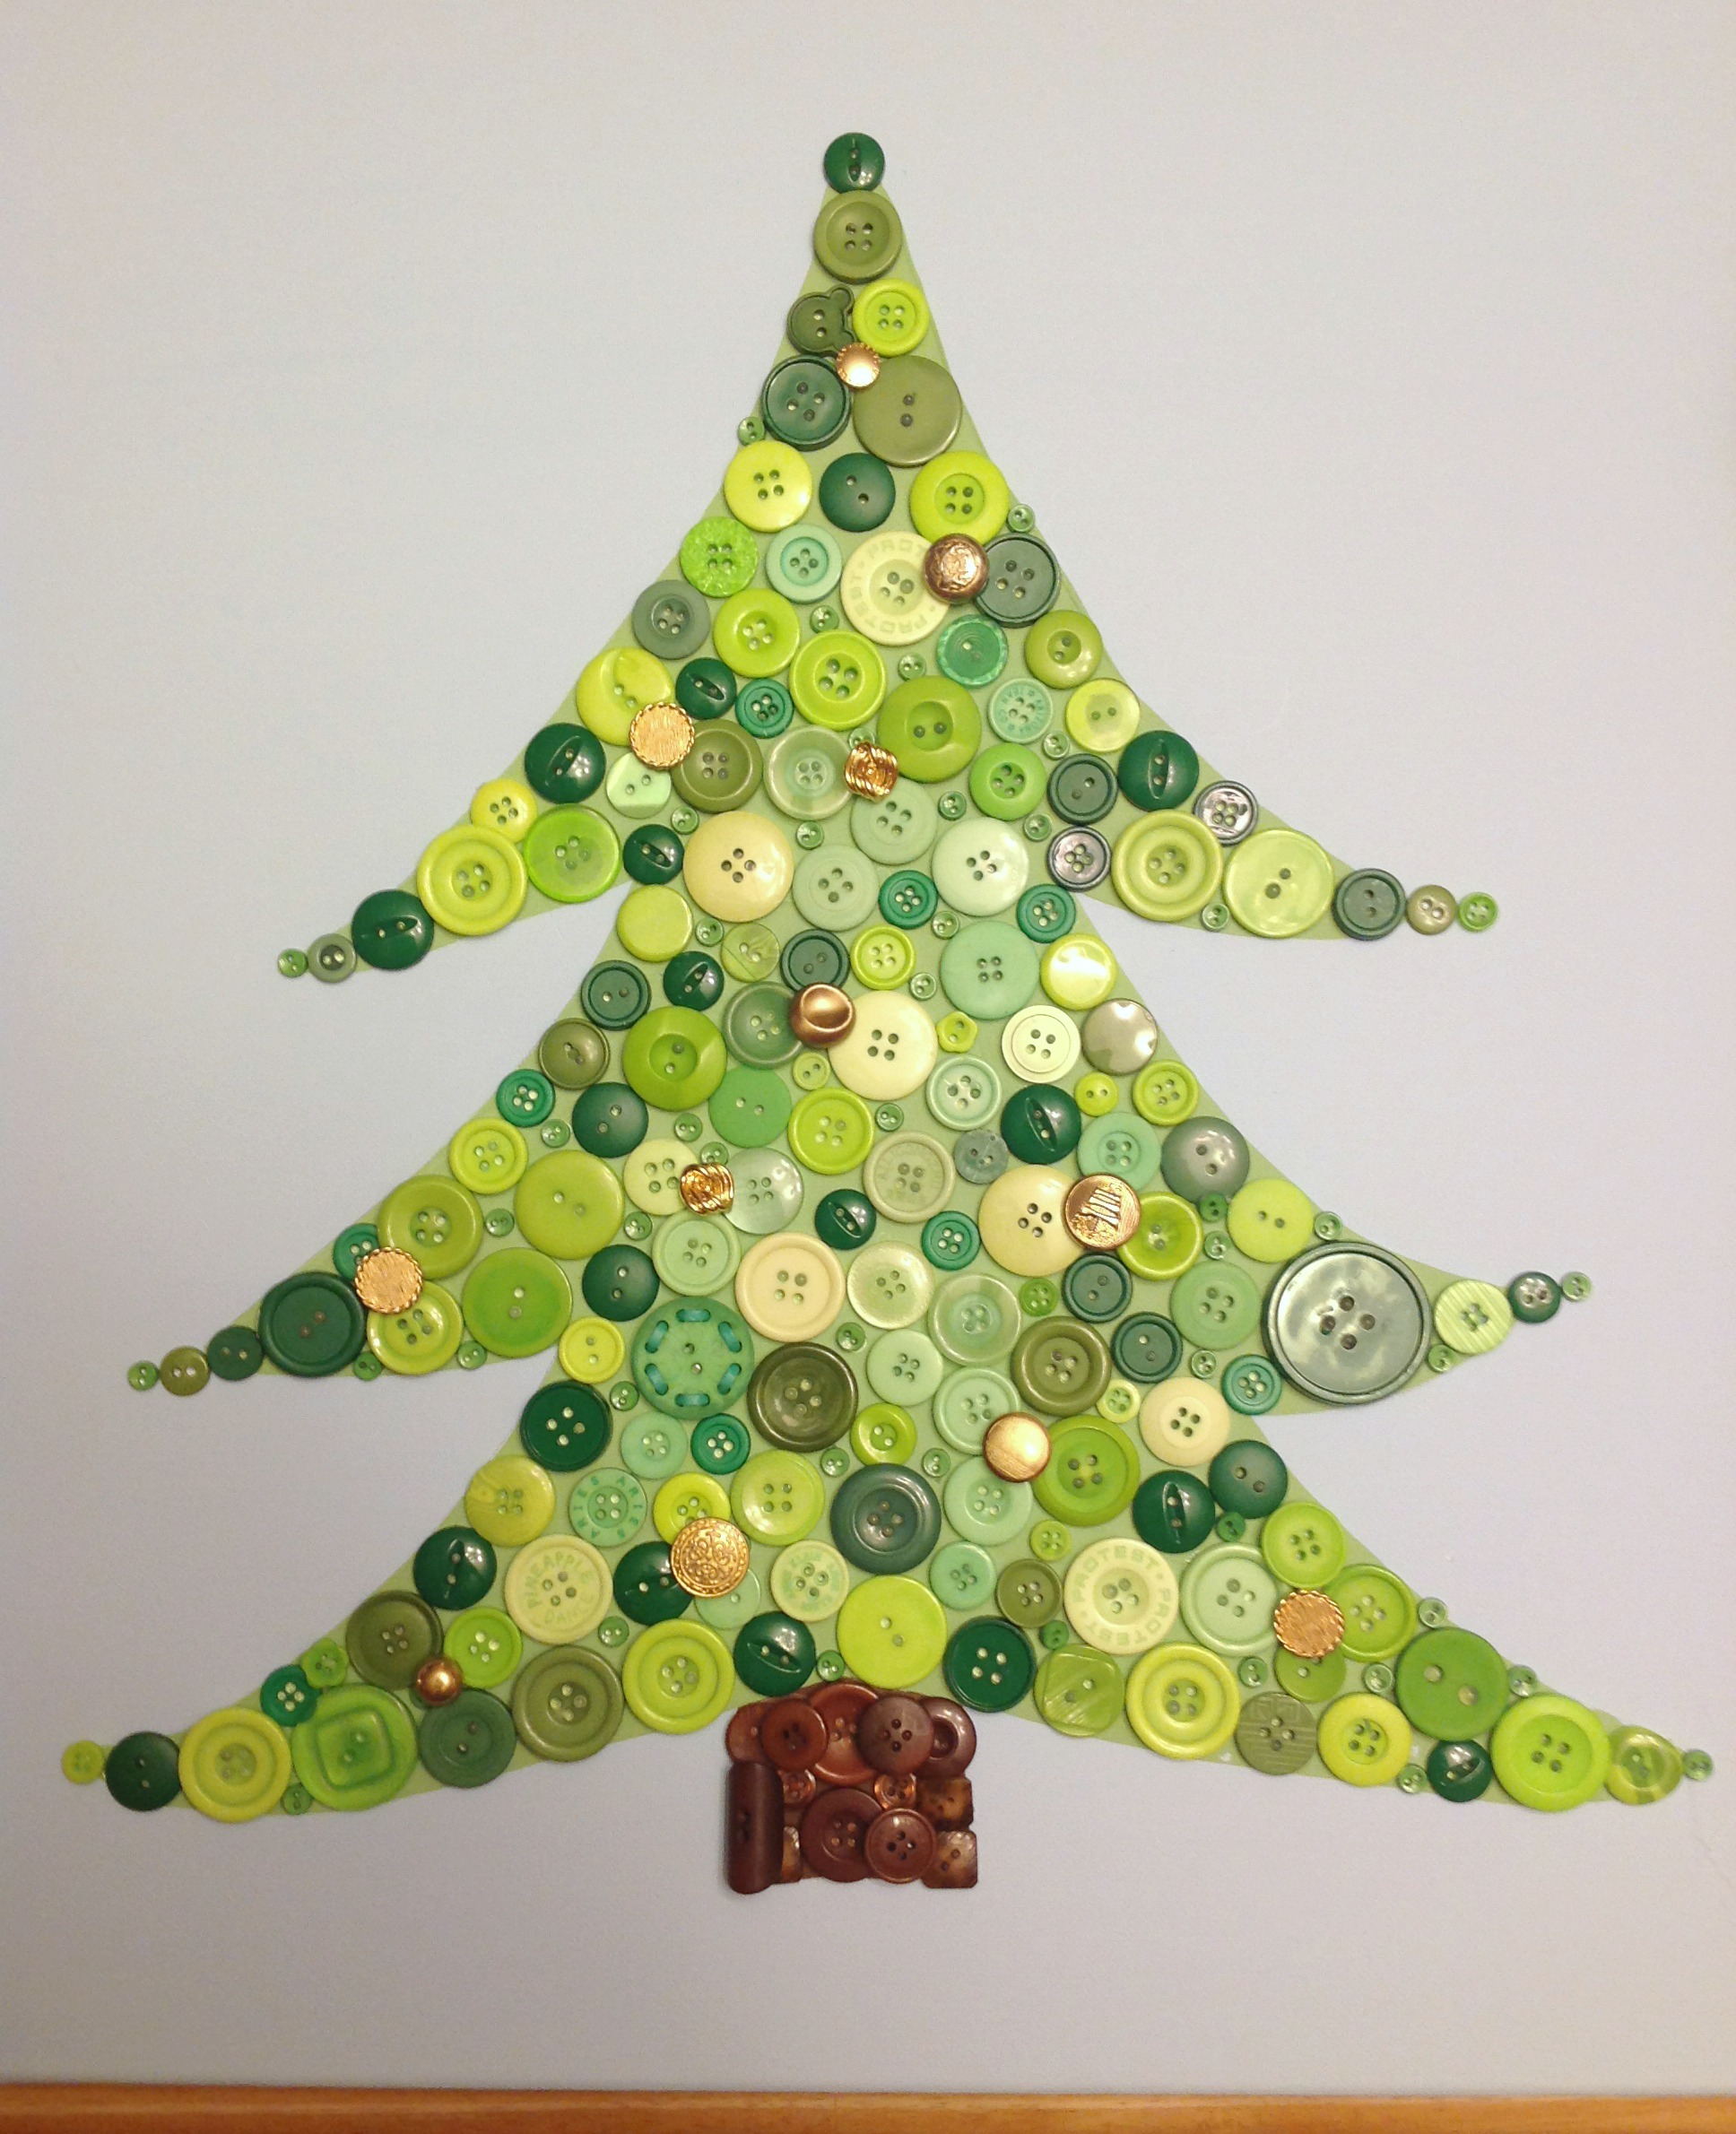
I started with some of my gold toned buttons, and after I stuck em on, I felt like adding more would take away from this cute look, so I finished with the decorations here!
But it was missing something…
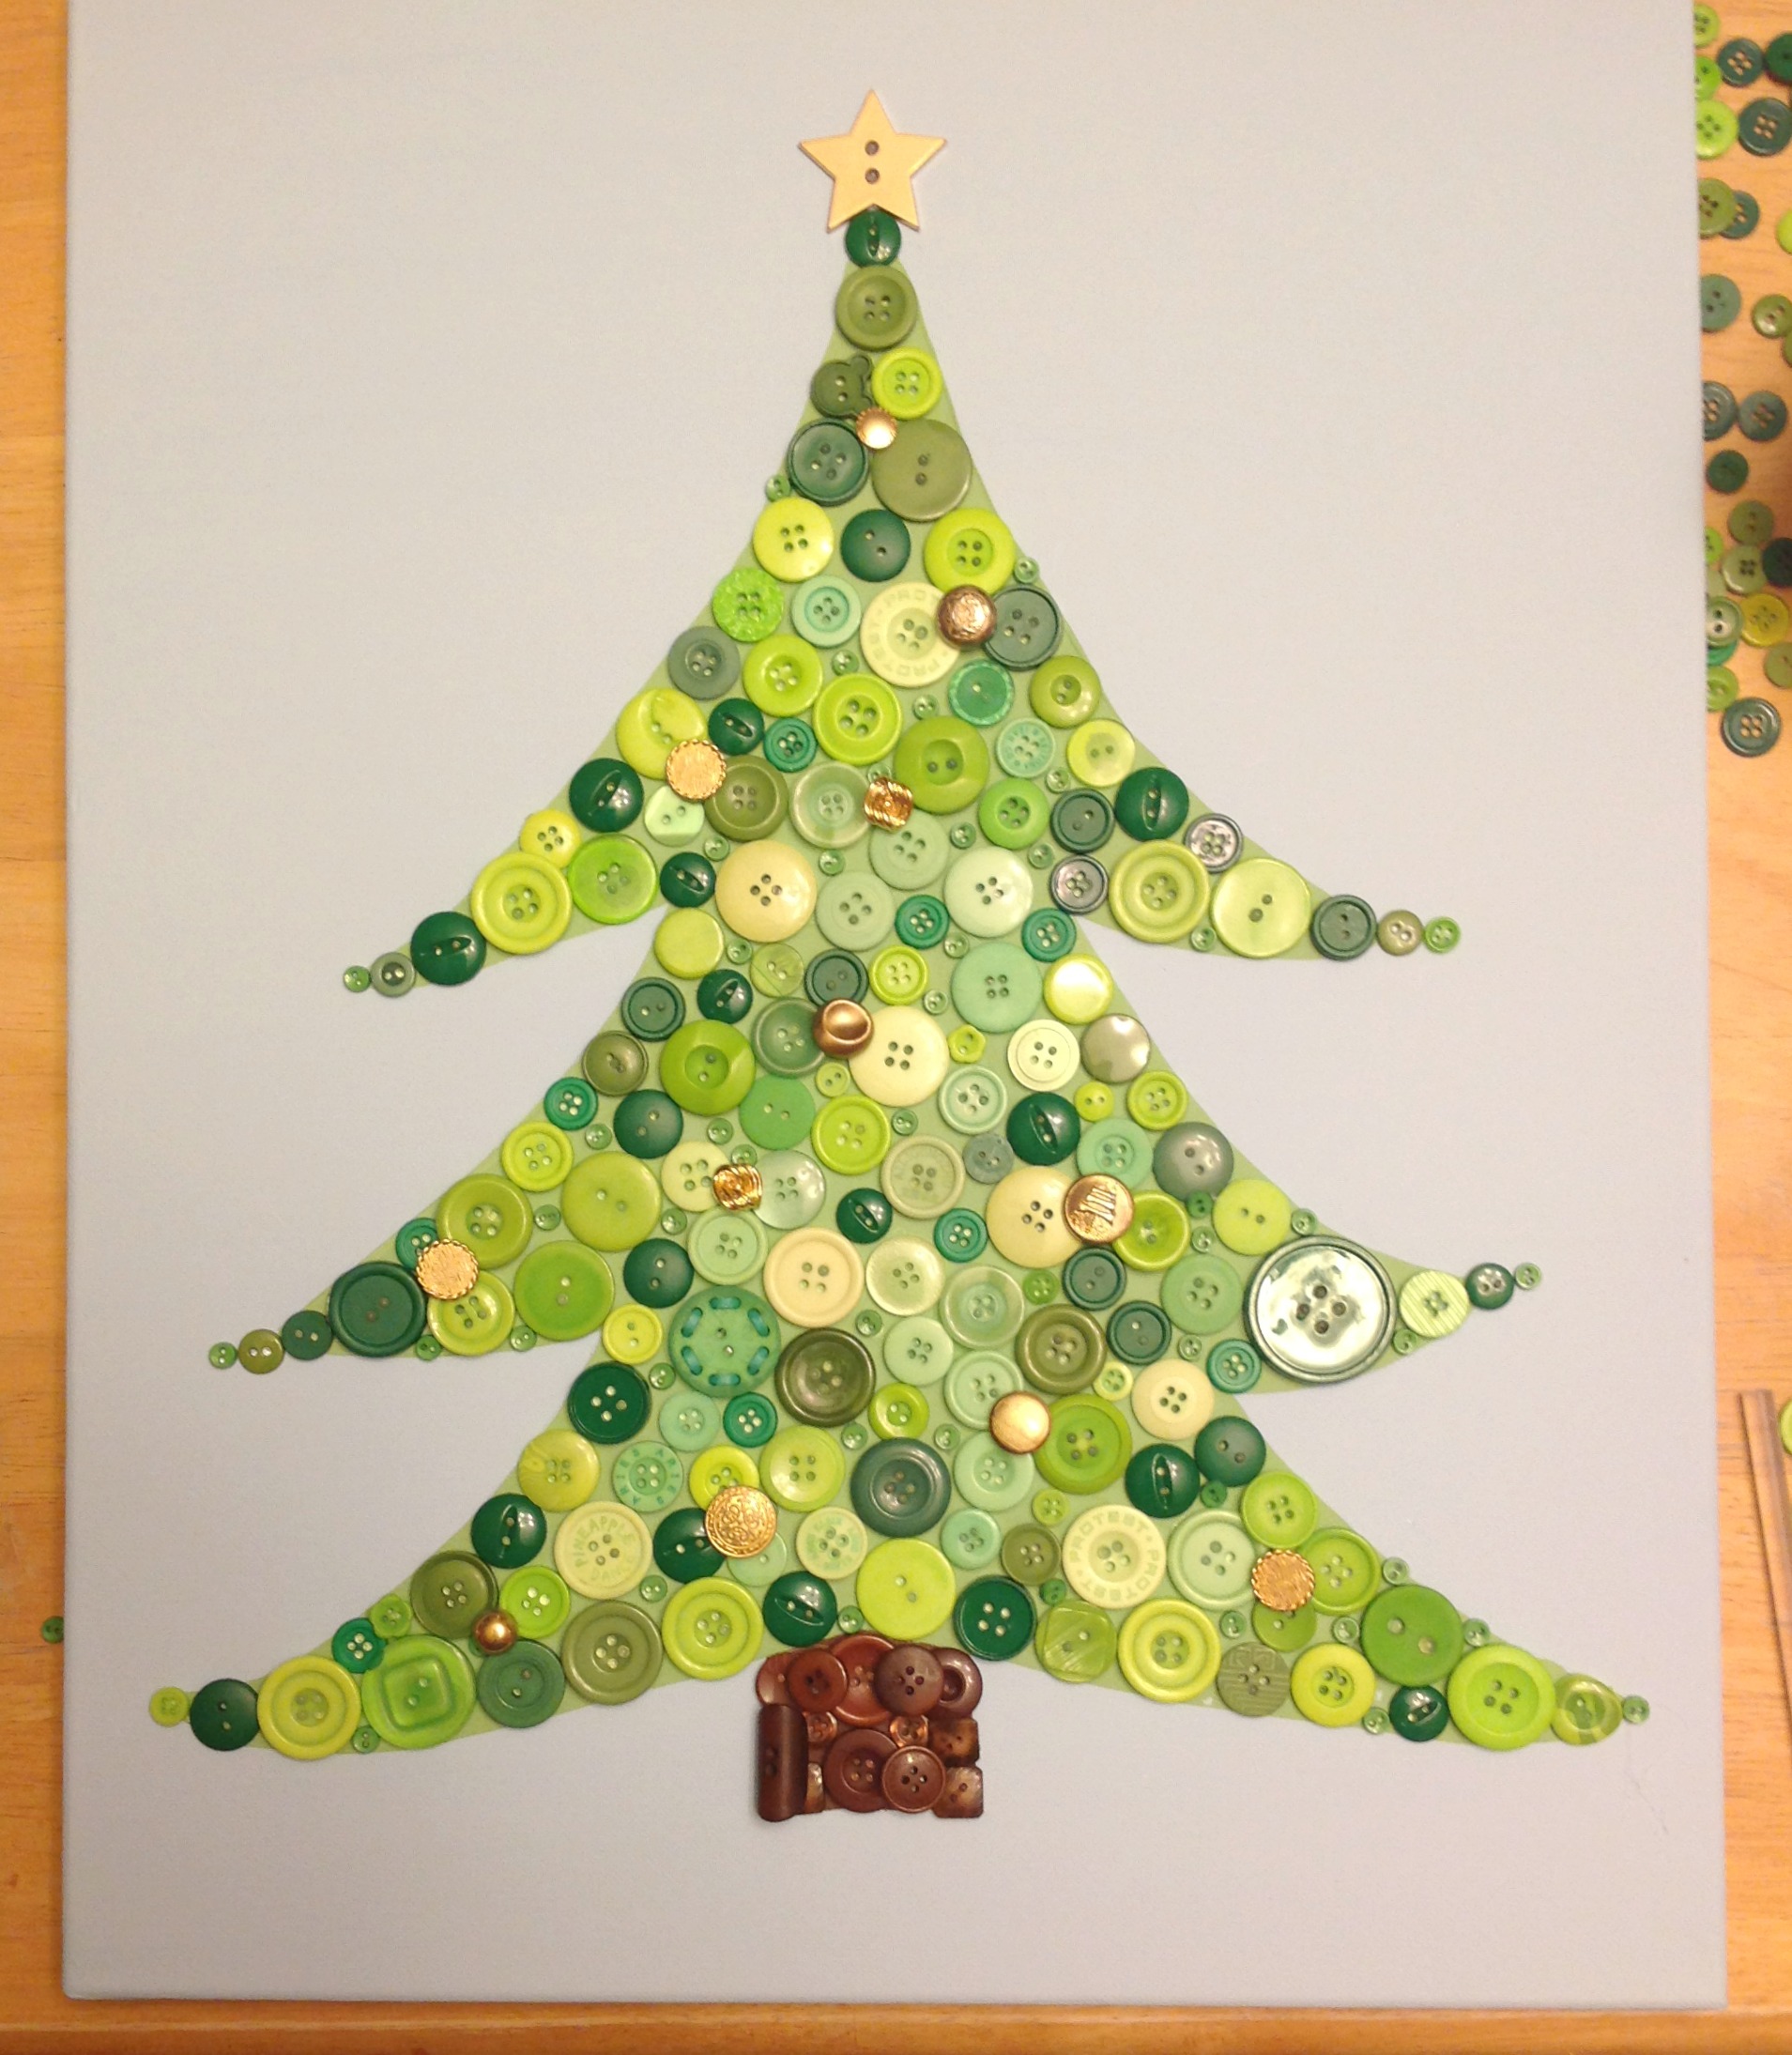
A star! A star! Shining n the niiiight! I actually painted one of these buttons gold for this touch!

Next I wanted to use these FRICKING CUTE BUTTONS to embellish the sky with a seasonal sprinkle of snowflakes! These are what I call ‘nubby buttons’ because they have nubs instead of holes. Attaching them to the canvas takes a special step- you have to put a small cut in the canvas with a blade. I have a whole tutorial about that here.

And there you have it folks! The Button Christmas Tree.
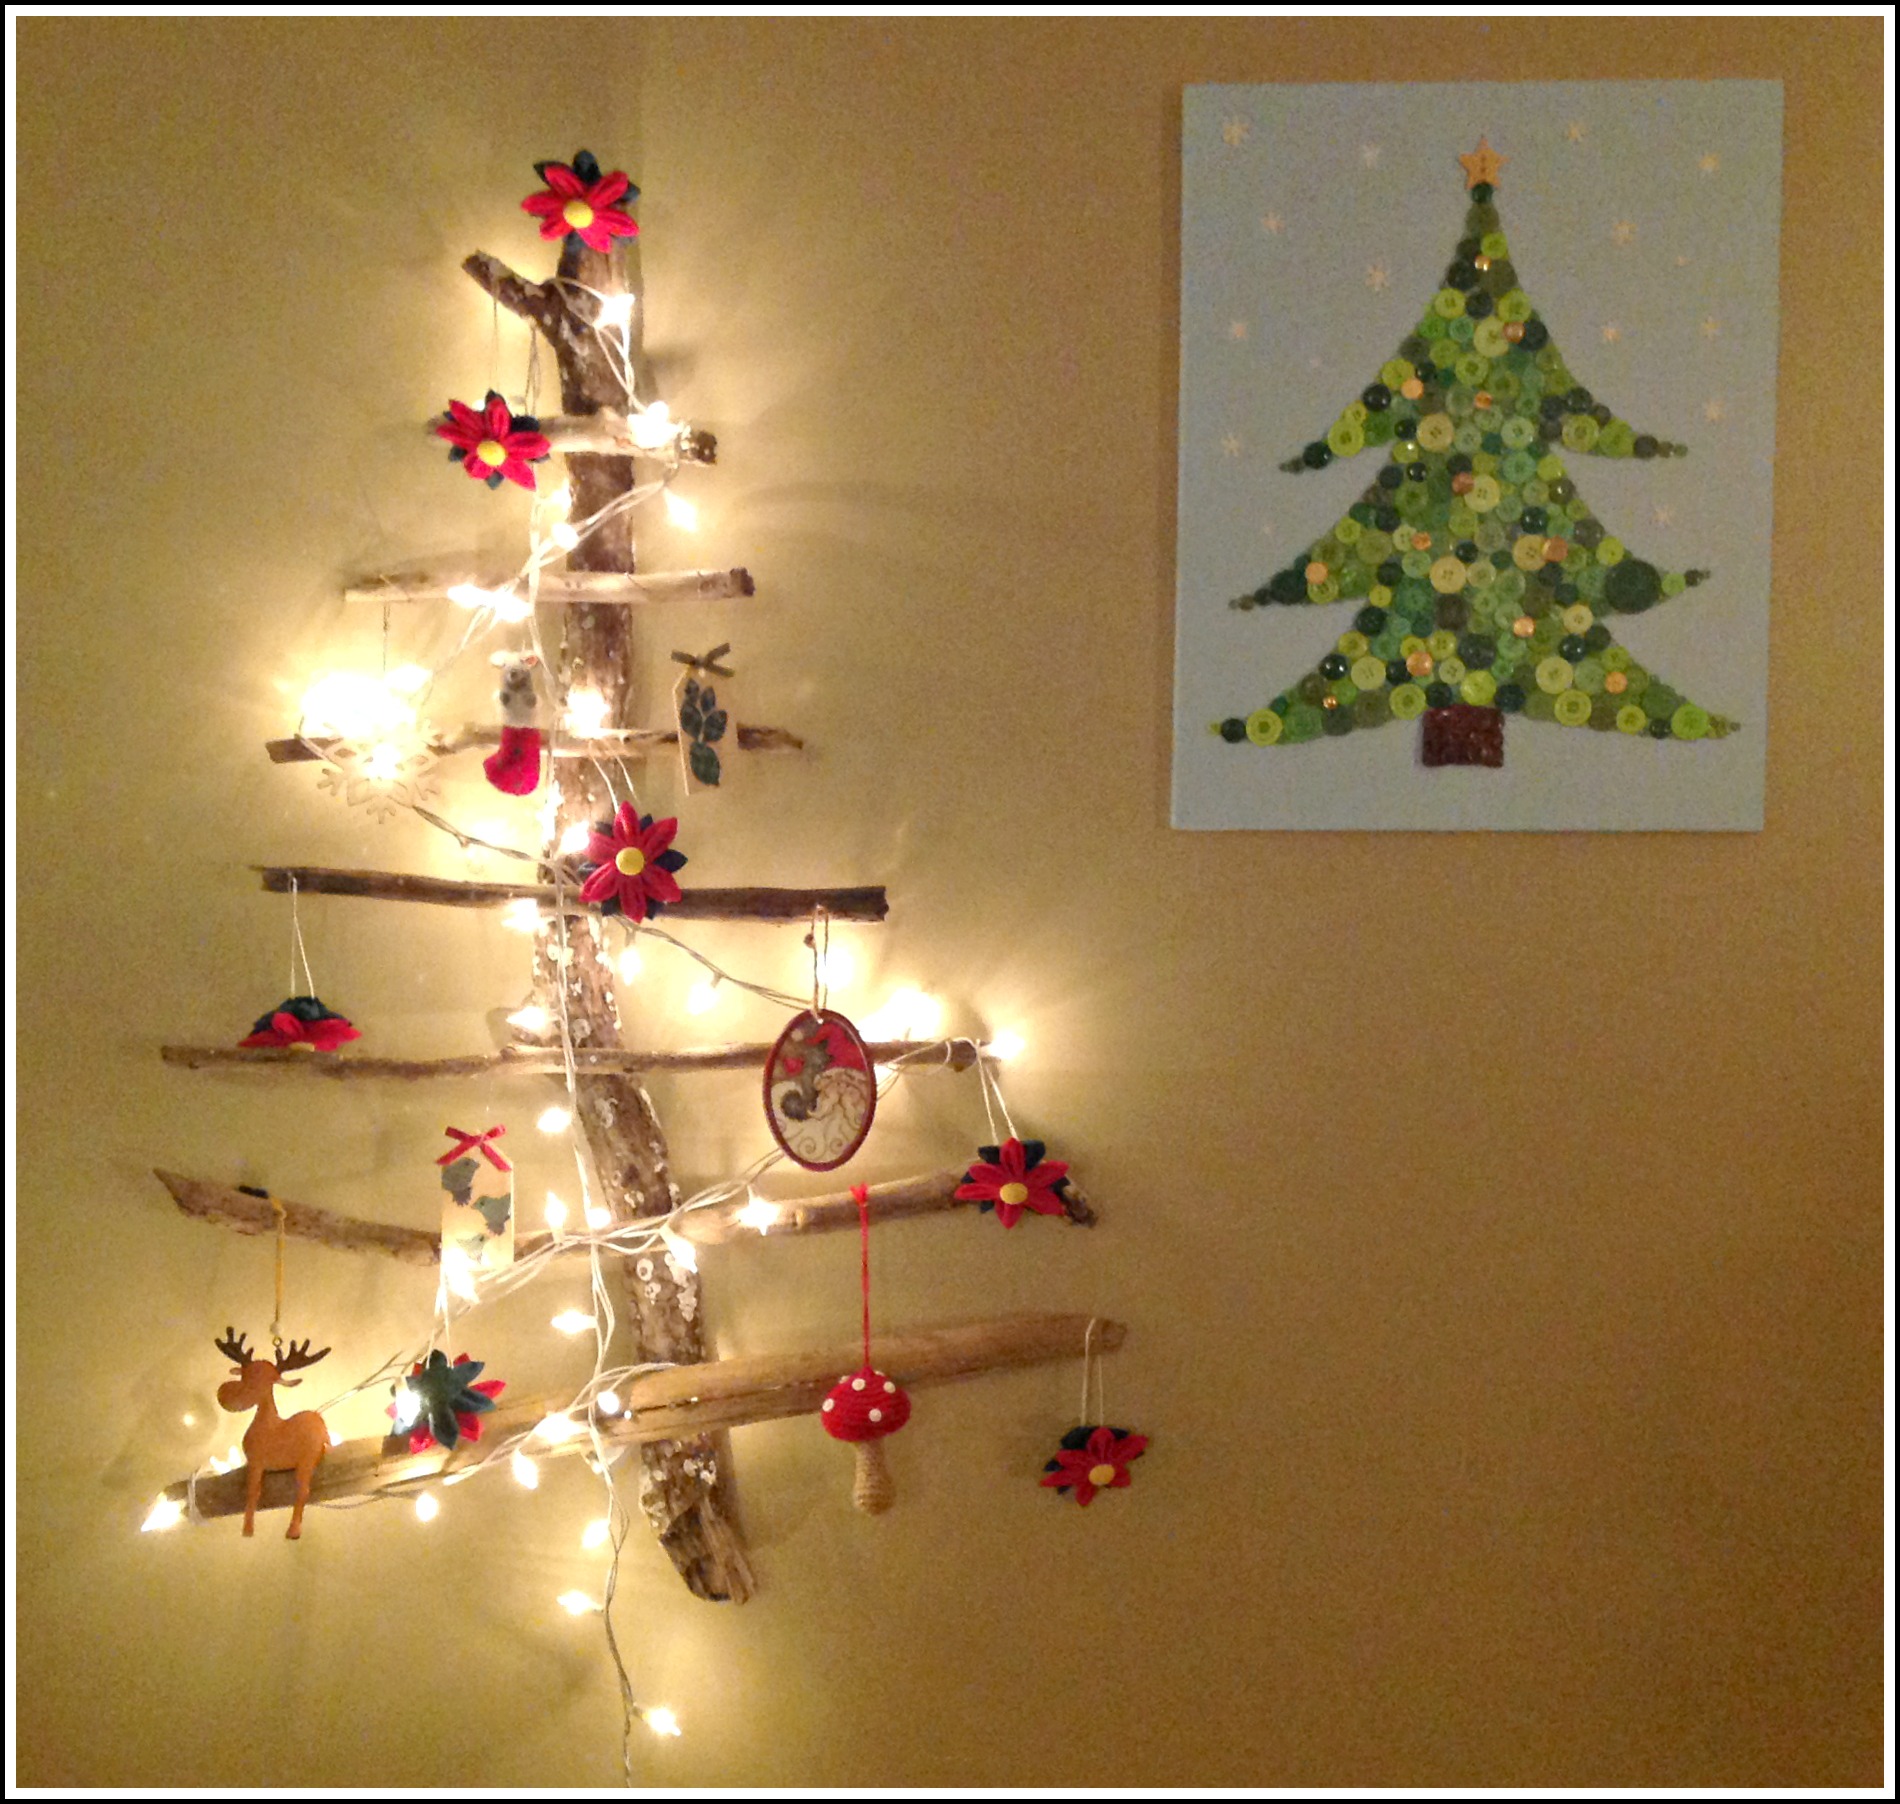
It looks pretty nice next to the driftwood tree I made a few weeks ago! I wish I blogged a tutorial on this creation, because it was SO easy and is SO effective! Long story short- I just nailed a bunch of driftwood together and hung stuff on it. Thanks cousin Ann for the great idea 😀
Don’t forget about my daughter’s awesome version of the button Christmas tree:
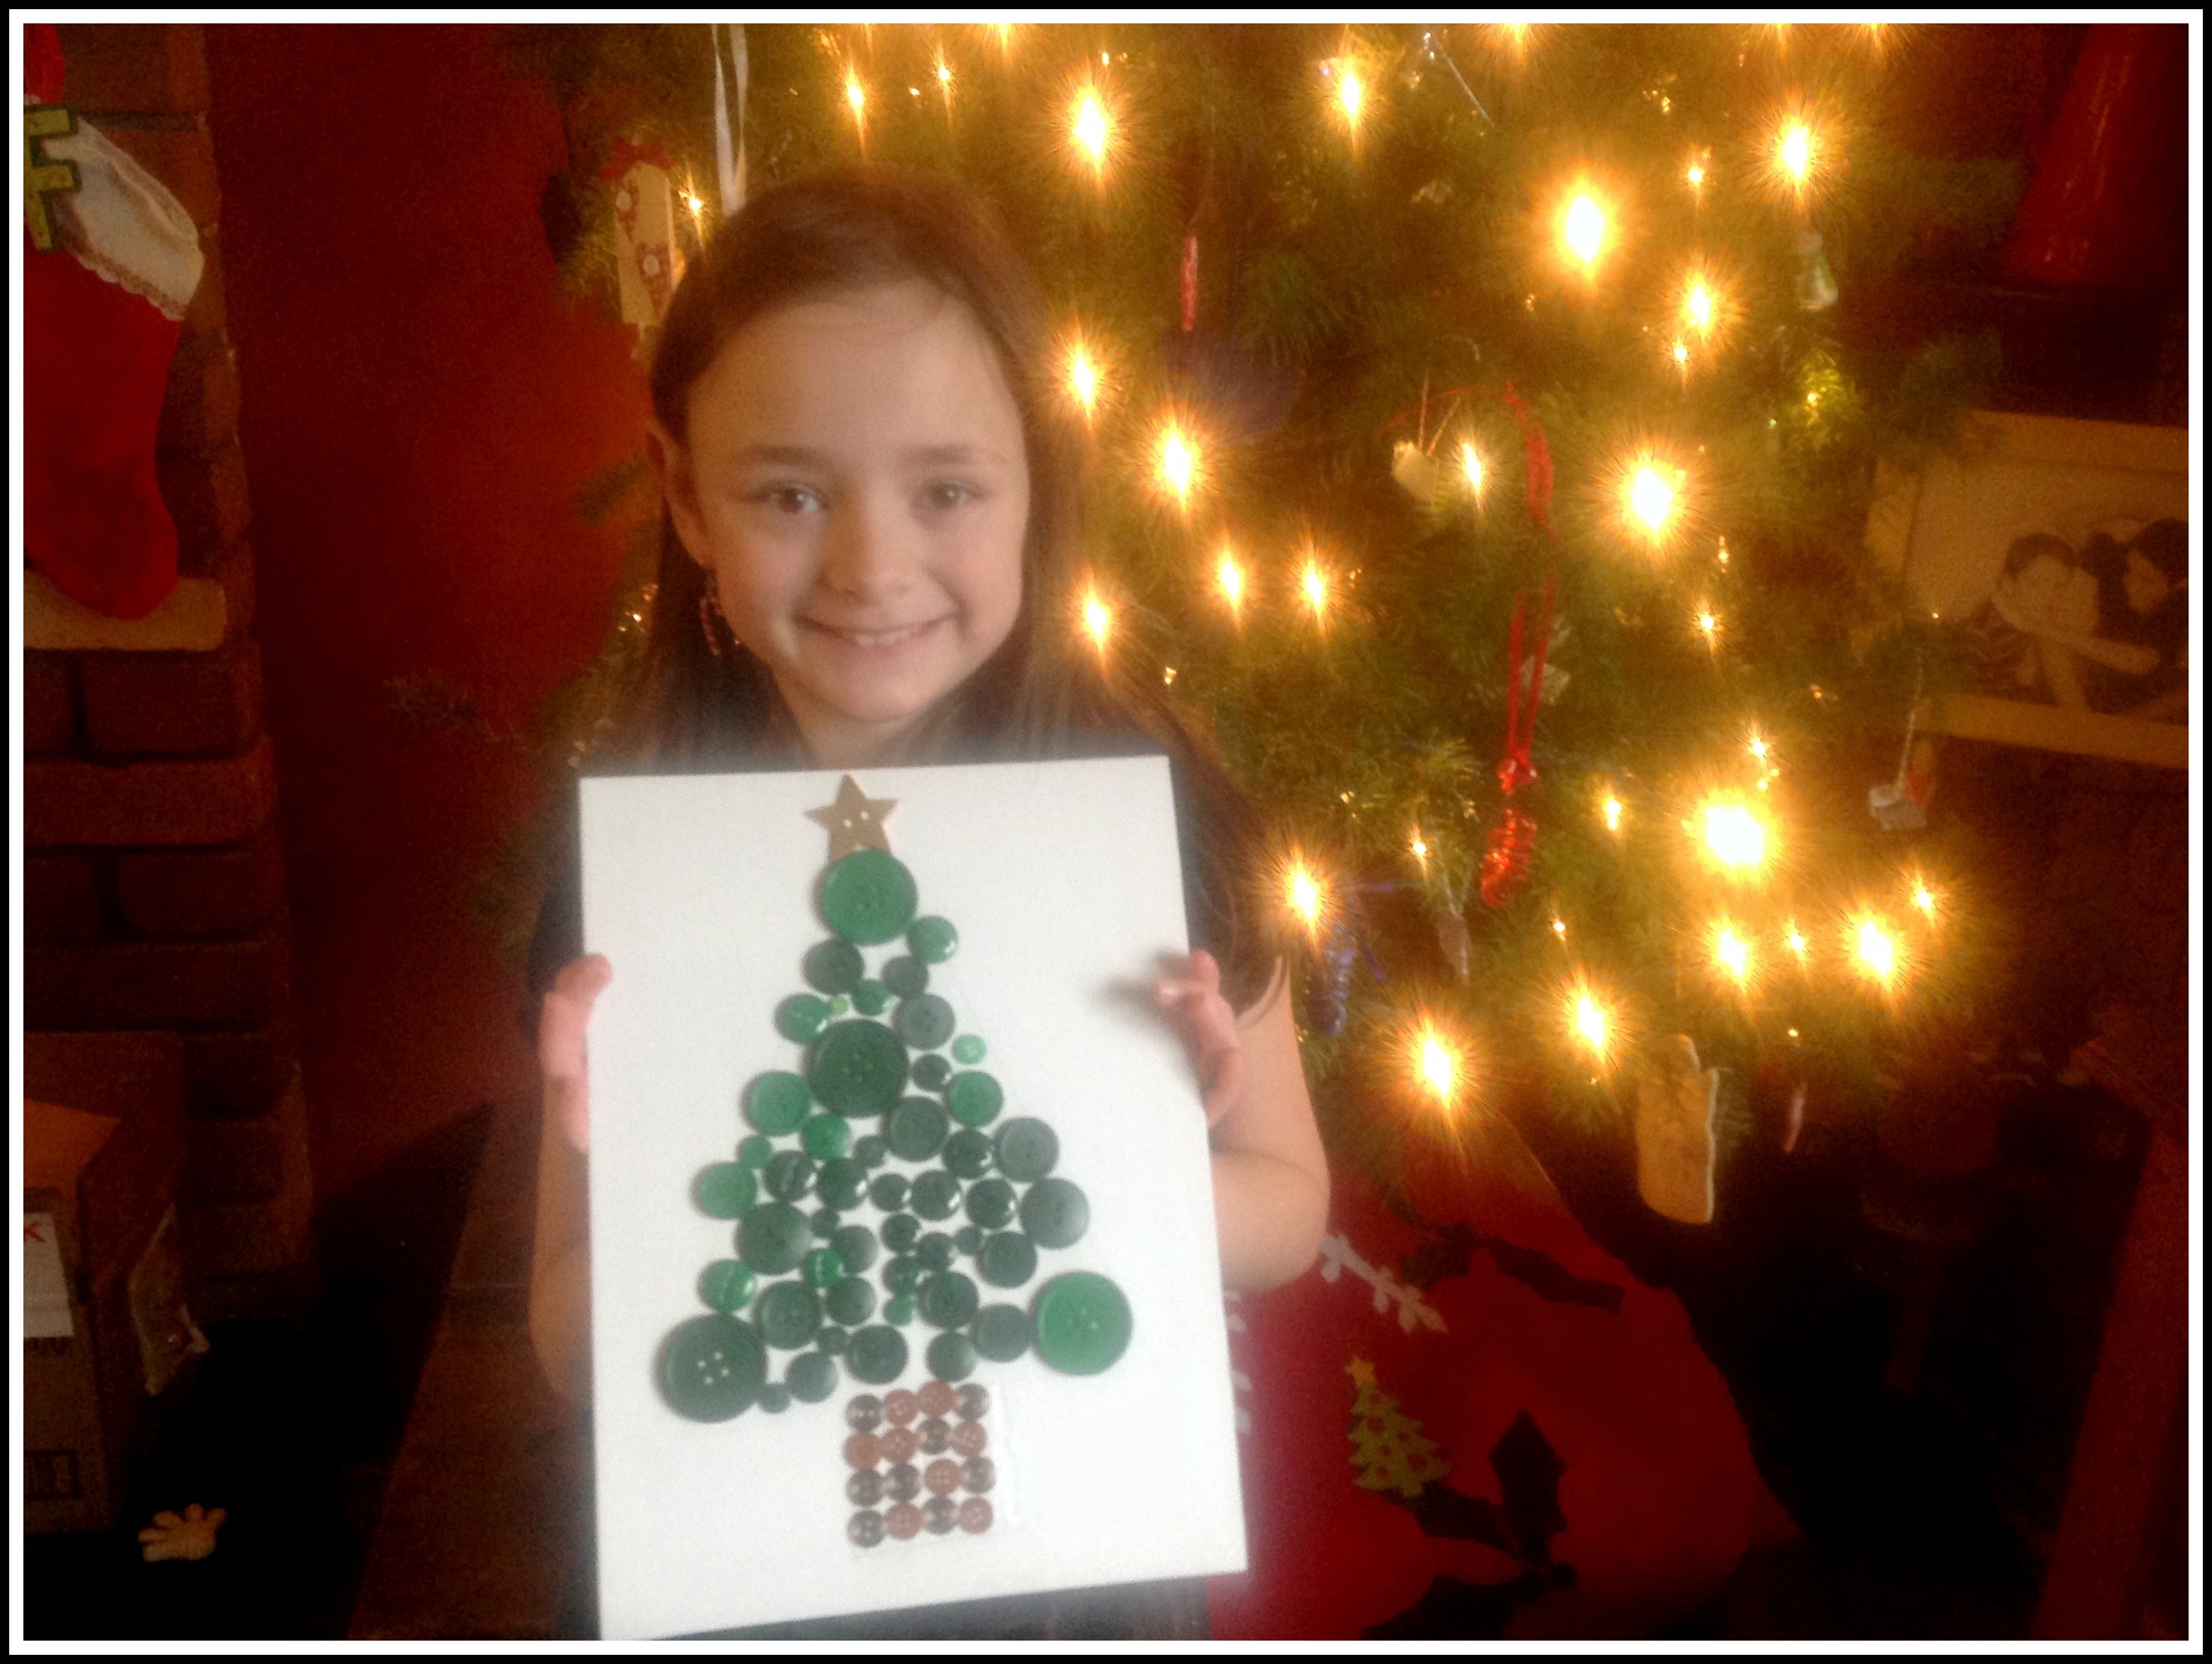
SO CUTE! Pretty too! You HAVE to make one of these for your fave sewer/ button lover this Christmas!
Well, I hope you enjoyed that tutorial… It’s been a while! I’m a bad blogger lately with all these babies and “responsibilitieeees”, but I am a little too active over on Facebook and Instagram if you want to keep up with the crazy things I’m always up to!
If I don’t see you in blog land in the next TWELVE DAYS, then MERRY CHRISTMAS!!!!!! From my family to yours 🙂
Thanks for reading!
❤ Dot


What a delightfully creative idea!! And it’s kid-friendly, too! The perfect project! I can’t wait to try it – thanks so much for sharing. Have a Blessed Christmas!
You are so hilarious and amazing.. I am laughing at “teensy buttons” and “responsibilitieeees” and FRICKIN CUTE BUTTONS. HAHAHA!!! Thanks so much ❤ And Mercie's tree is so cute too I'm glad you had fun making them. 😀
Pingback: Ikke kast gamle knapper, de kan bli til den fineste julepynten! - Kreative Idéer
Pingback: Basurillas » Blog Archive » Haz tu mismo un árbol de navidad reutilizando.
I love the Decorating of the Brother. I’ll add that to our traditions, along with Airing of Grievances.
Pingback: 12 Button Art Tutorials | Busted Button
Pingback: Аппликация из пуговиц «Рождественская елка» — прекрасная идея для подарка — http://julialand.ru/
Pingback: 10 idei de decoratiuni de Craciun din nasturi! - Stilul meu de viață
Pingback: Christmas Decoration Craft With Buttons - Kids Art & Craft
Pingback: 25 Christmas Tree Crafts – StupidSimpleDIY