
If you’ve read my snowflake window garland tutorial, you would have seen this picture:

Ain’t it a pretty sight? I am going to share a simple tutorial on how to make your own Light-up Christmas tree decoration! I have been eyeing up these big light up tree decorations for a while but they are always so expensive! There are even a bunch of different tutorials on how to make your own, but they usually involve spending a bunch of money or using items I don’t have kicking around. Here is a video tutorial on how to make a really cool one using a tomato cage- such a good idea, but I didn’t have a tomato cage, so I improvised.

All I used to make my Christmas tree was a round laundry basket, two pieces of poster board, christmas lights, and tape!

Step 1: Fold one piece of poster board into a cone and slip it over the base of your upside-down laundry basket. Secure it with some tape when you find the perfect fit. Remember, this doesn’t need to be perfectly beautiful- once the lights are on, it will look fabulous.

Step 2: Cut your other piece of poster board into two pieces horizontally. Cut out a slight curve on the bottom of each of them. The curved end will wind up being on the bottom of your tree.

Step 3: Wrap these pieces around the bottom (top) of your laundry basket, and secure with more tape. Easy peasy… Now this needs some lights!

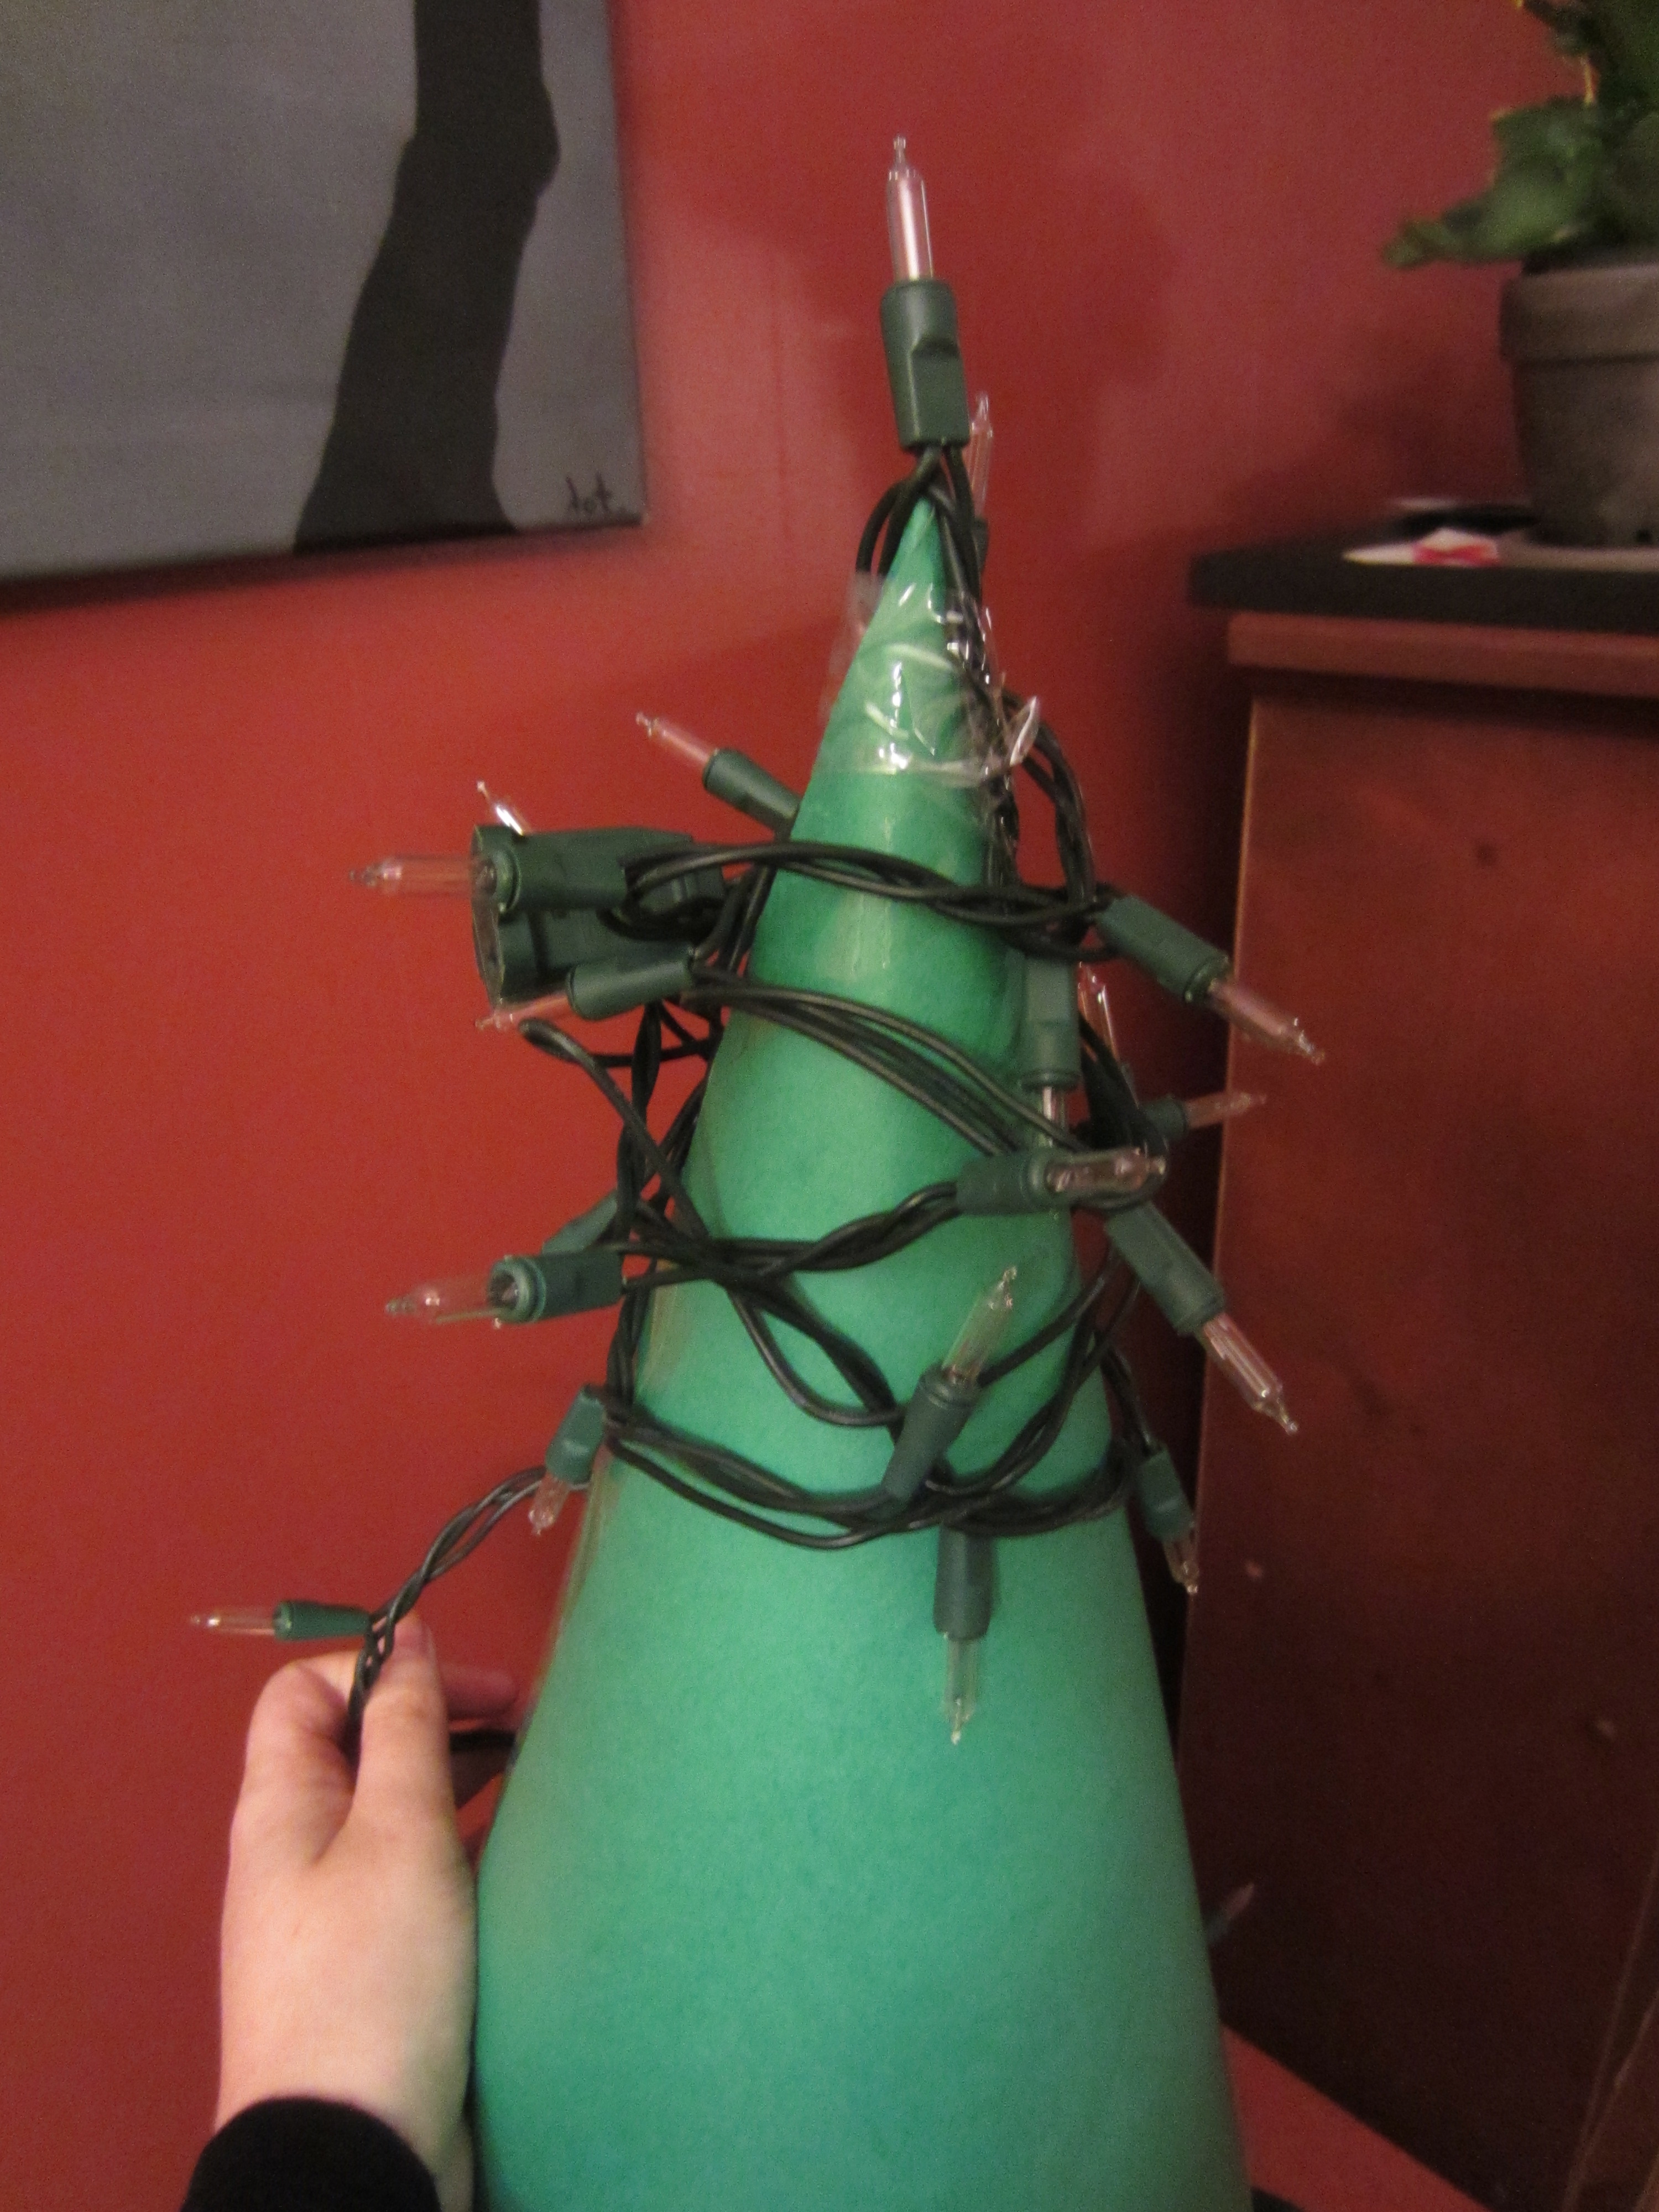
Step 4: Wrap the lights! Start at the top of your tree, and secure the end of your light strand with more tape, making sure to keep any ugly cords or connectors at the back of your tree.

As you go, add some more tape here and there to keep the lights in place. If you need to add another strand of lights, just keep the ugly bits in the back. I used two 100-light strands for this 3.5 foot tall tree.
 Done that part! Not too pretty , but it’s all good! Meanwhile in my kid’s room:
 THEY MADE THEIR OWNNNN 🙂 So cute!!! But definitely the wrong color. Kids. So naive sometimes 😉
 I added some garland to the bottom of the tree to make it look nicer, and I stuck it up on my massive window ledge. Then I had to connect it to an extension cord… which meant I had to go up and get stuck againnnn. I wonder how many posts about this ledge I am going to have in a year? I’m already up to 3 with 10 mos to go!
 Now that was a cute view 🙂
 Not a very cute extension cord… I will have to get a new one hahaa.
 I stuck my tree on a little table to give it a bit more height. I love it so much- I’m very happy with the results!!!
Check out how pretty it looks from outside:
 So festive and sparkly! Ignore the bat and rat in my son’s window… I guess I forgot to take down his halloween decorations- OOPS!
 Well, I hope this was a helpful idea! I’m off to try to convince the hubby to let me decorate, since it’s LESS THAN A MONTH until Christmas!!! He is very happy that I have refrained from decorating thus far. Heh heh heh >:)
Speaking of Christmas- Don’t forget to check out my Etsy shop for some pretty cool and unique stocking stuffers! For my amazing blog readers, I’m offering 15% off of my whole shop! Just use the code BLOGGG at the checkout 😉 I also have a few paintings up there that are on sale! Click the pictures for a direct link to the listing 🙂
 Here is a sweet lil rendition of my Four Season’s Button Tree that Is matted and framed.
 For this nifty blowing button tree, I used a ton of vintage white buttons to decorate the branches!
And this next one has got to be the most ‘normal’ one I’ve ever painted! Blue sky and green leaves… Normalcy looks good on a button tree!!!

Well, Happy Tree Lighting!!!
~Dot


Pingback: Christmas Light Up Window Decorations | Vintage Decor