
Introducing- Mr. Monkey:
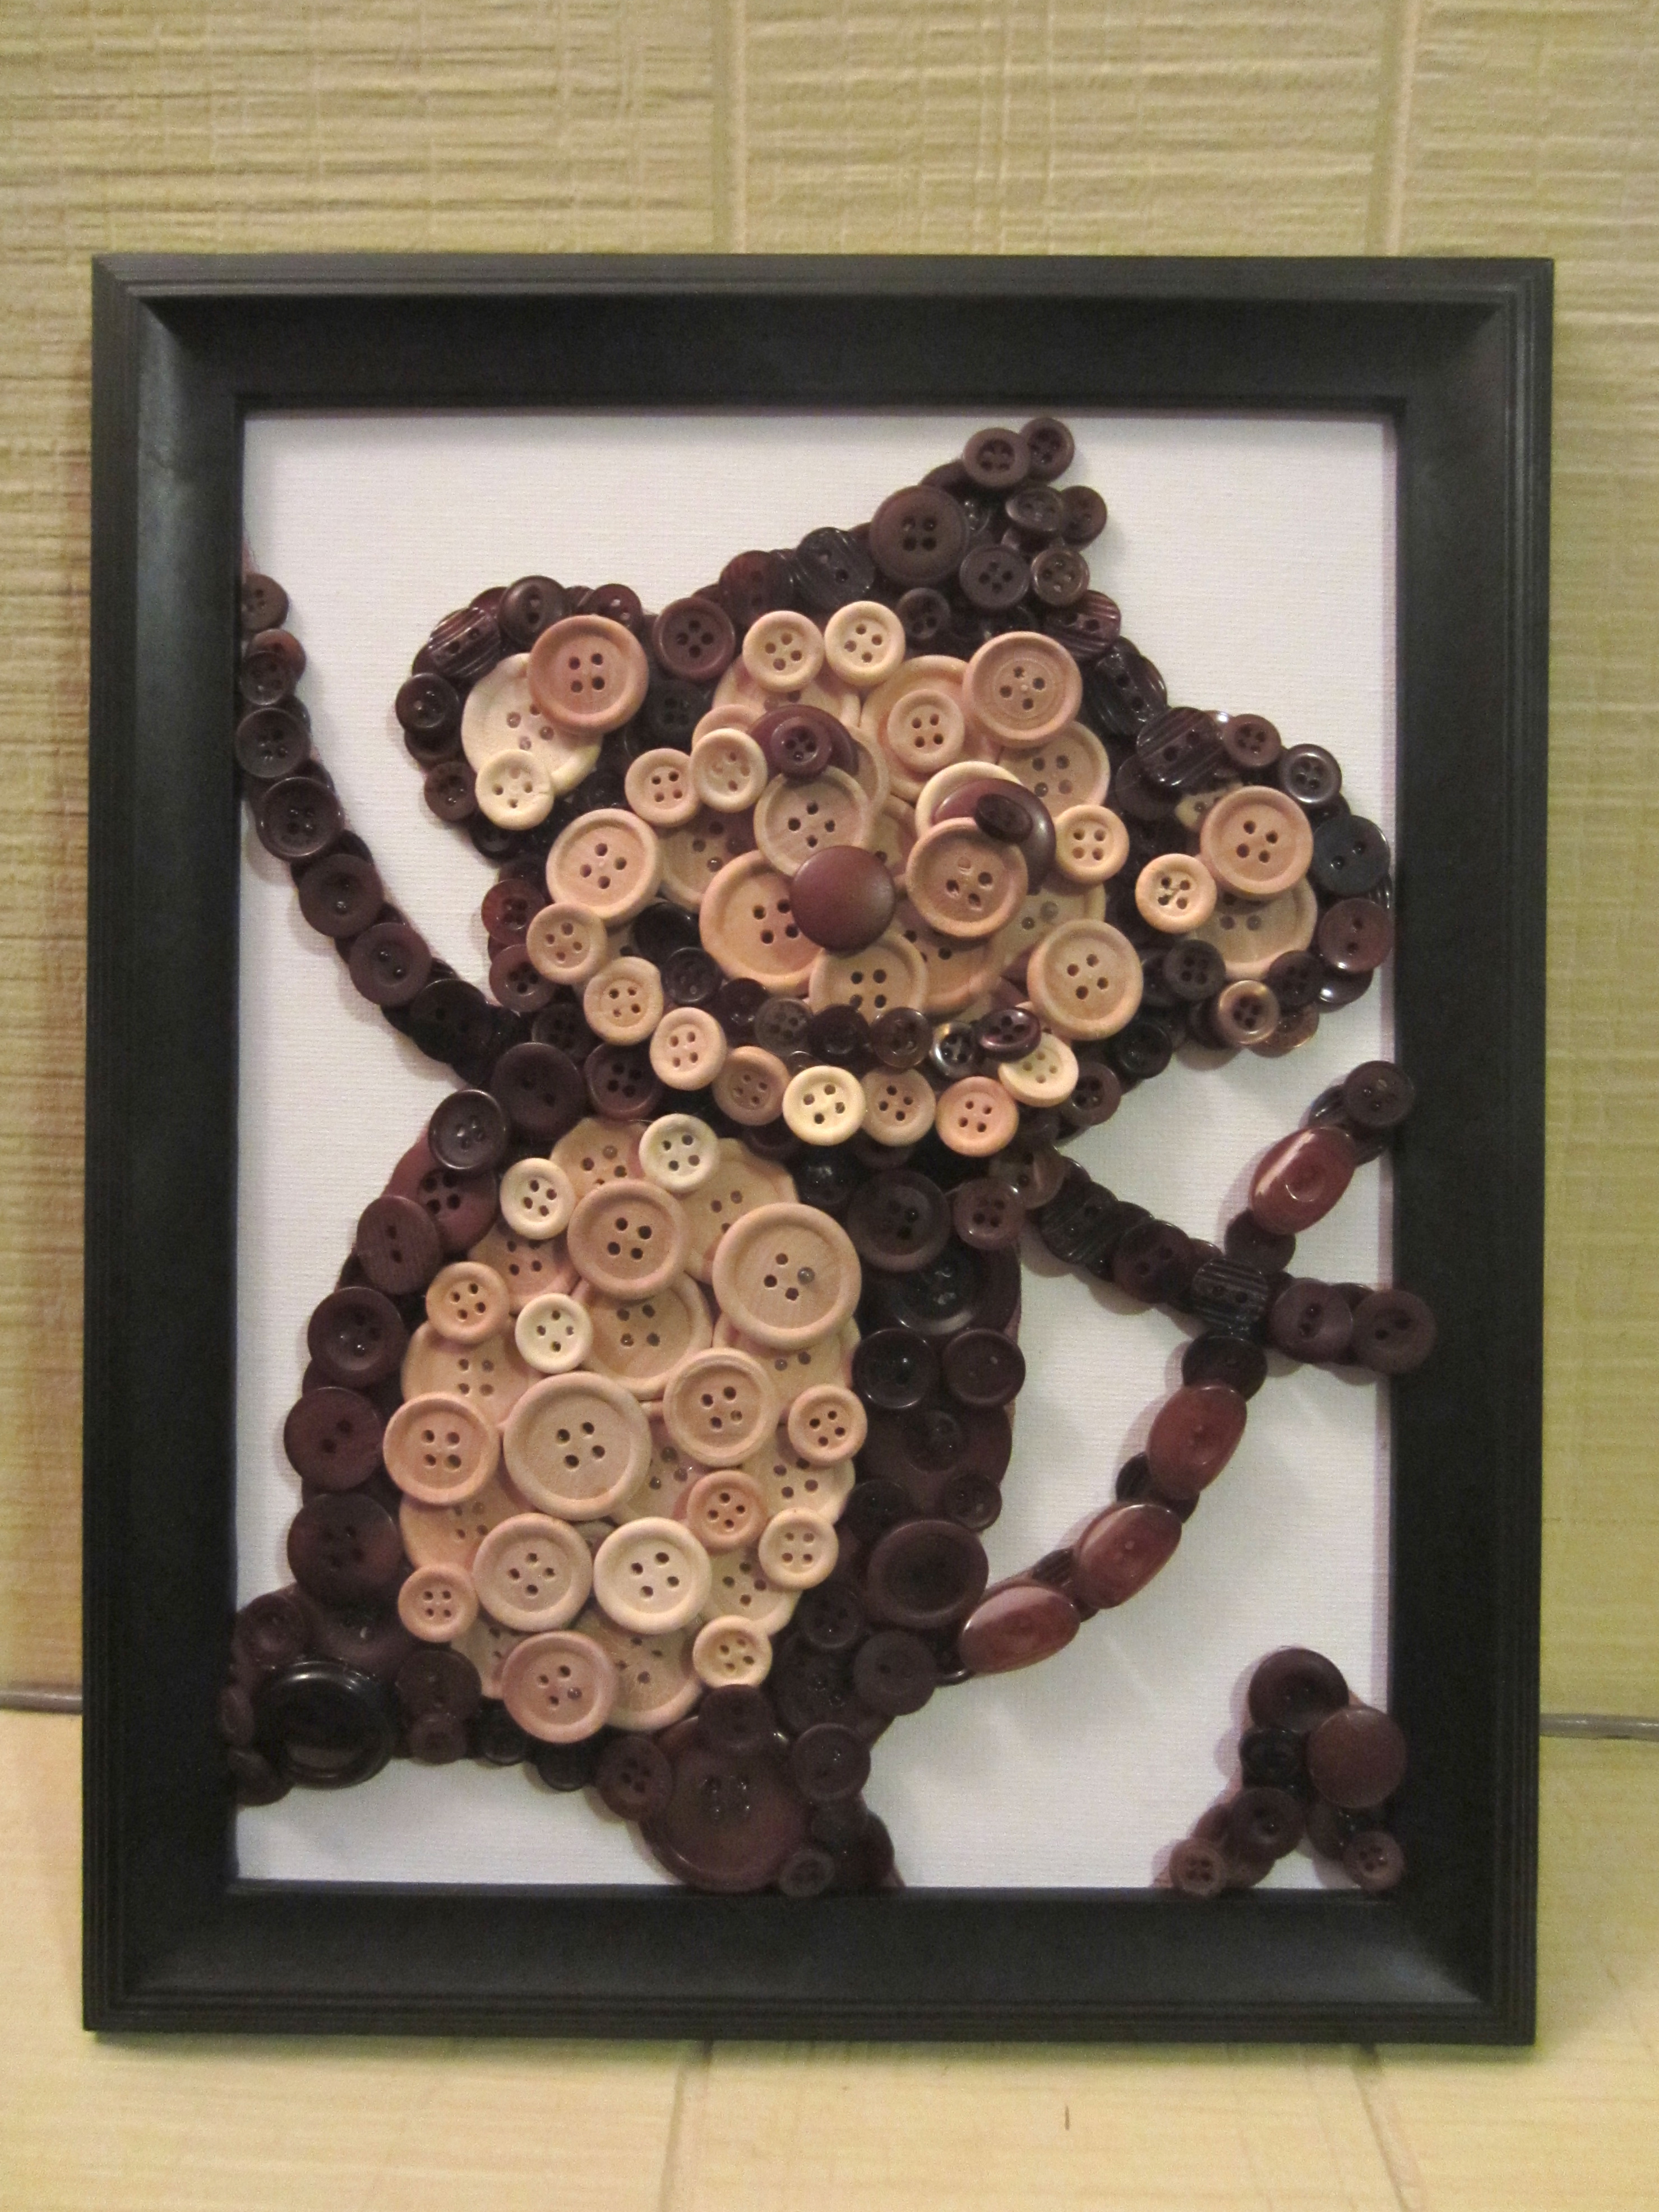 I made this lil guy as a present for my Nephew, who should be arriving anytime now! My brother in law, Gabe, painted this sweet mural for the baby’s nursery, and as soon as I saw it I knew a button monkey needed to be added to the walls!
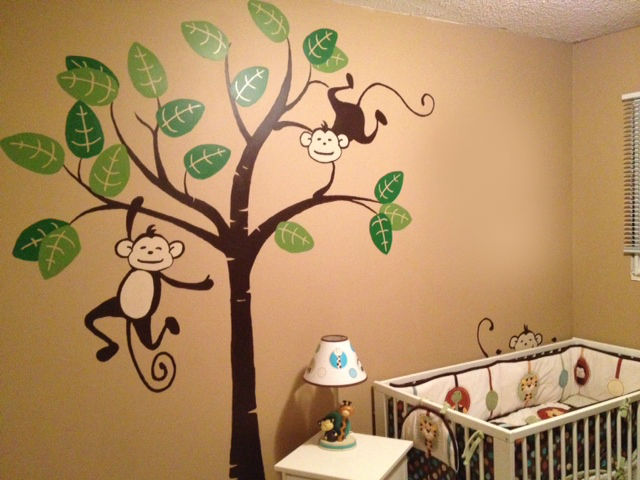 Eek so cute! Look at the lil guy peeking over the crib!
Is it bad that this idea makes me want to paint something strange creeping over my baby’s crib?!?! Something like… this guy:

“Hello, sleeping chiiiild.”
Hehehe. Oh. Hi, Salad Fingers!
ANYWAYS, back to the cute wittle monkey…
 I sketched up a drawing of the monkey onto a piece of card stock.
 Feel free to steal this ‘template’ if ya want! Maybe one day I will learn how to make a real digitized template, but for now, I hope this works!!!
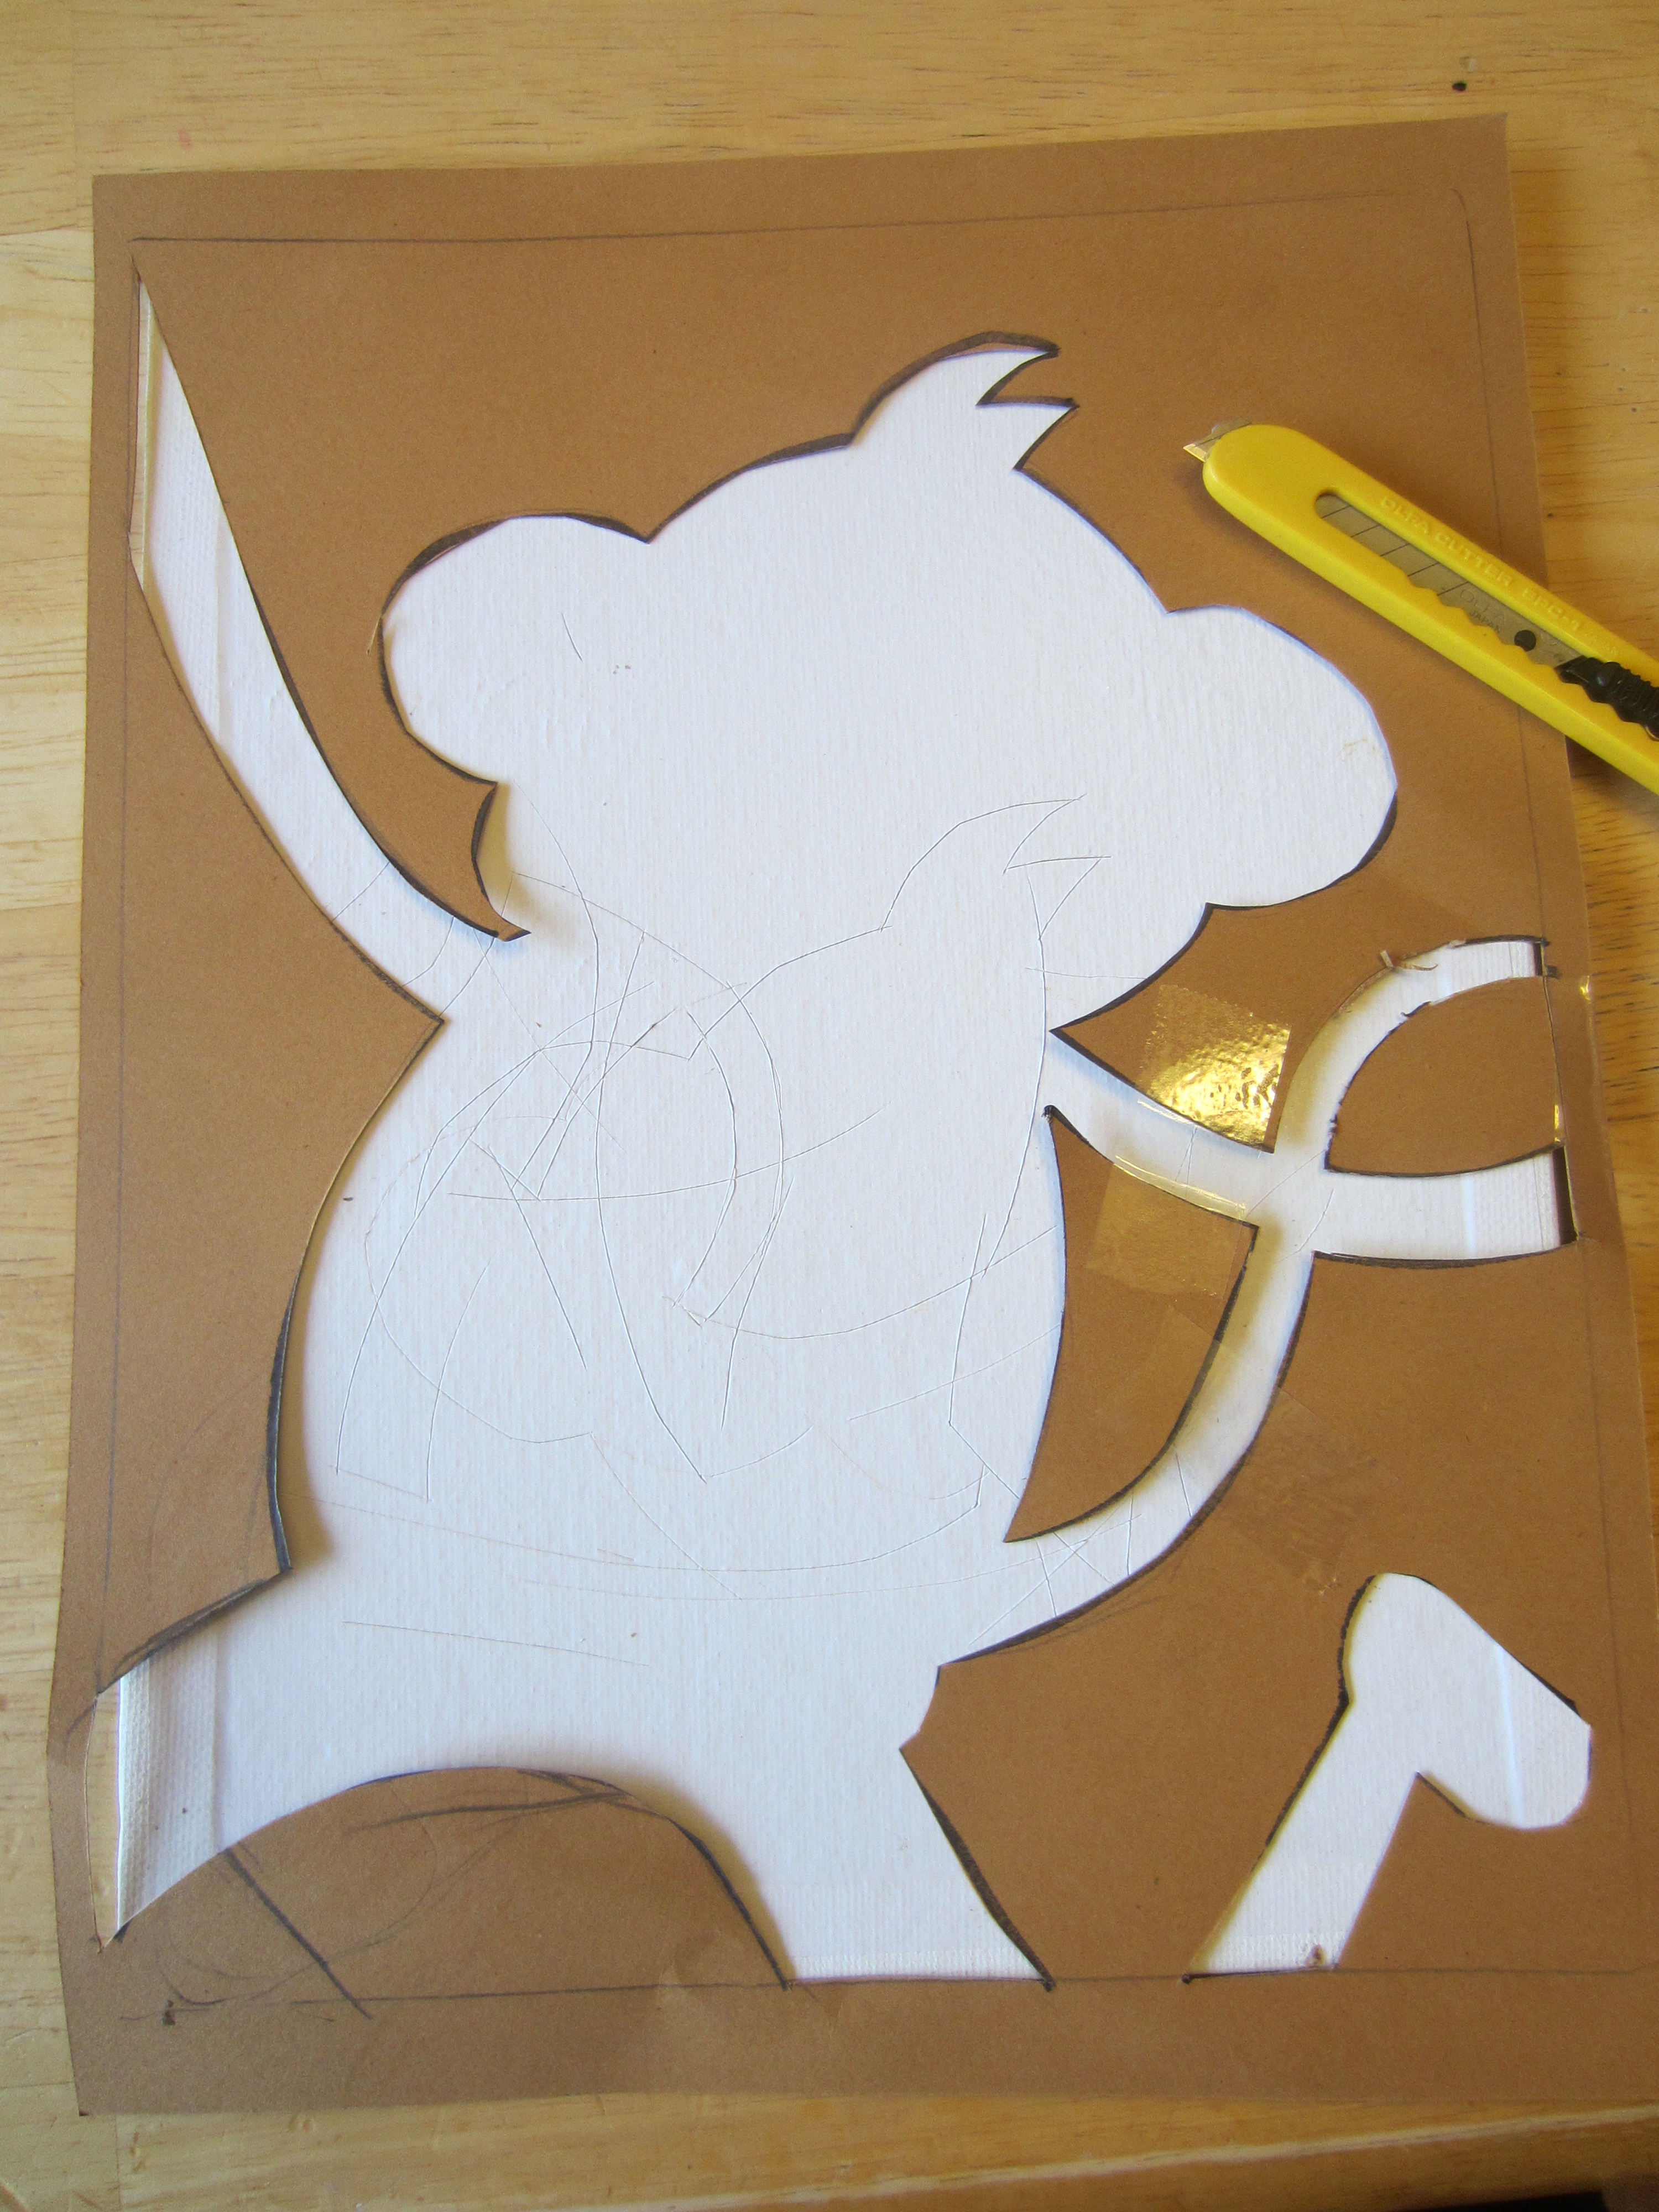 I sliced up the template and turned it into a stencil, which I can use for years to come!
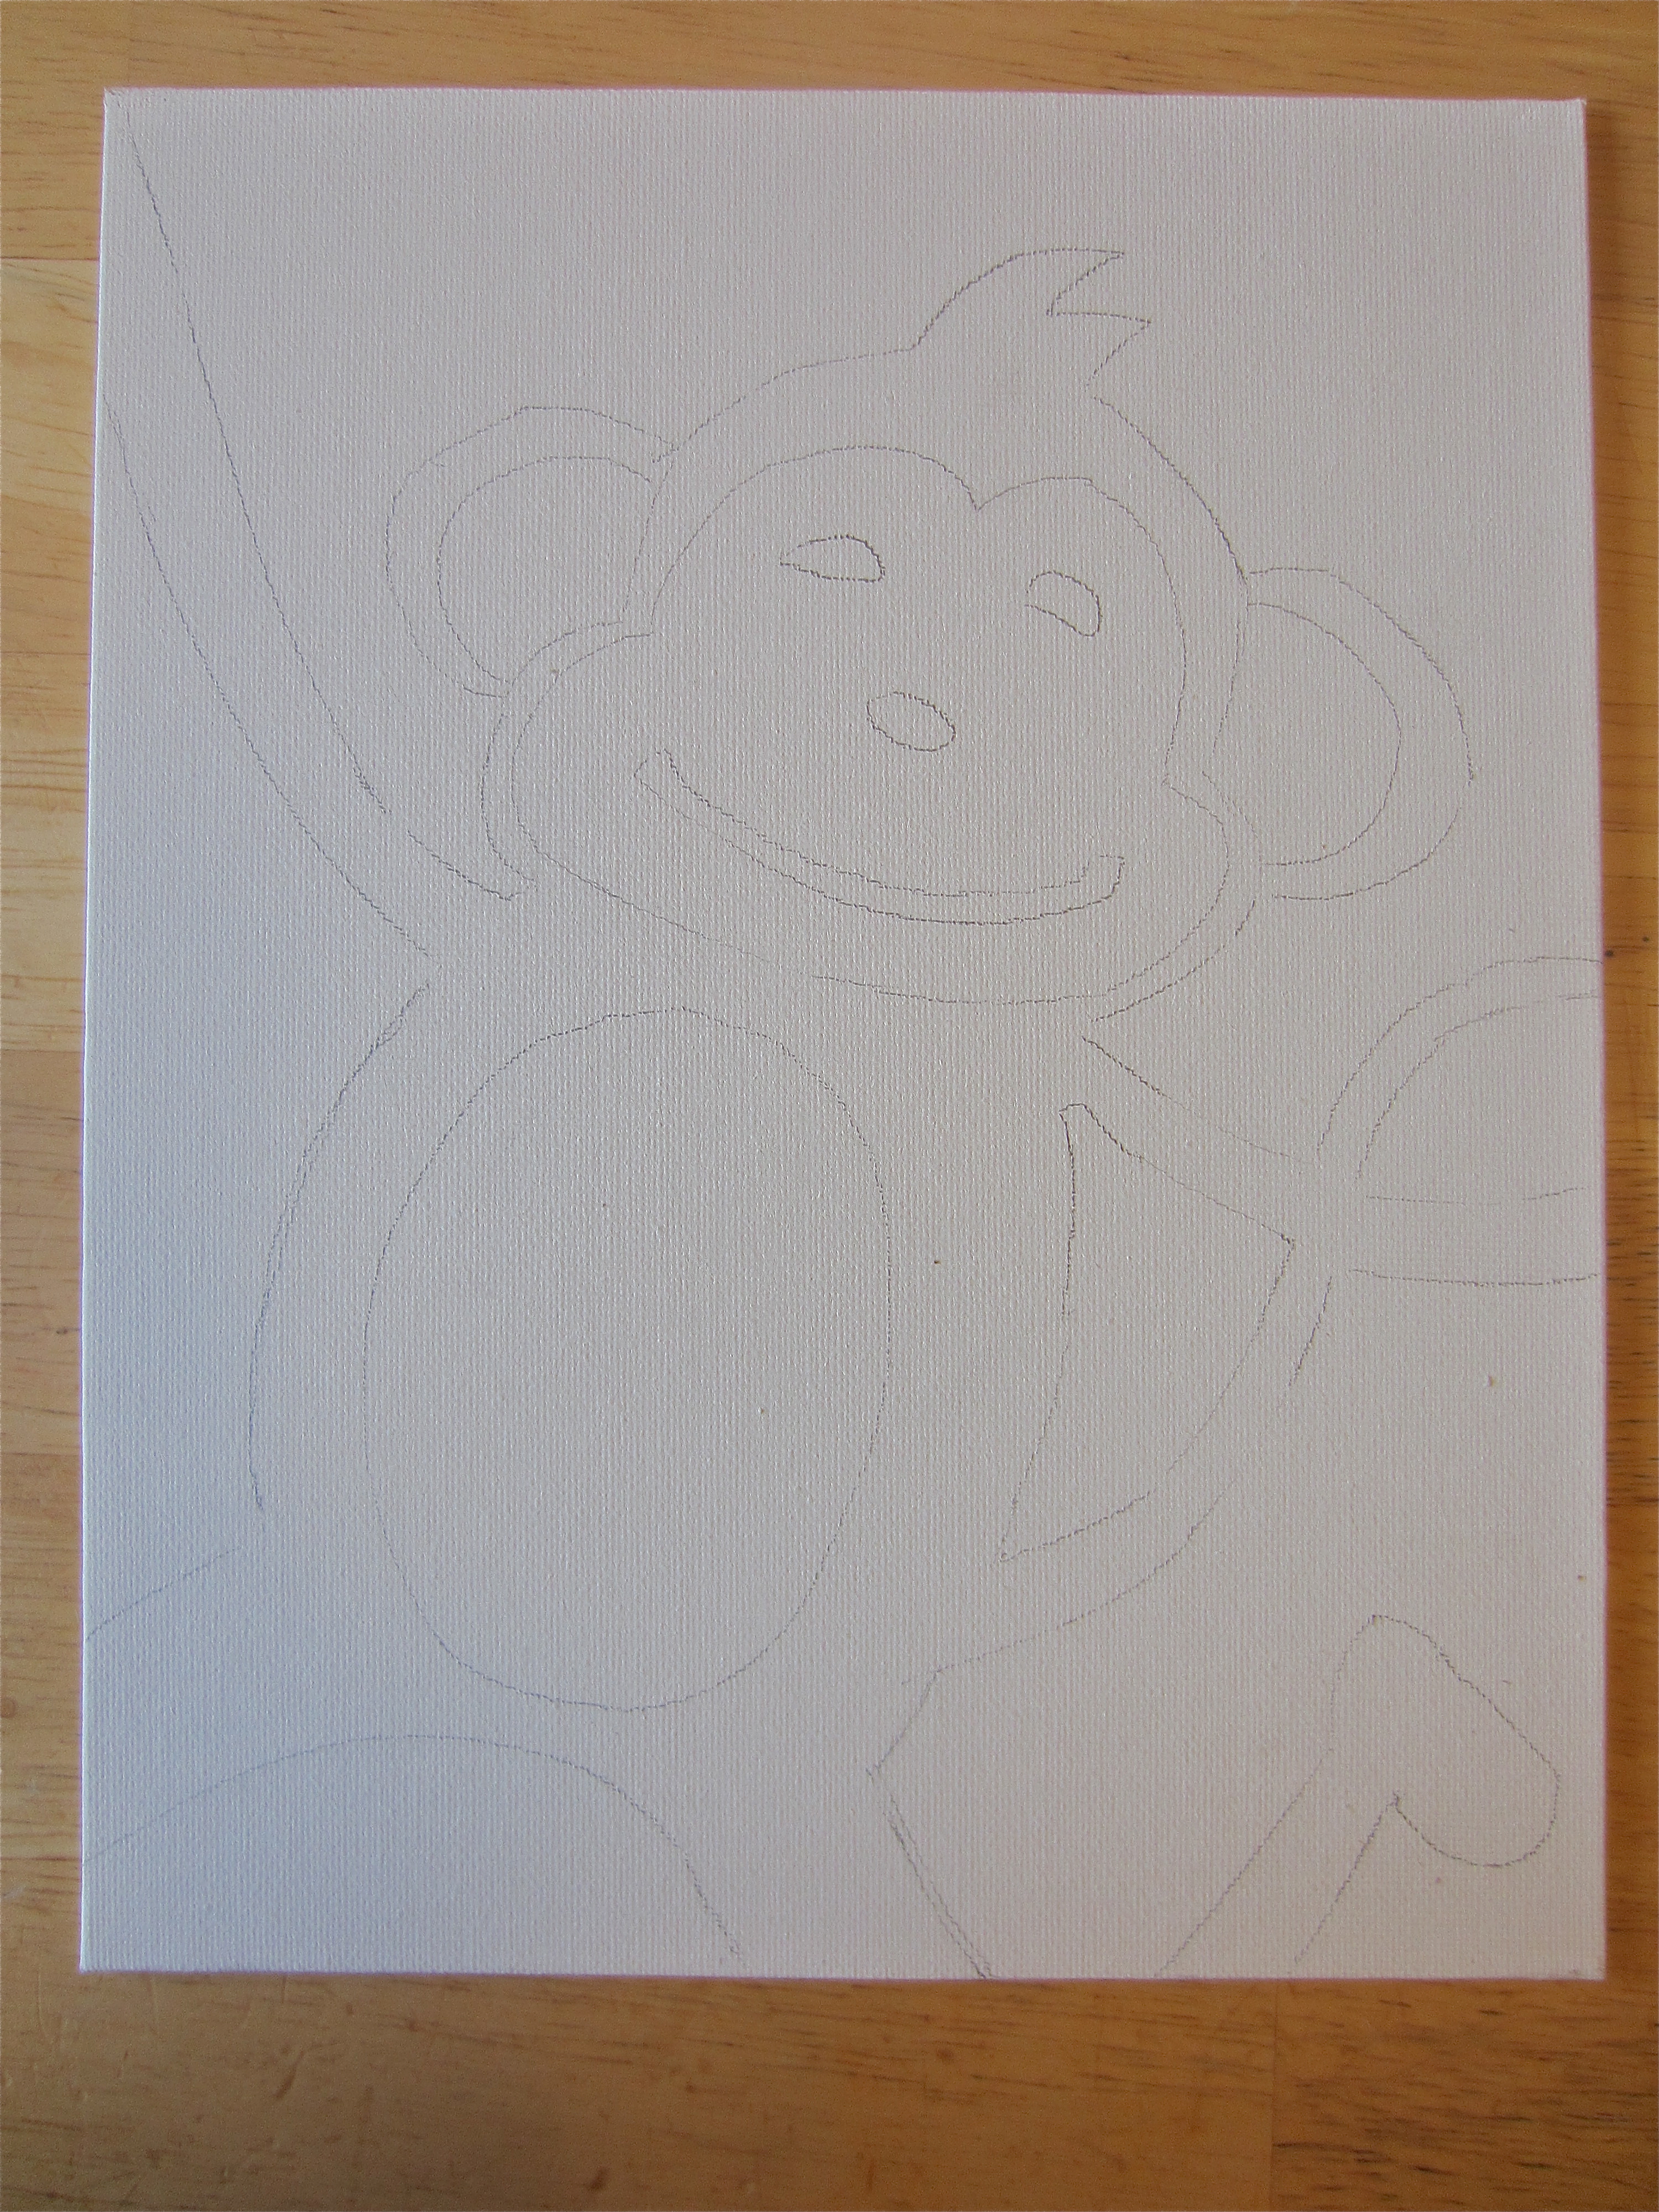 Then I transferred the stencil, along with some details onto an 8×10″ canvas board. Sometimes I use mat board too- heck, I’ve even used a cereal box!
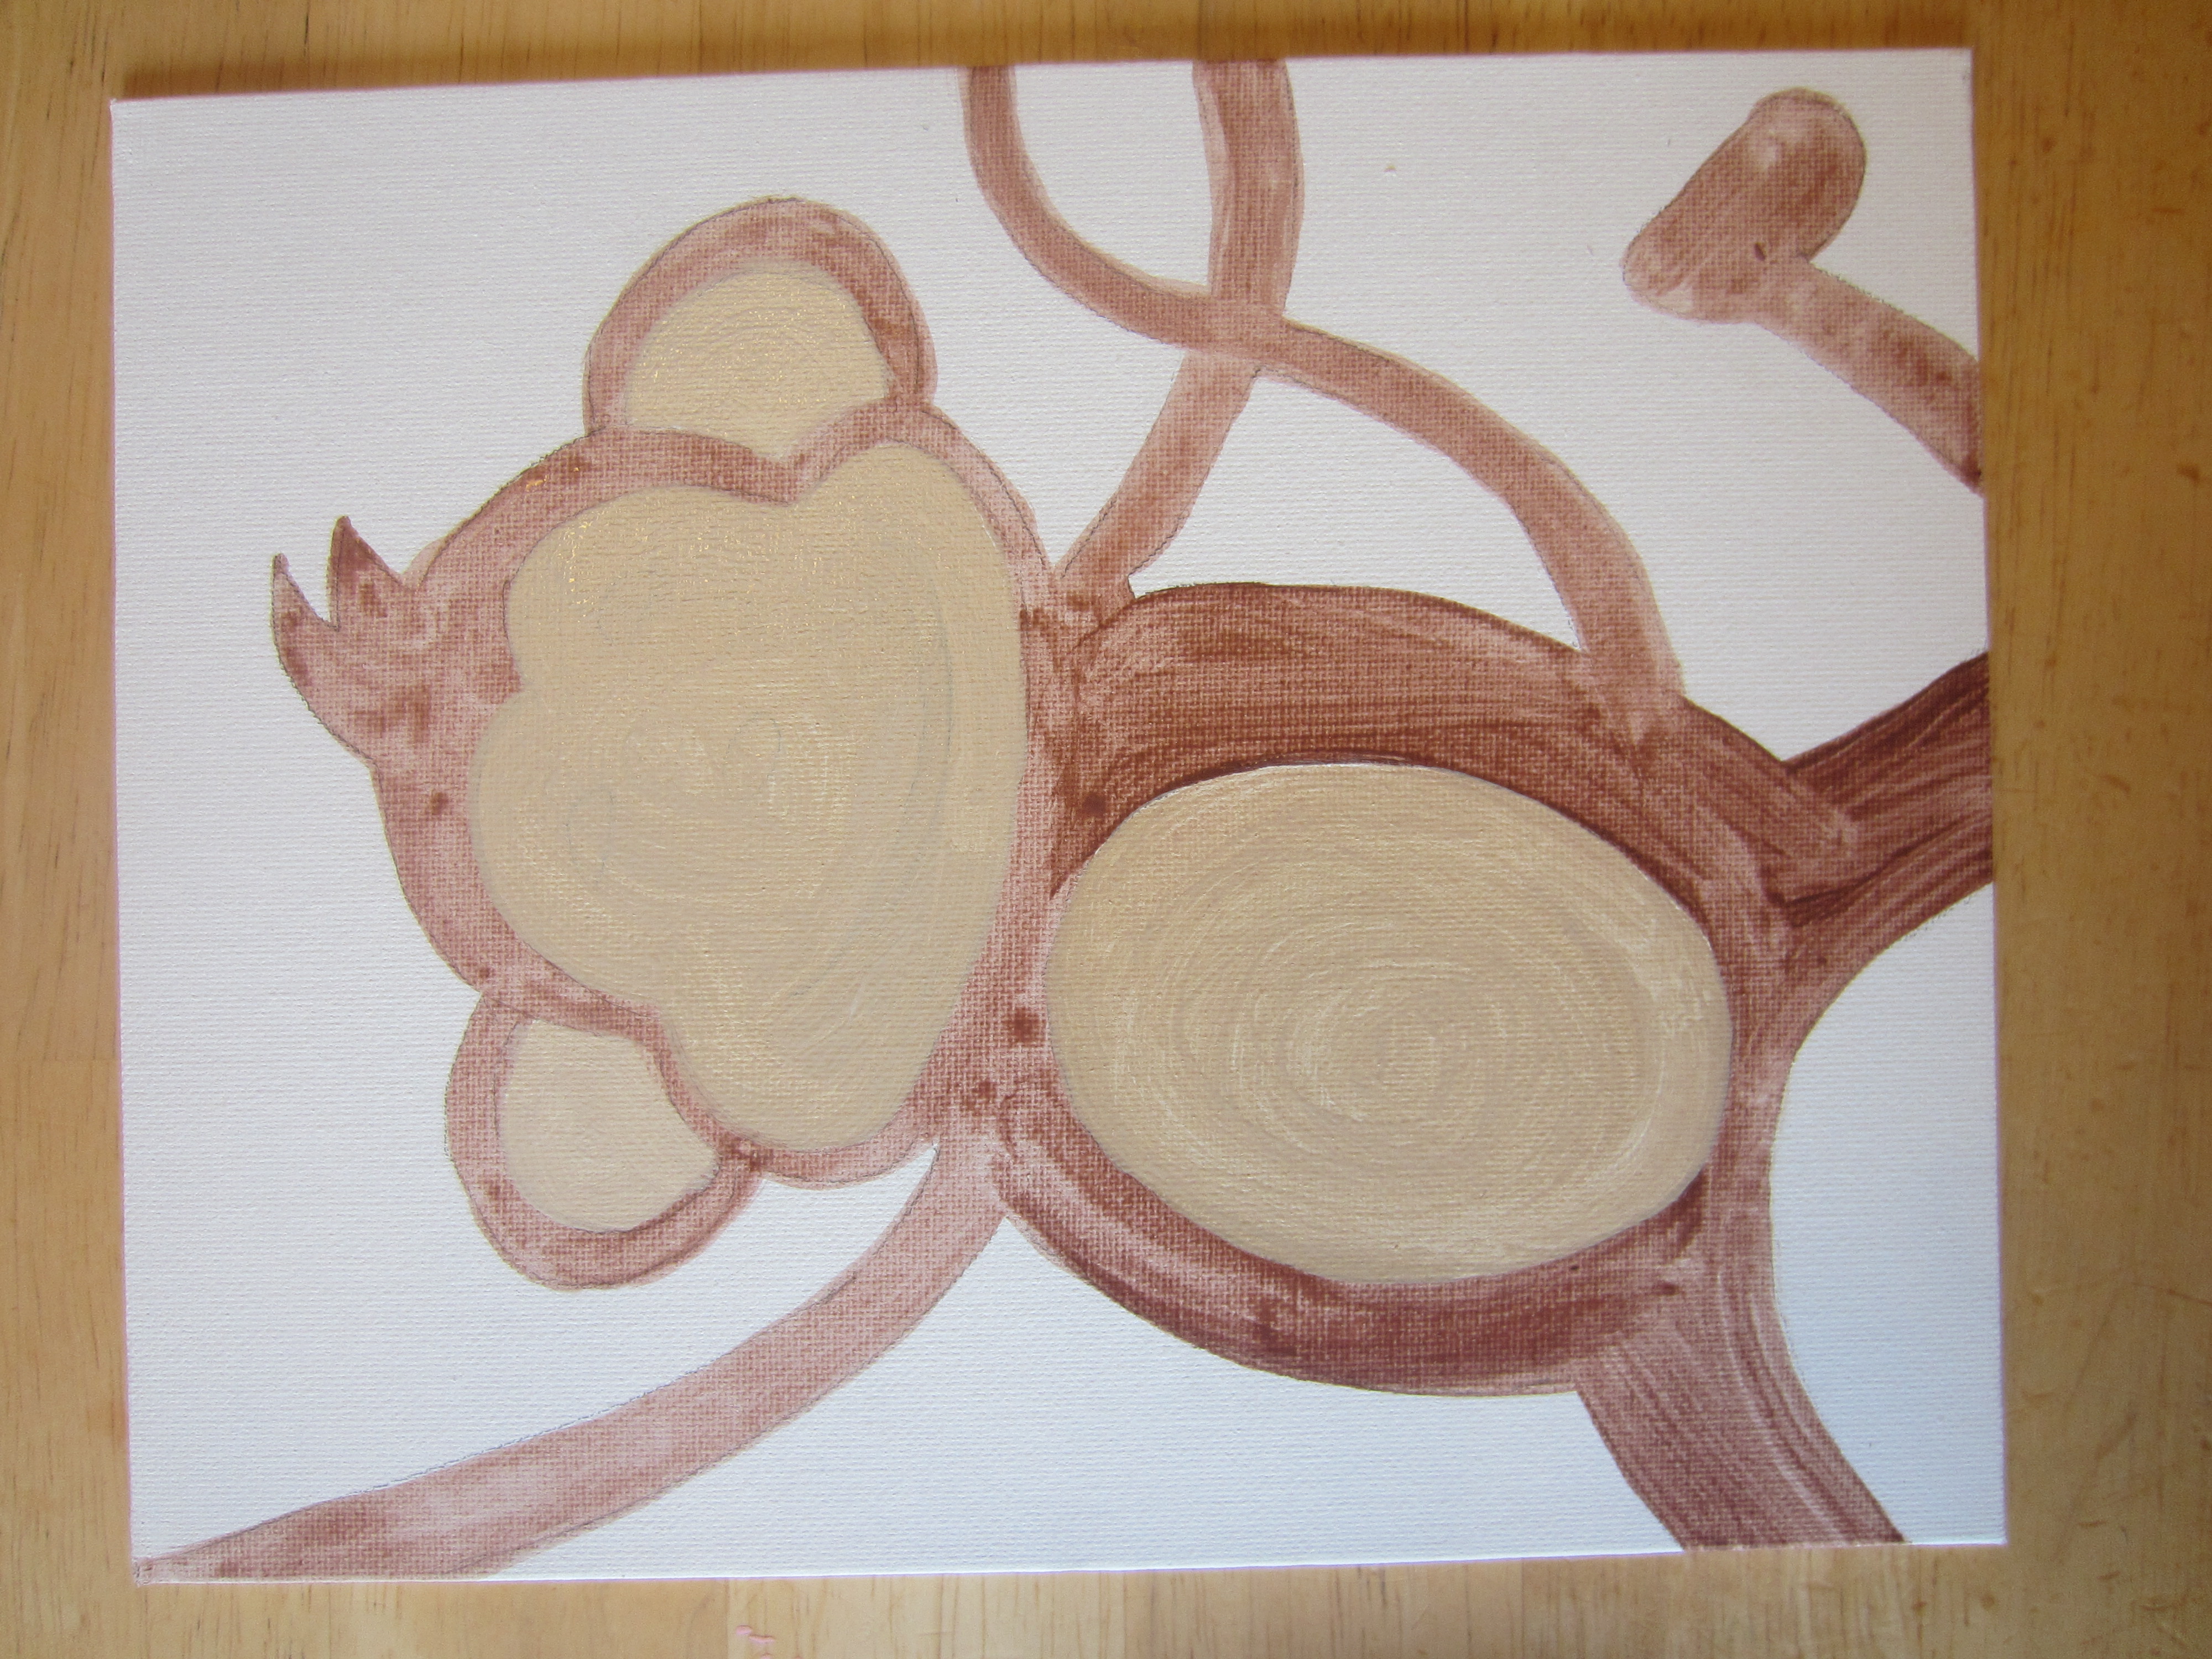 Next I added a quick coat of paint to Mr. Monkey, which did not have to be perfect- it is just to make sure that no white background shines through the buttons in the end.
 Now it was on to the buttoning!!!! I sat my fat, pregnant self on the couch, and got ready… I can’t believe I’m already 35 weeks pregnant! Baby #5 sure went a lot faster than the first four!!!
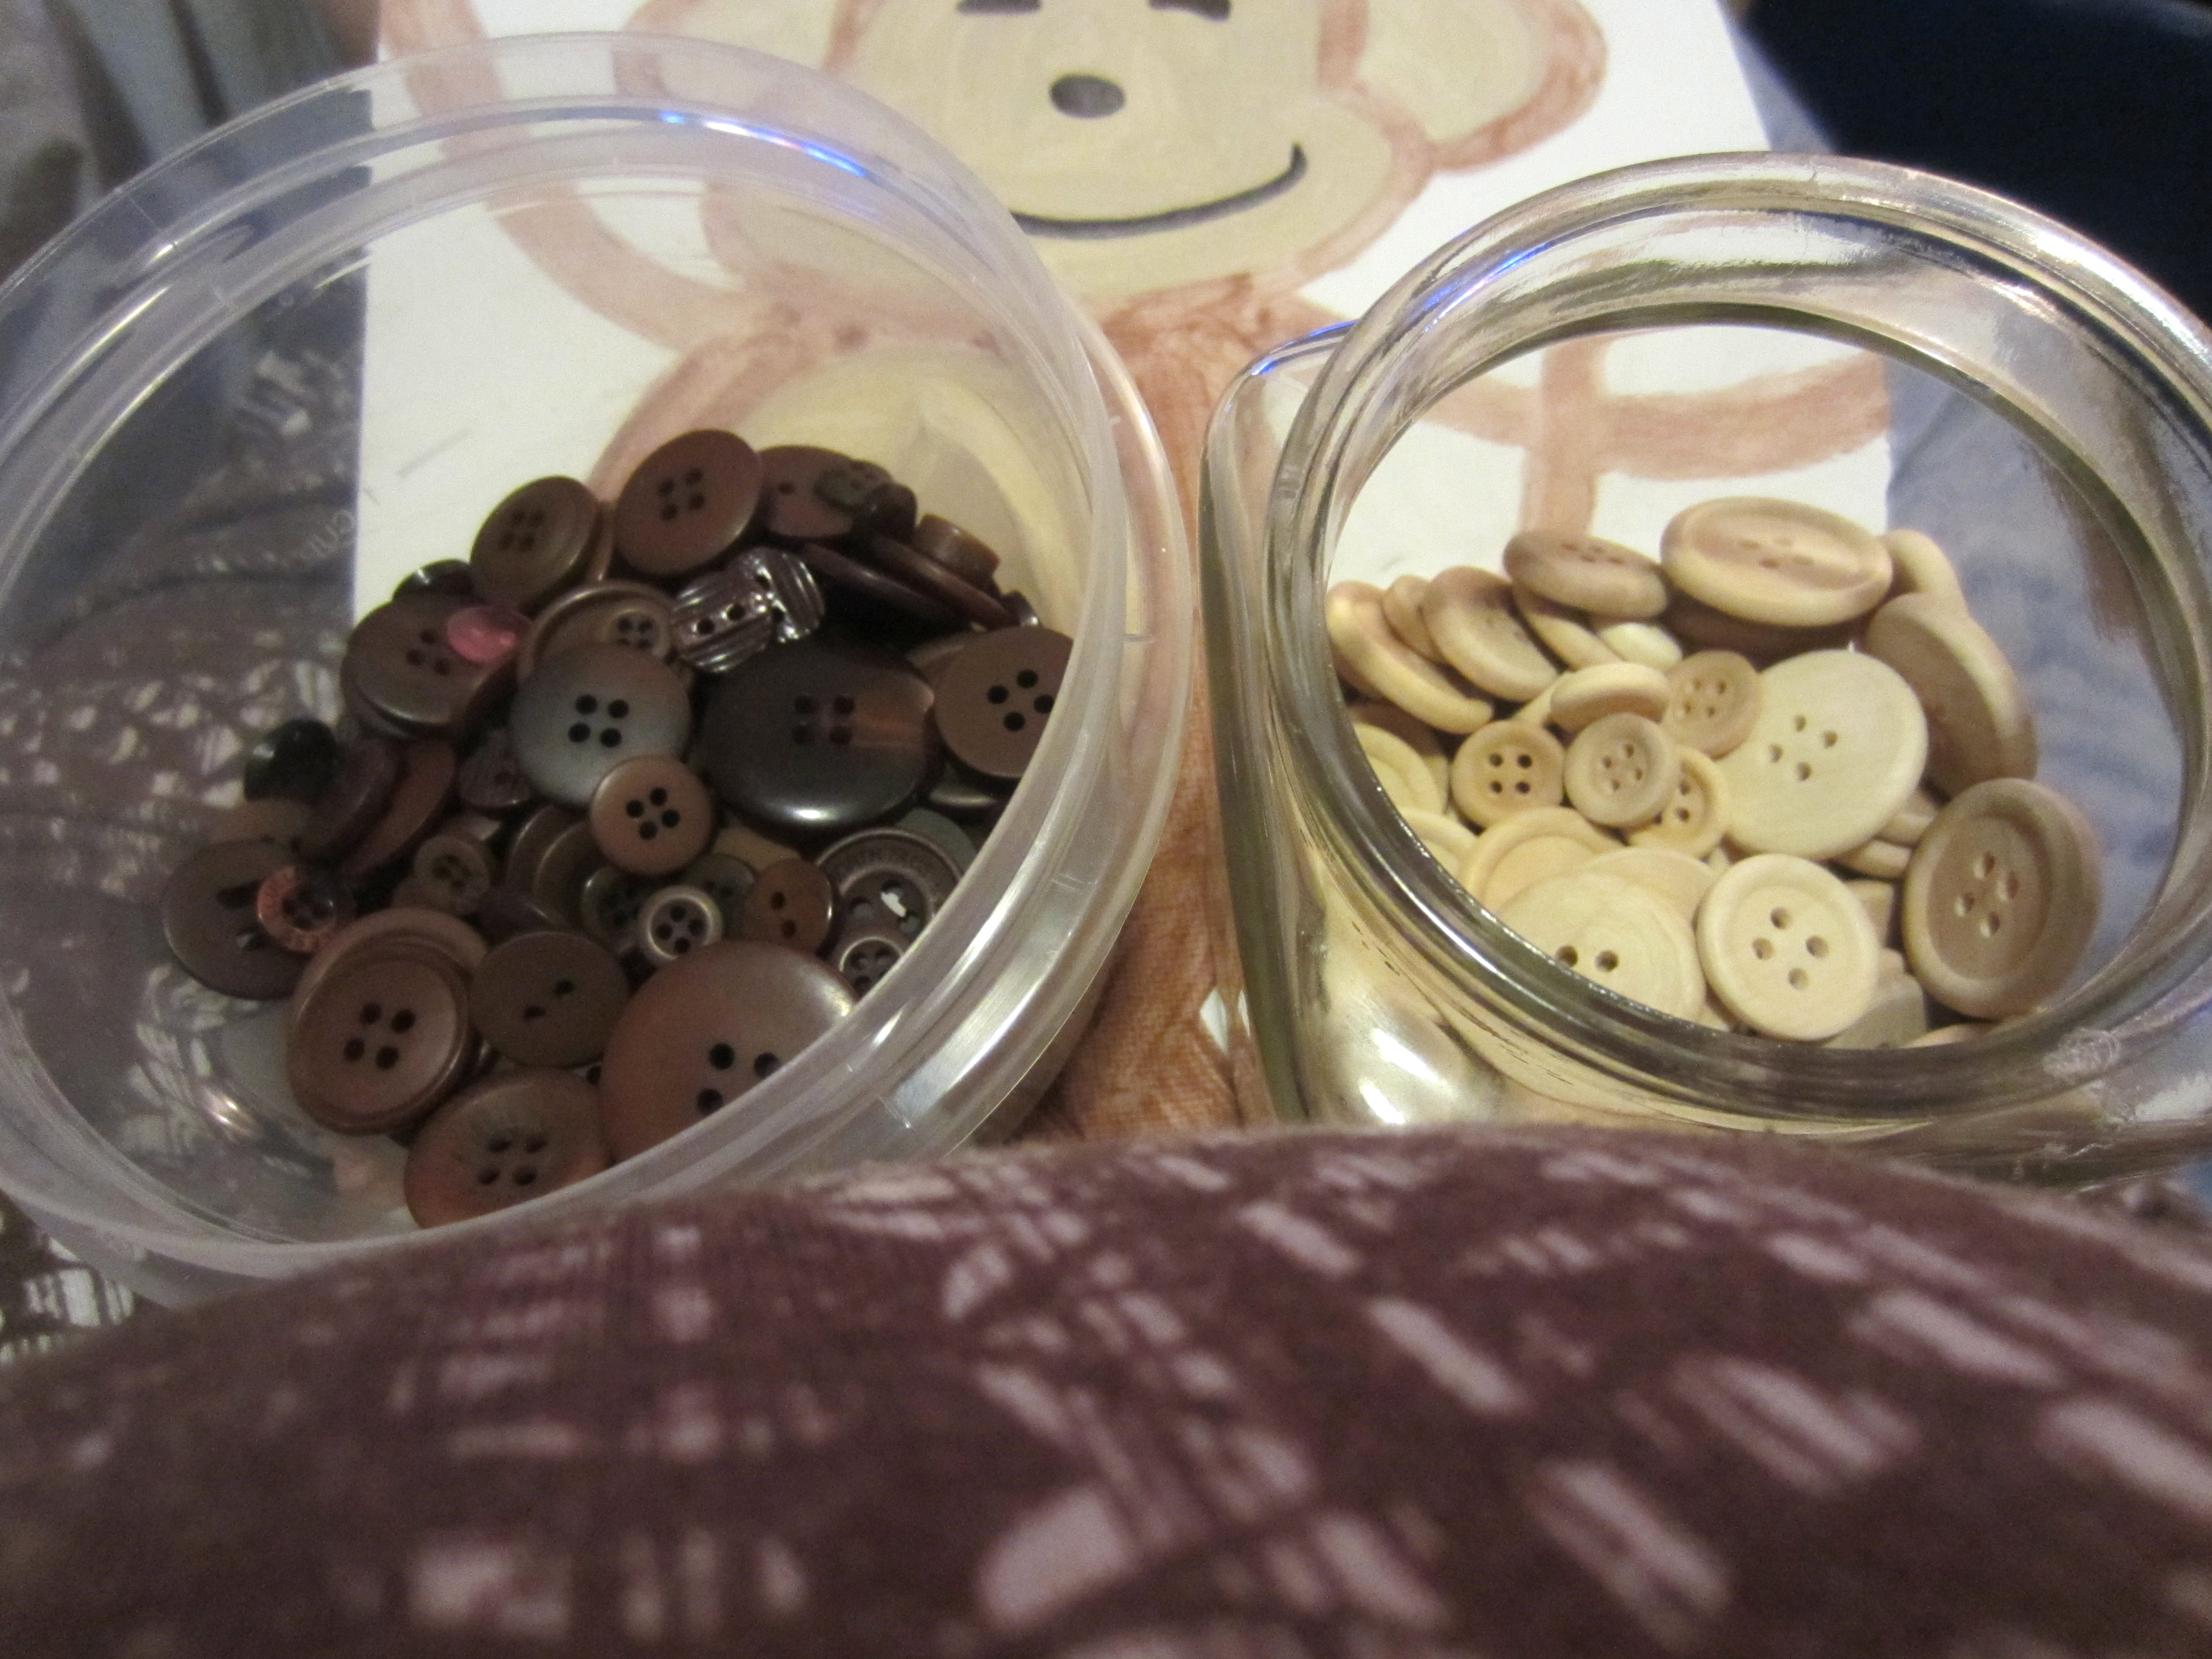 For this lil guy I used some dark brown buttons, and some very cute light wooden buttons that I got from a friend! I’ve seen them at certain dollar stores too.
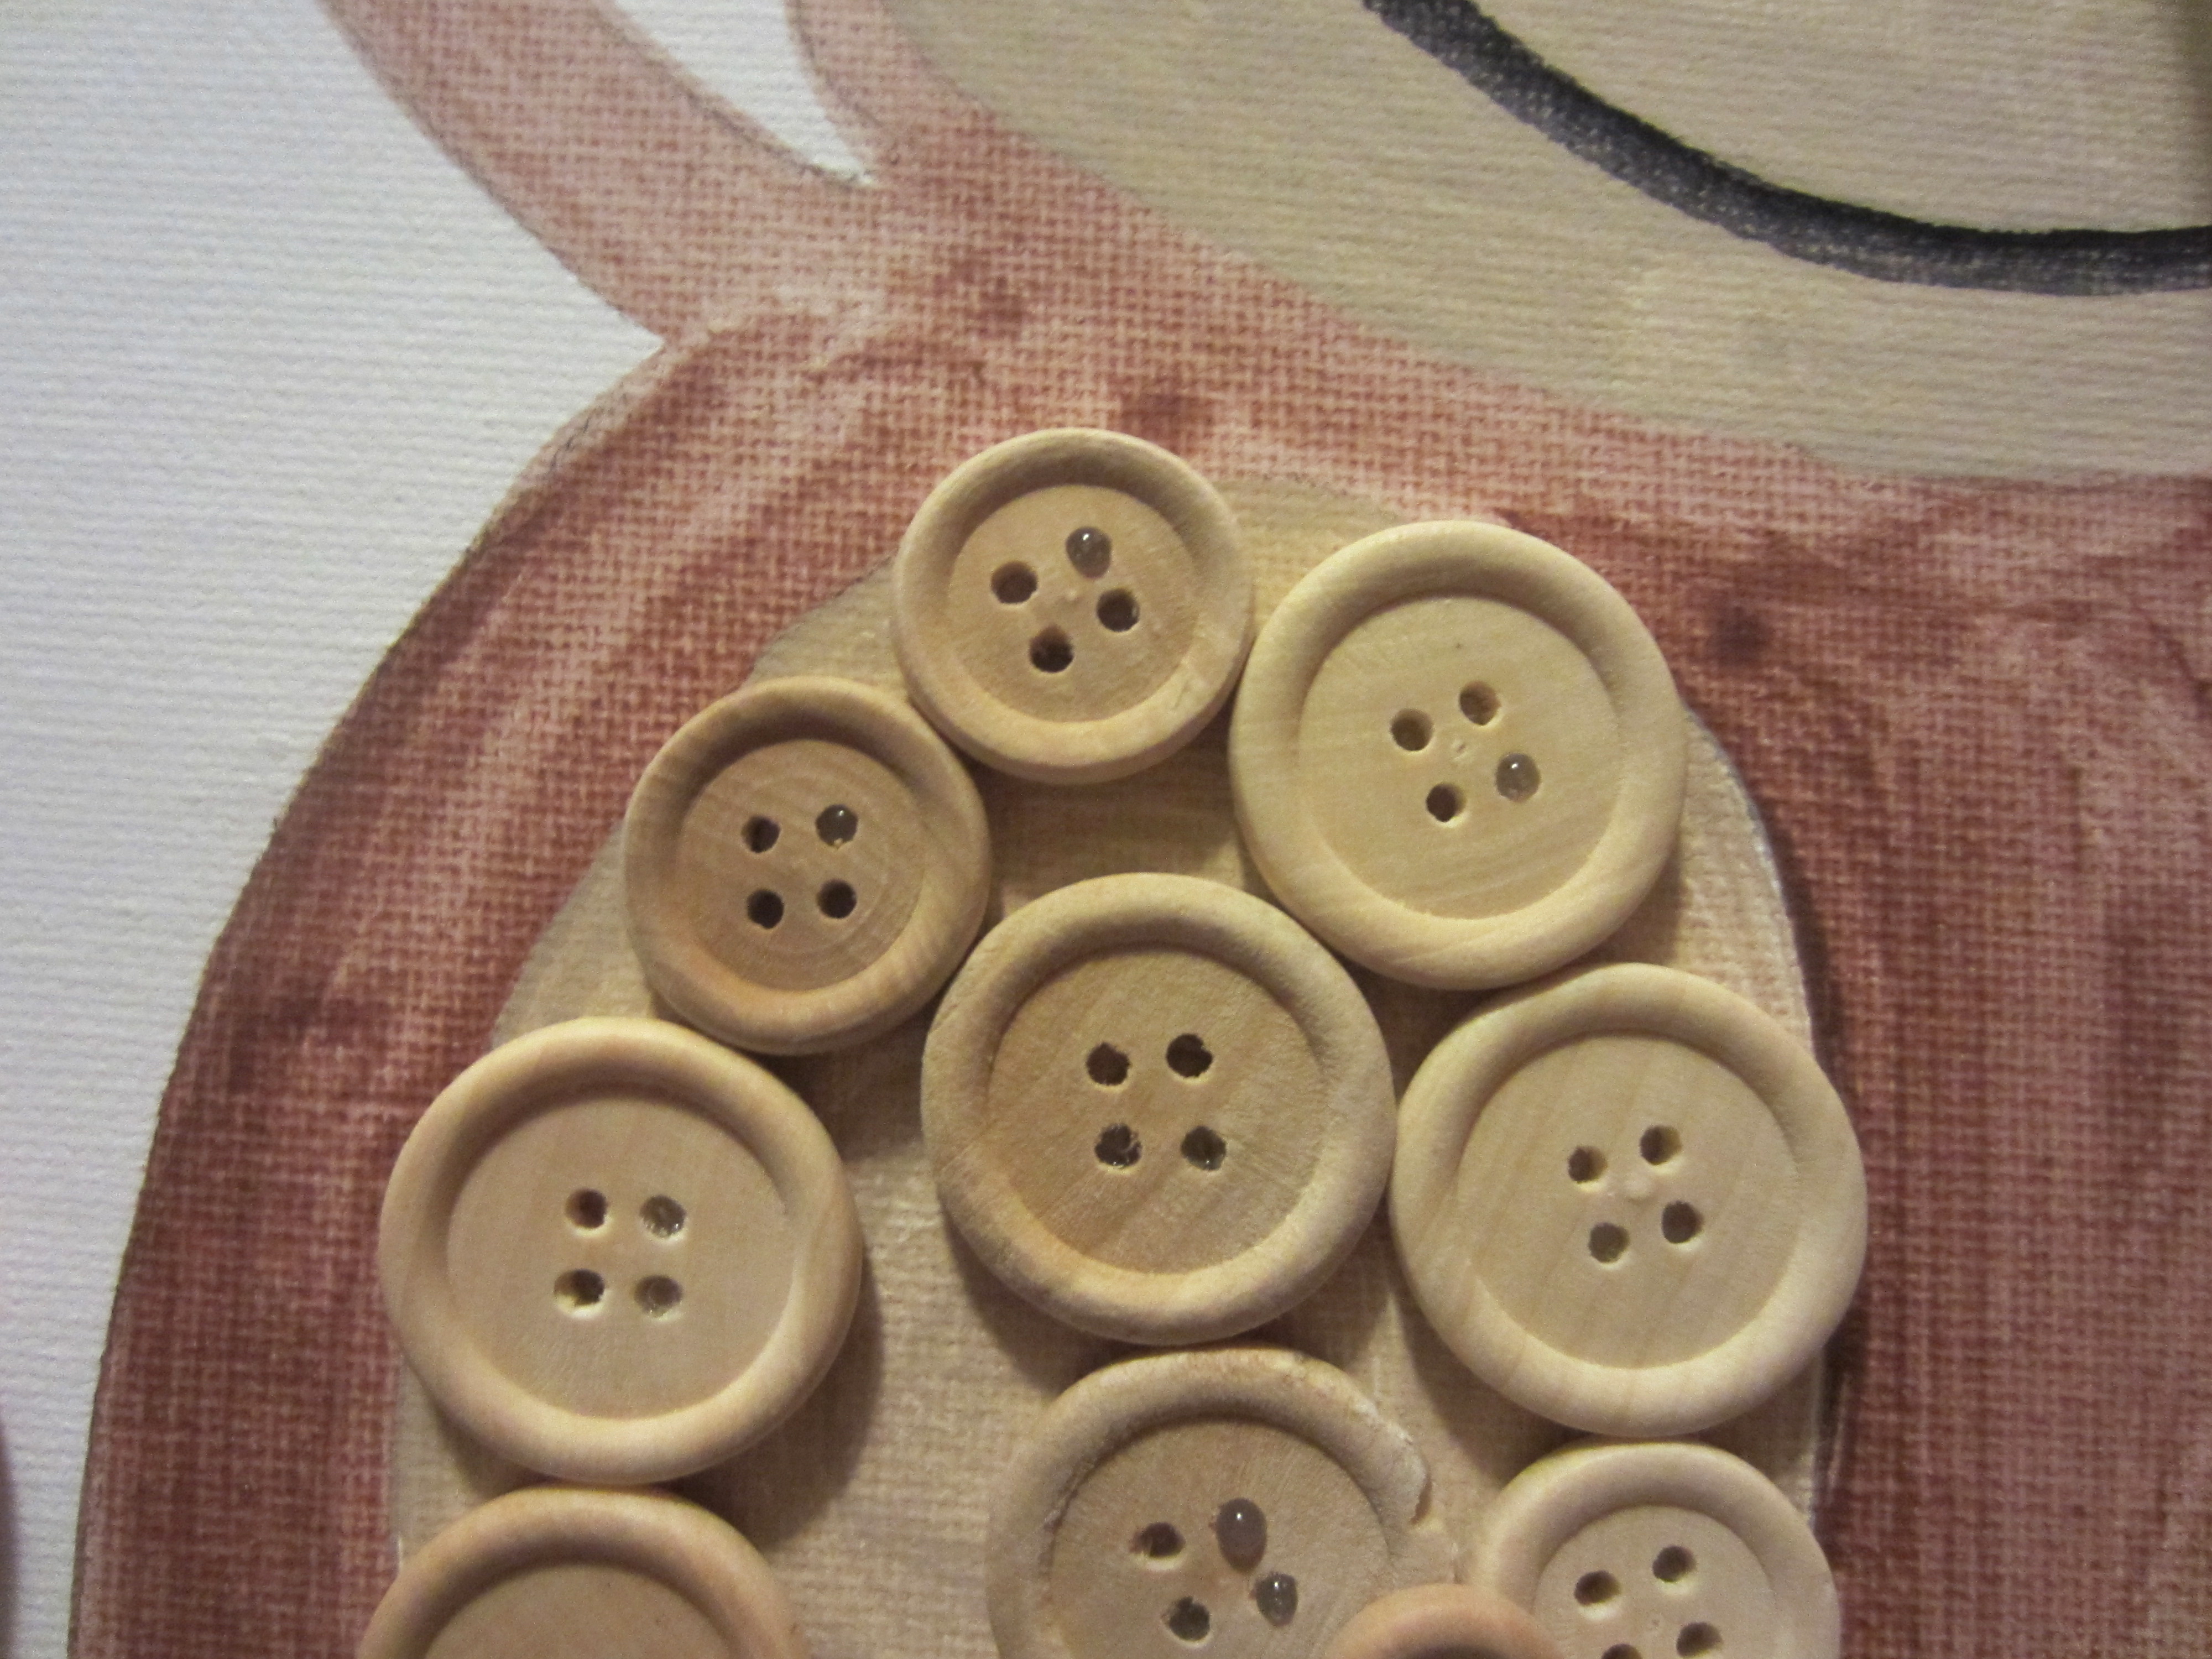 Step 1 with the buttoning is to work on the first layer. Start around the edges, getting as close as you can to the outline of the particular area you are covering. Then move to the inside. I use a glue gun to do this step, even though I’ve burned myself so bad with it recently- I’m telling you, glue-gunning should be classified as an extreme sport. Check out this blister:
 It doesn’t look that bad, but it went all second-degree on me! Check out that sweet lil horse while yer at it 😉
Back to the monkey… again….
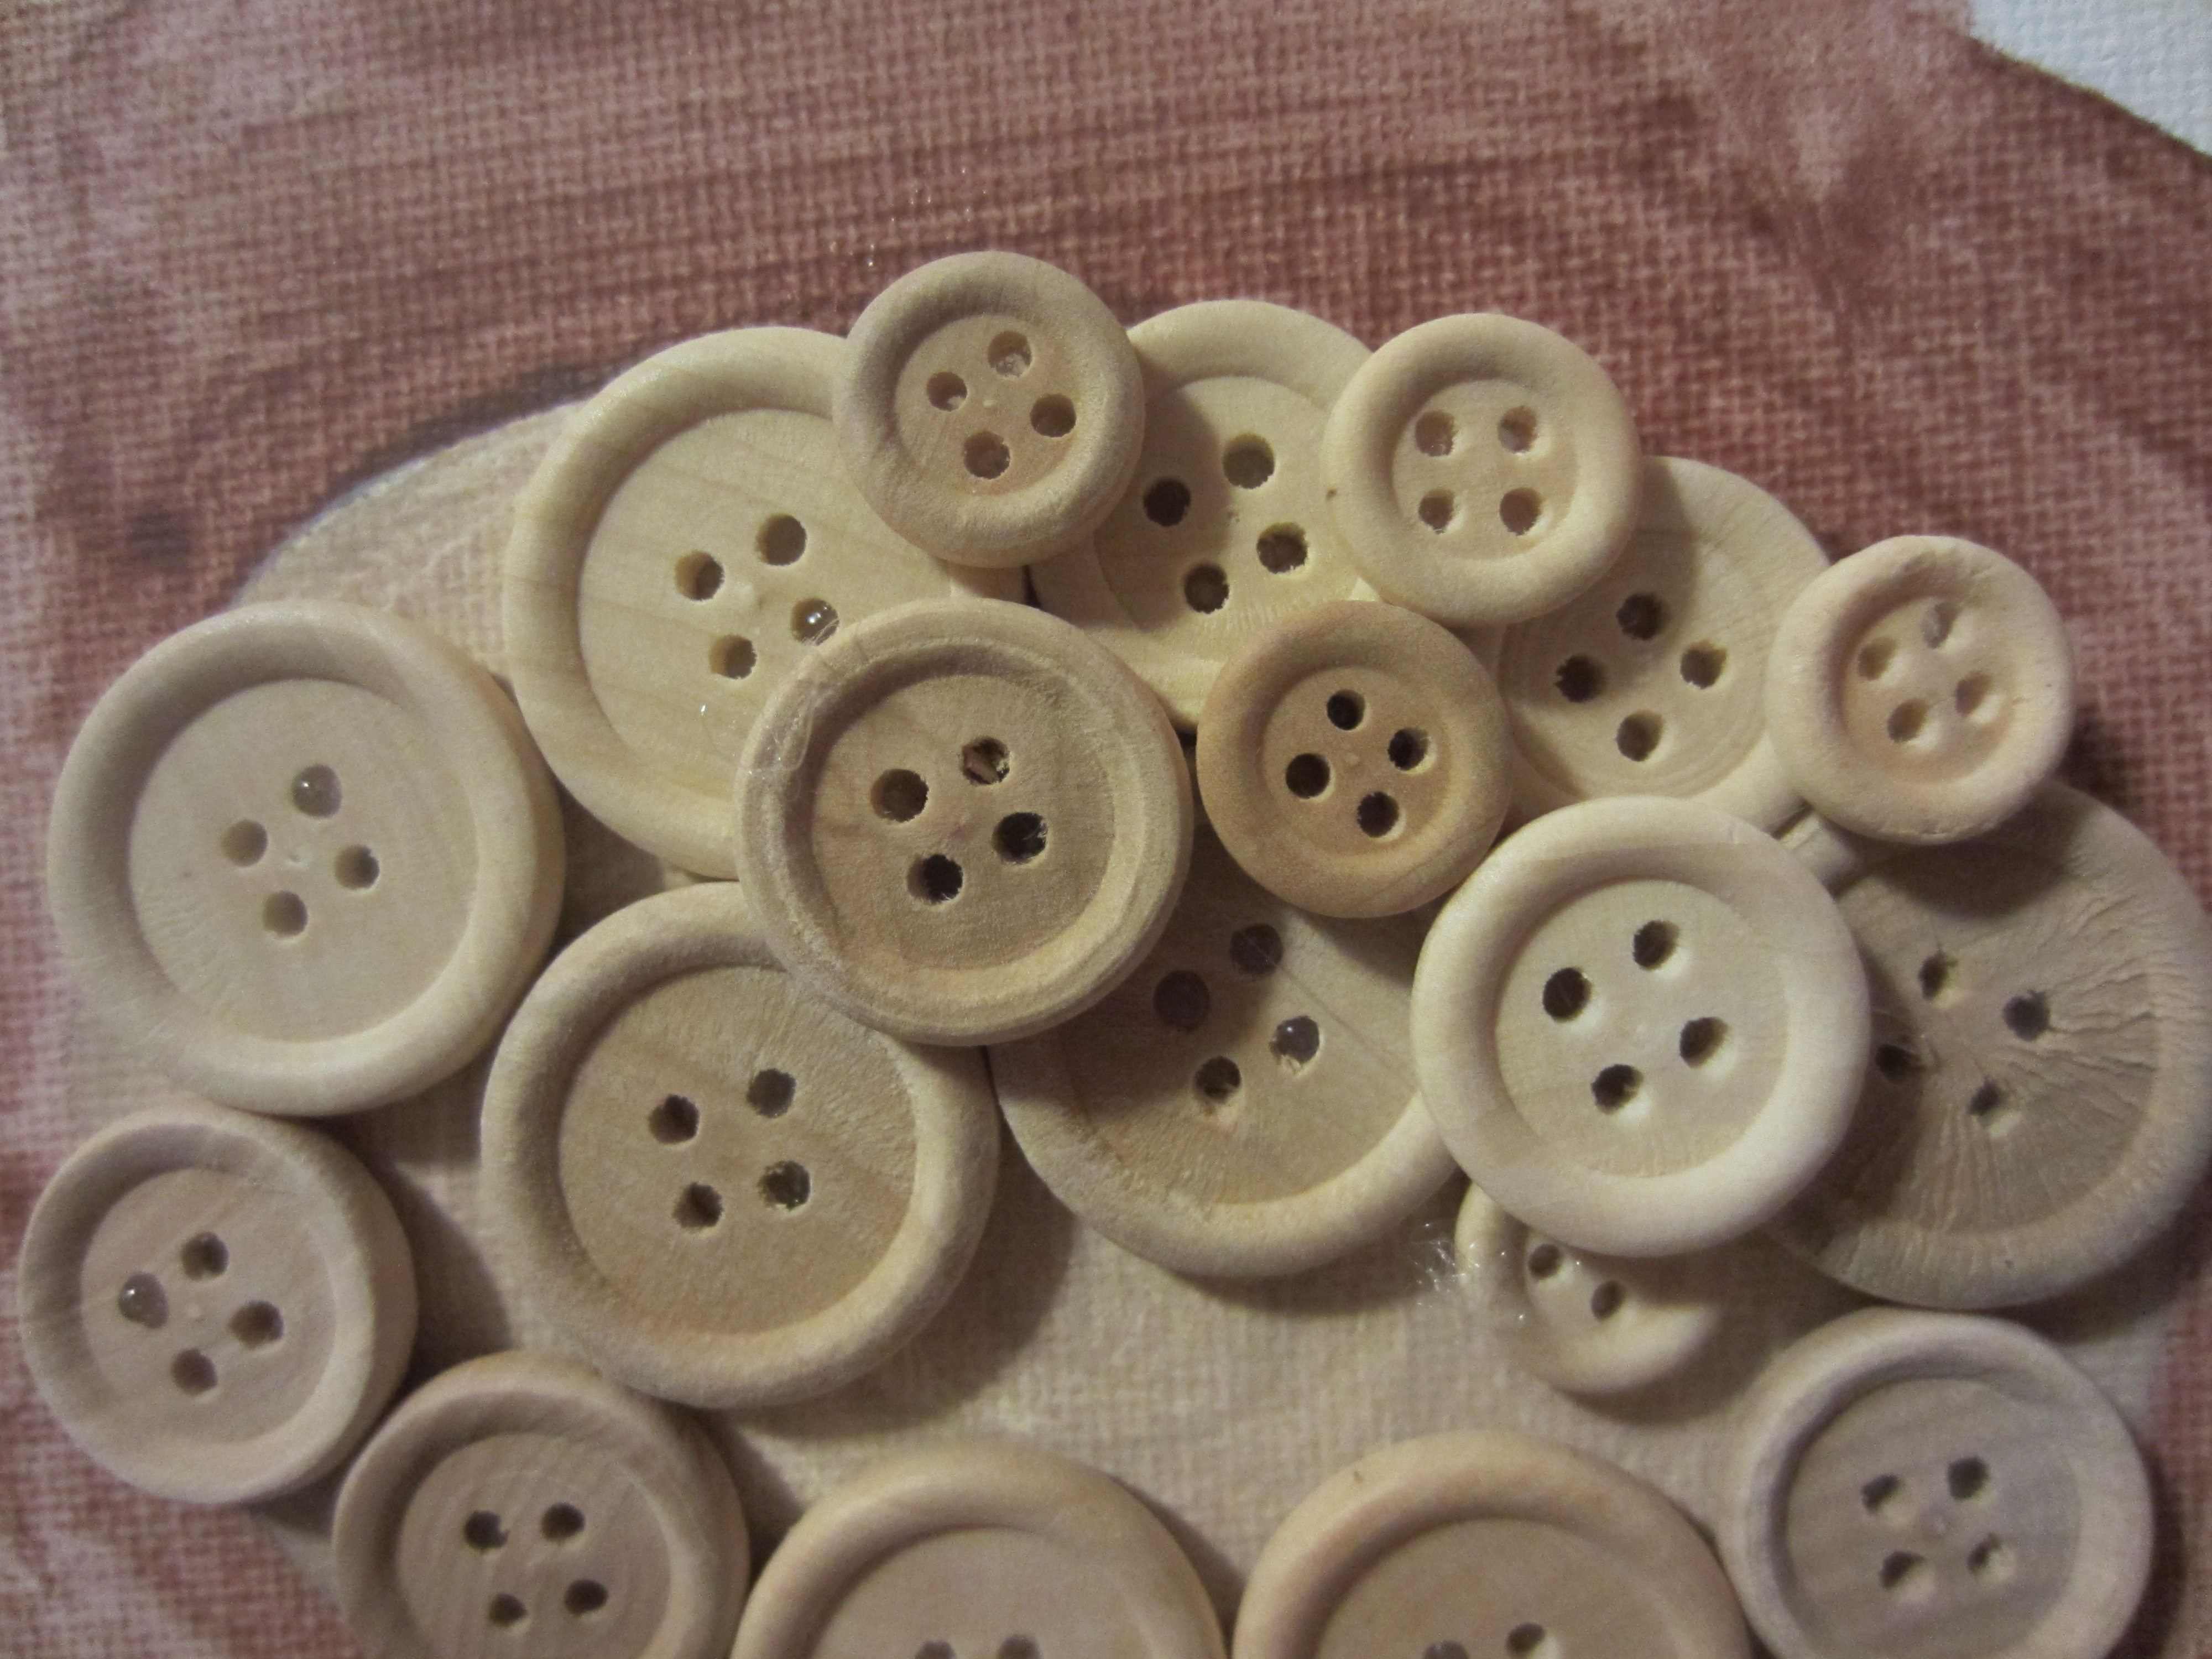 After your first layer of buttons, which is meant to cover as much space as possible without overlapping anything, start using more buttons to cover up any of the background and to straighten out the edge lines. Check it out:
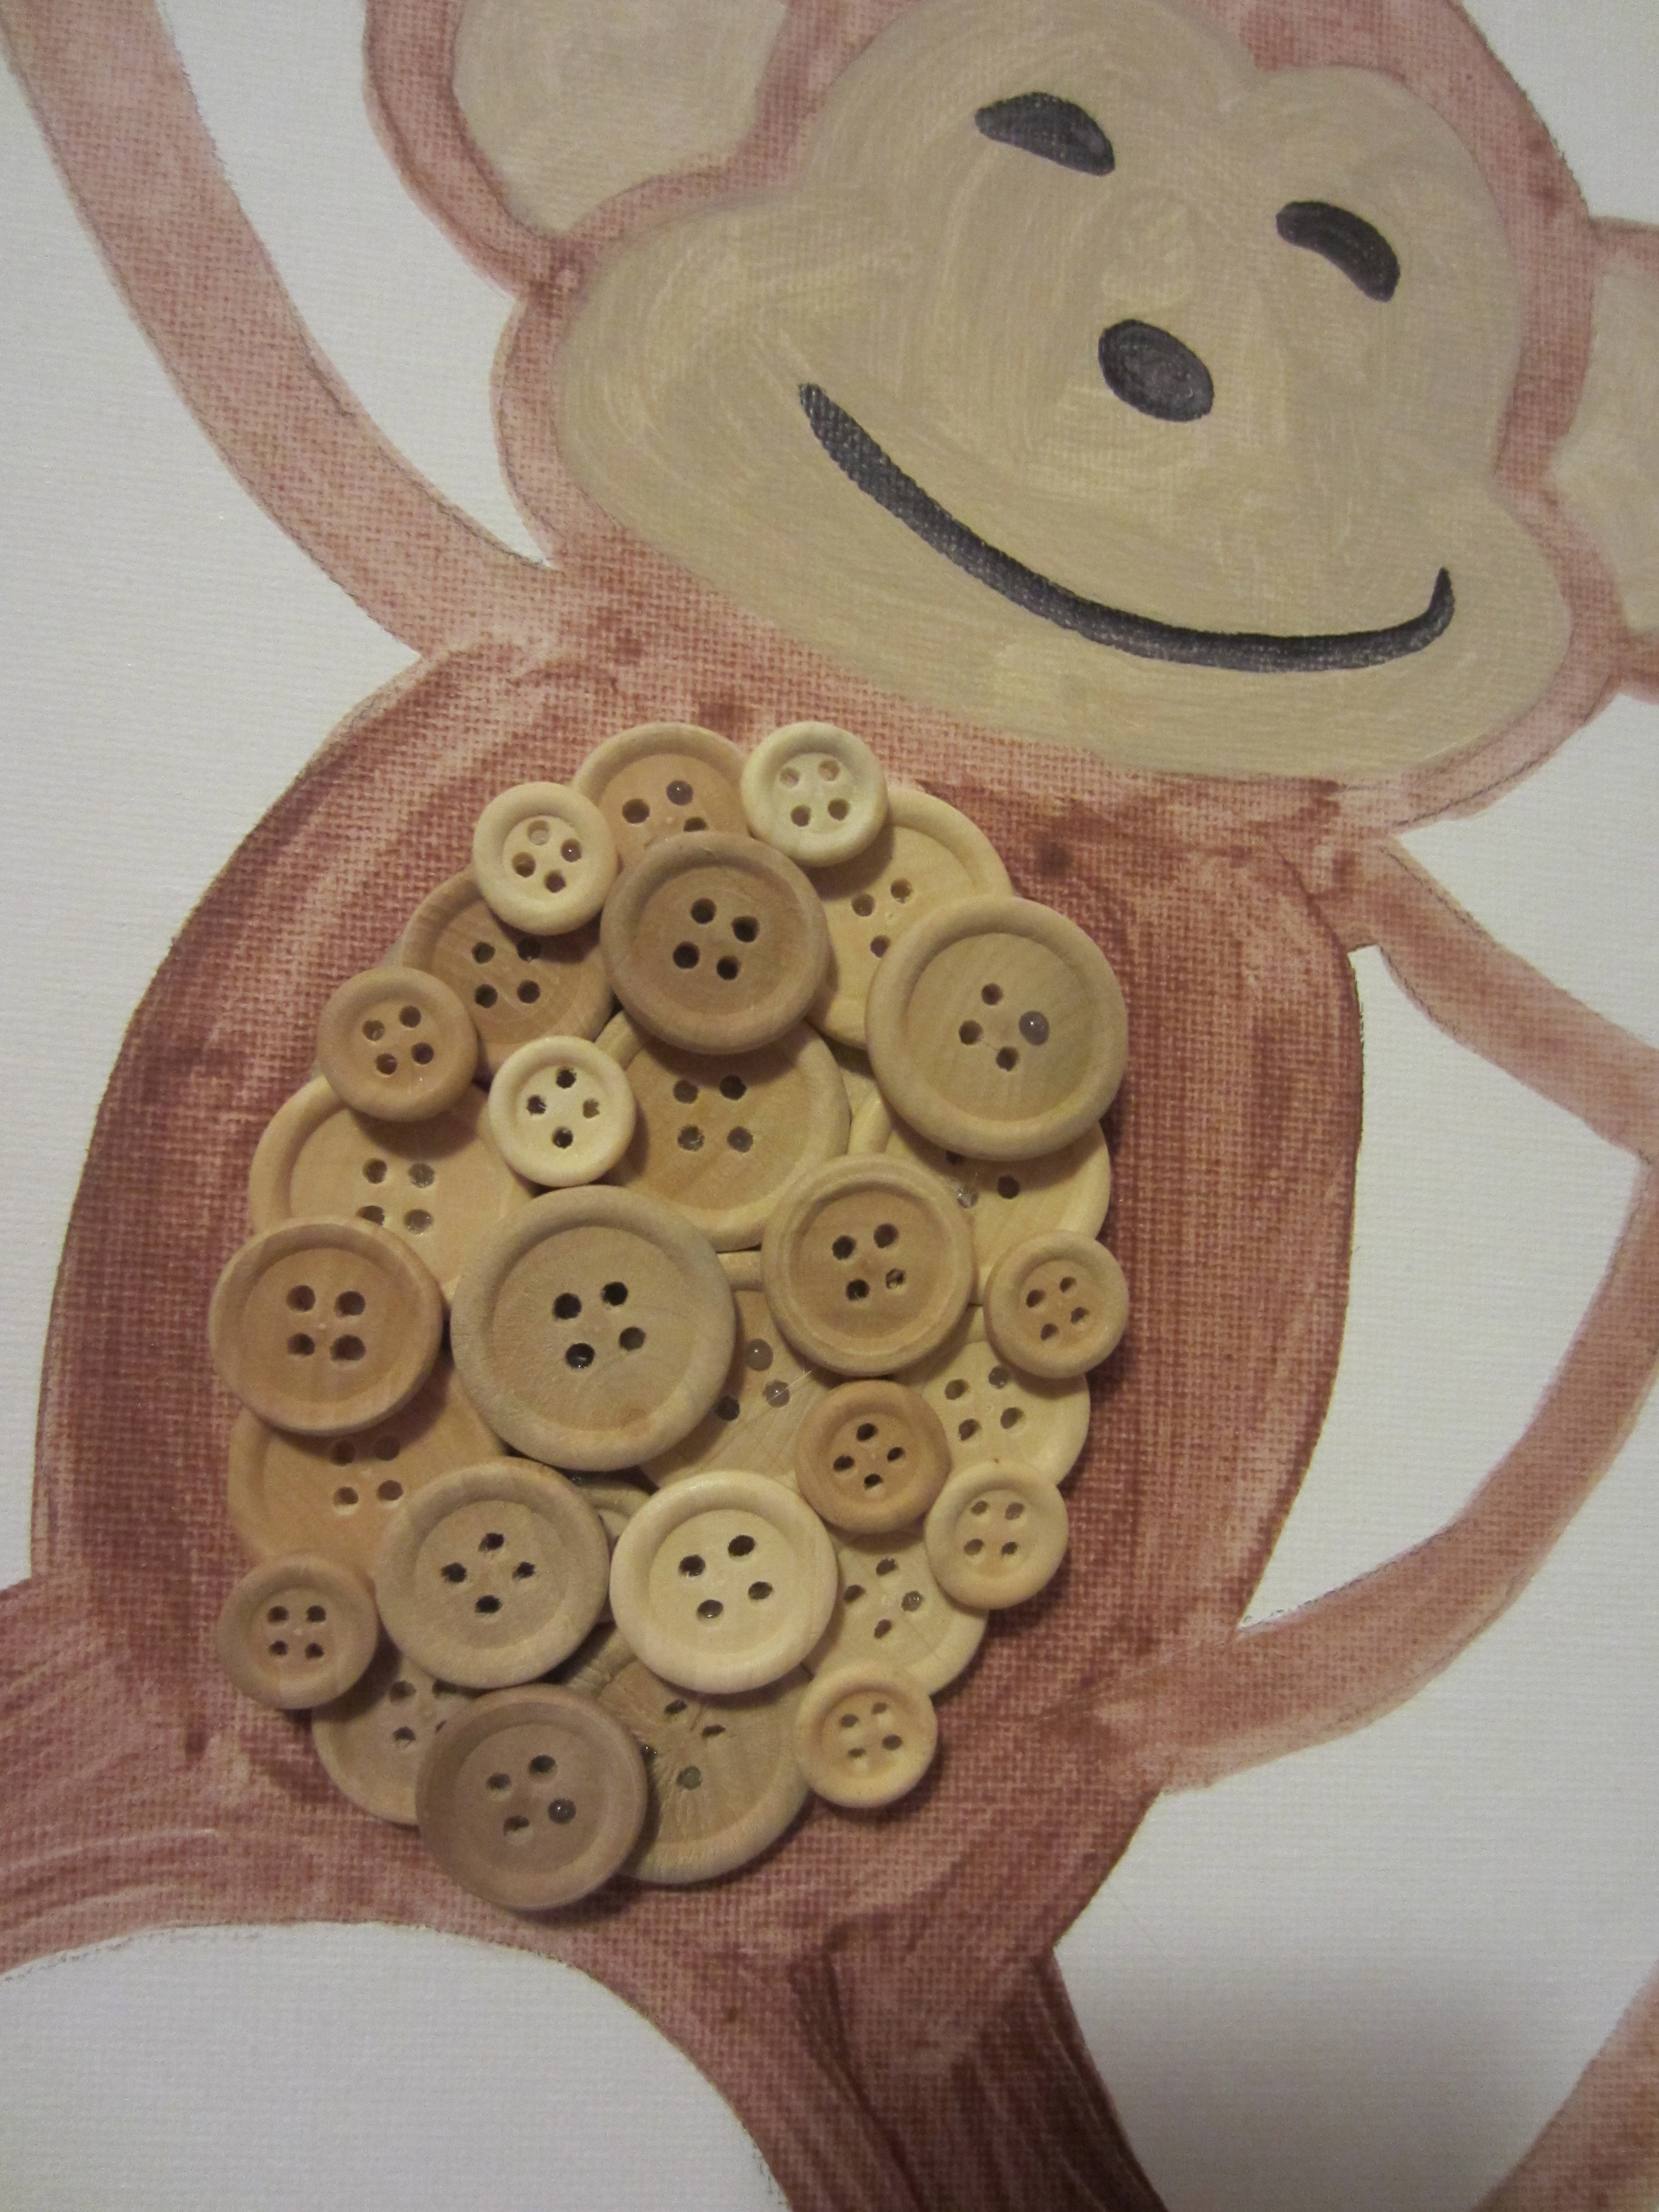 Aw, his little tummy. I try to keep it to 2 layers- I’ll use three layers if I need to, but if you try to find buttons that are a good fit, 2 layers should be doable!
 Since this monkey was made up of different color sections, he was a bit more challenging to do than one of my more simple button creatures, such as my elephant. So if you are just starting out, I’d recommend that you try your hand at a more simple critter- Here is my tutorial on the button elephant.
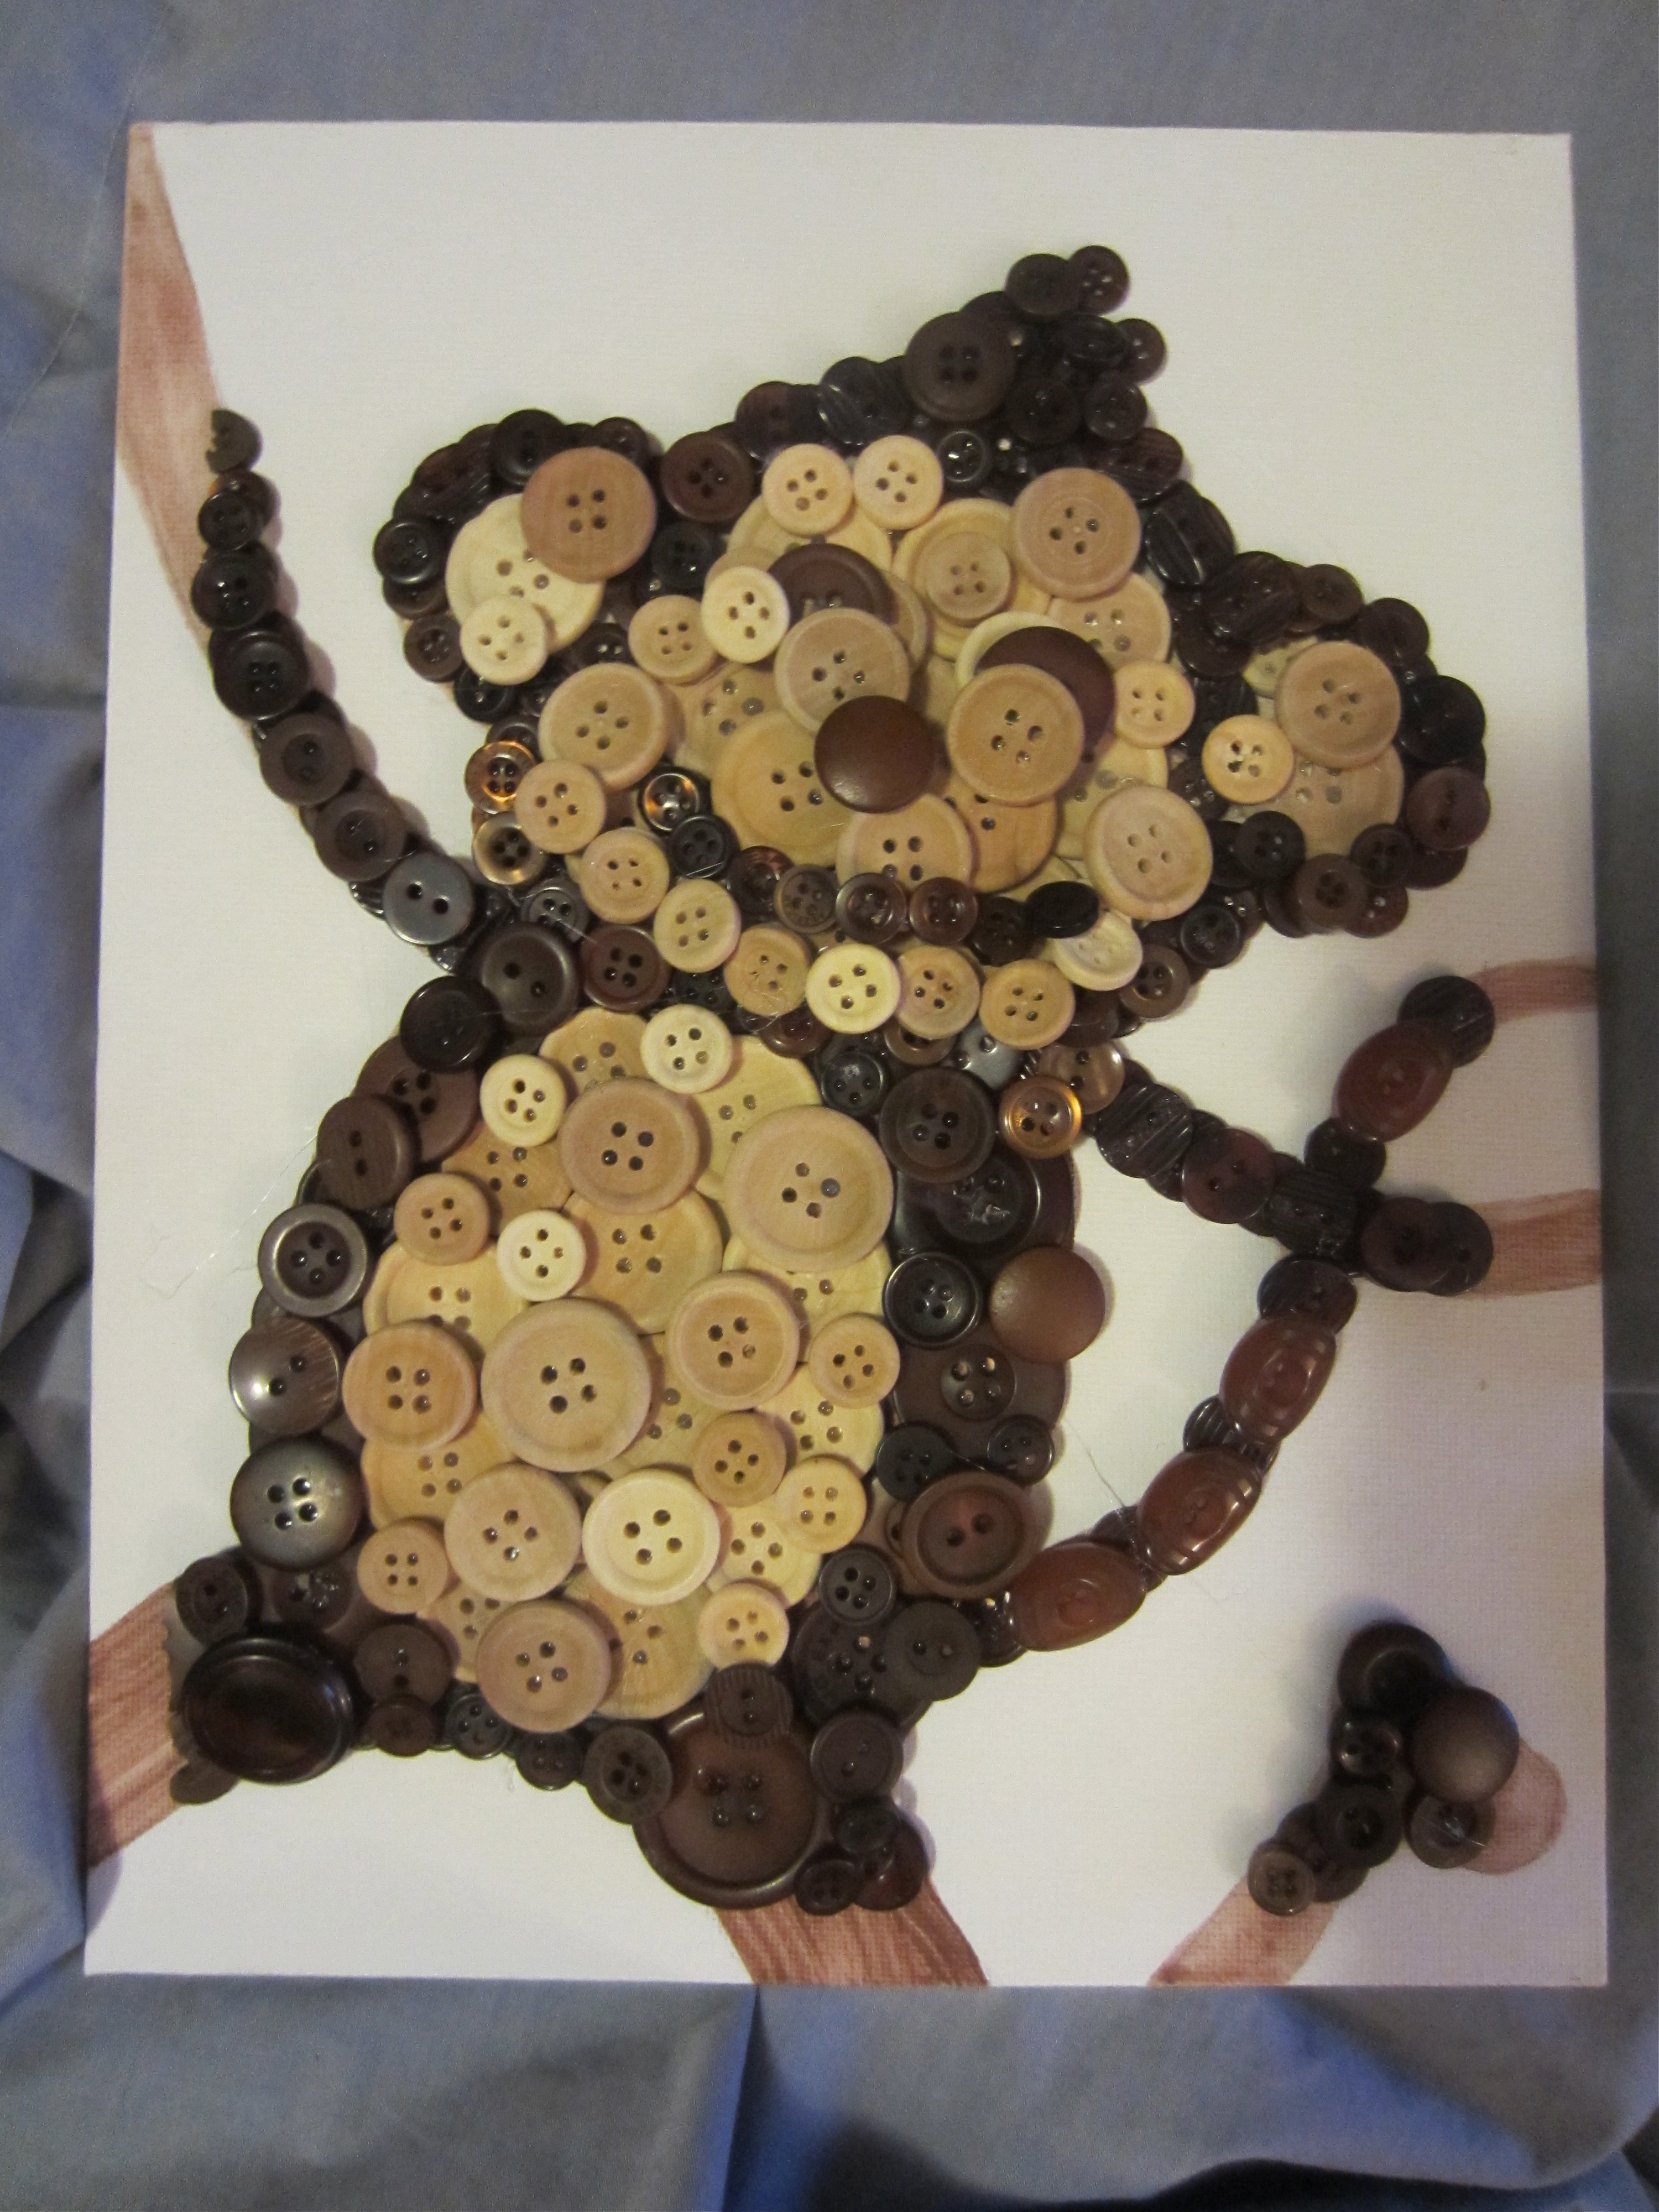
 These button animals can definitely take some button-hunting skills to find the right sized/shaped buttons! I found some neat oval-shaped ones which worked perfectly for his tail!
You should also notice that I marked off lines where the frame was going to hit the monkey- You can’t frame over buttons, so if you are making a button creature that is going to hit the edges of the frame, be mindful of where to stop buttoning!
 I even used pliers to snap a few buttons (busted buttons- what!?!?!) to make a nice, clean edge for the frame to hit.
 AND I WAS ALMOST DONE!!!
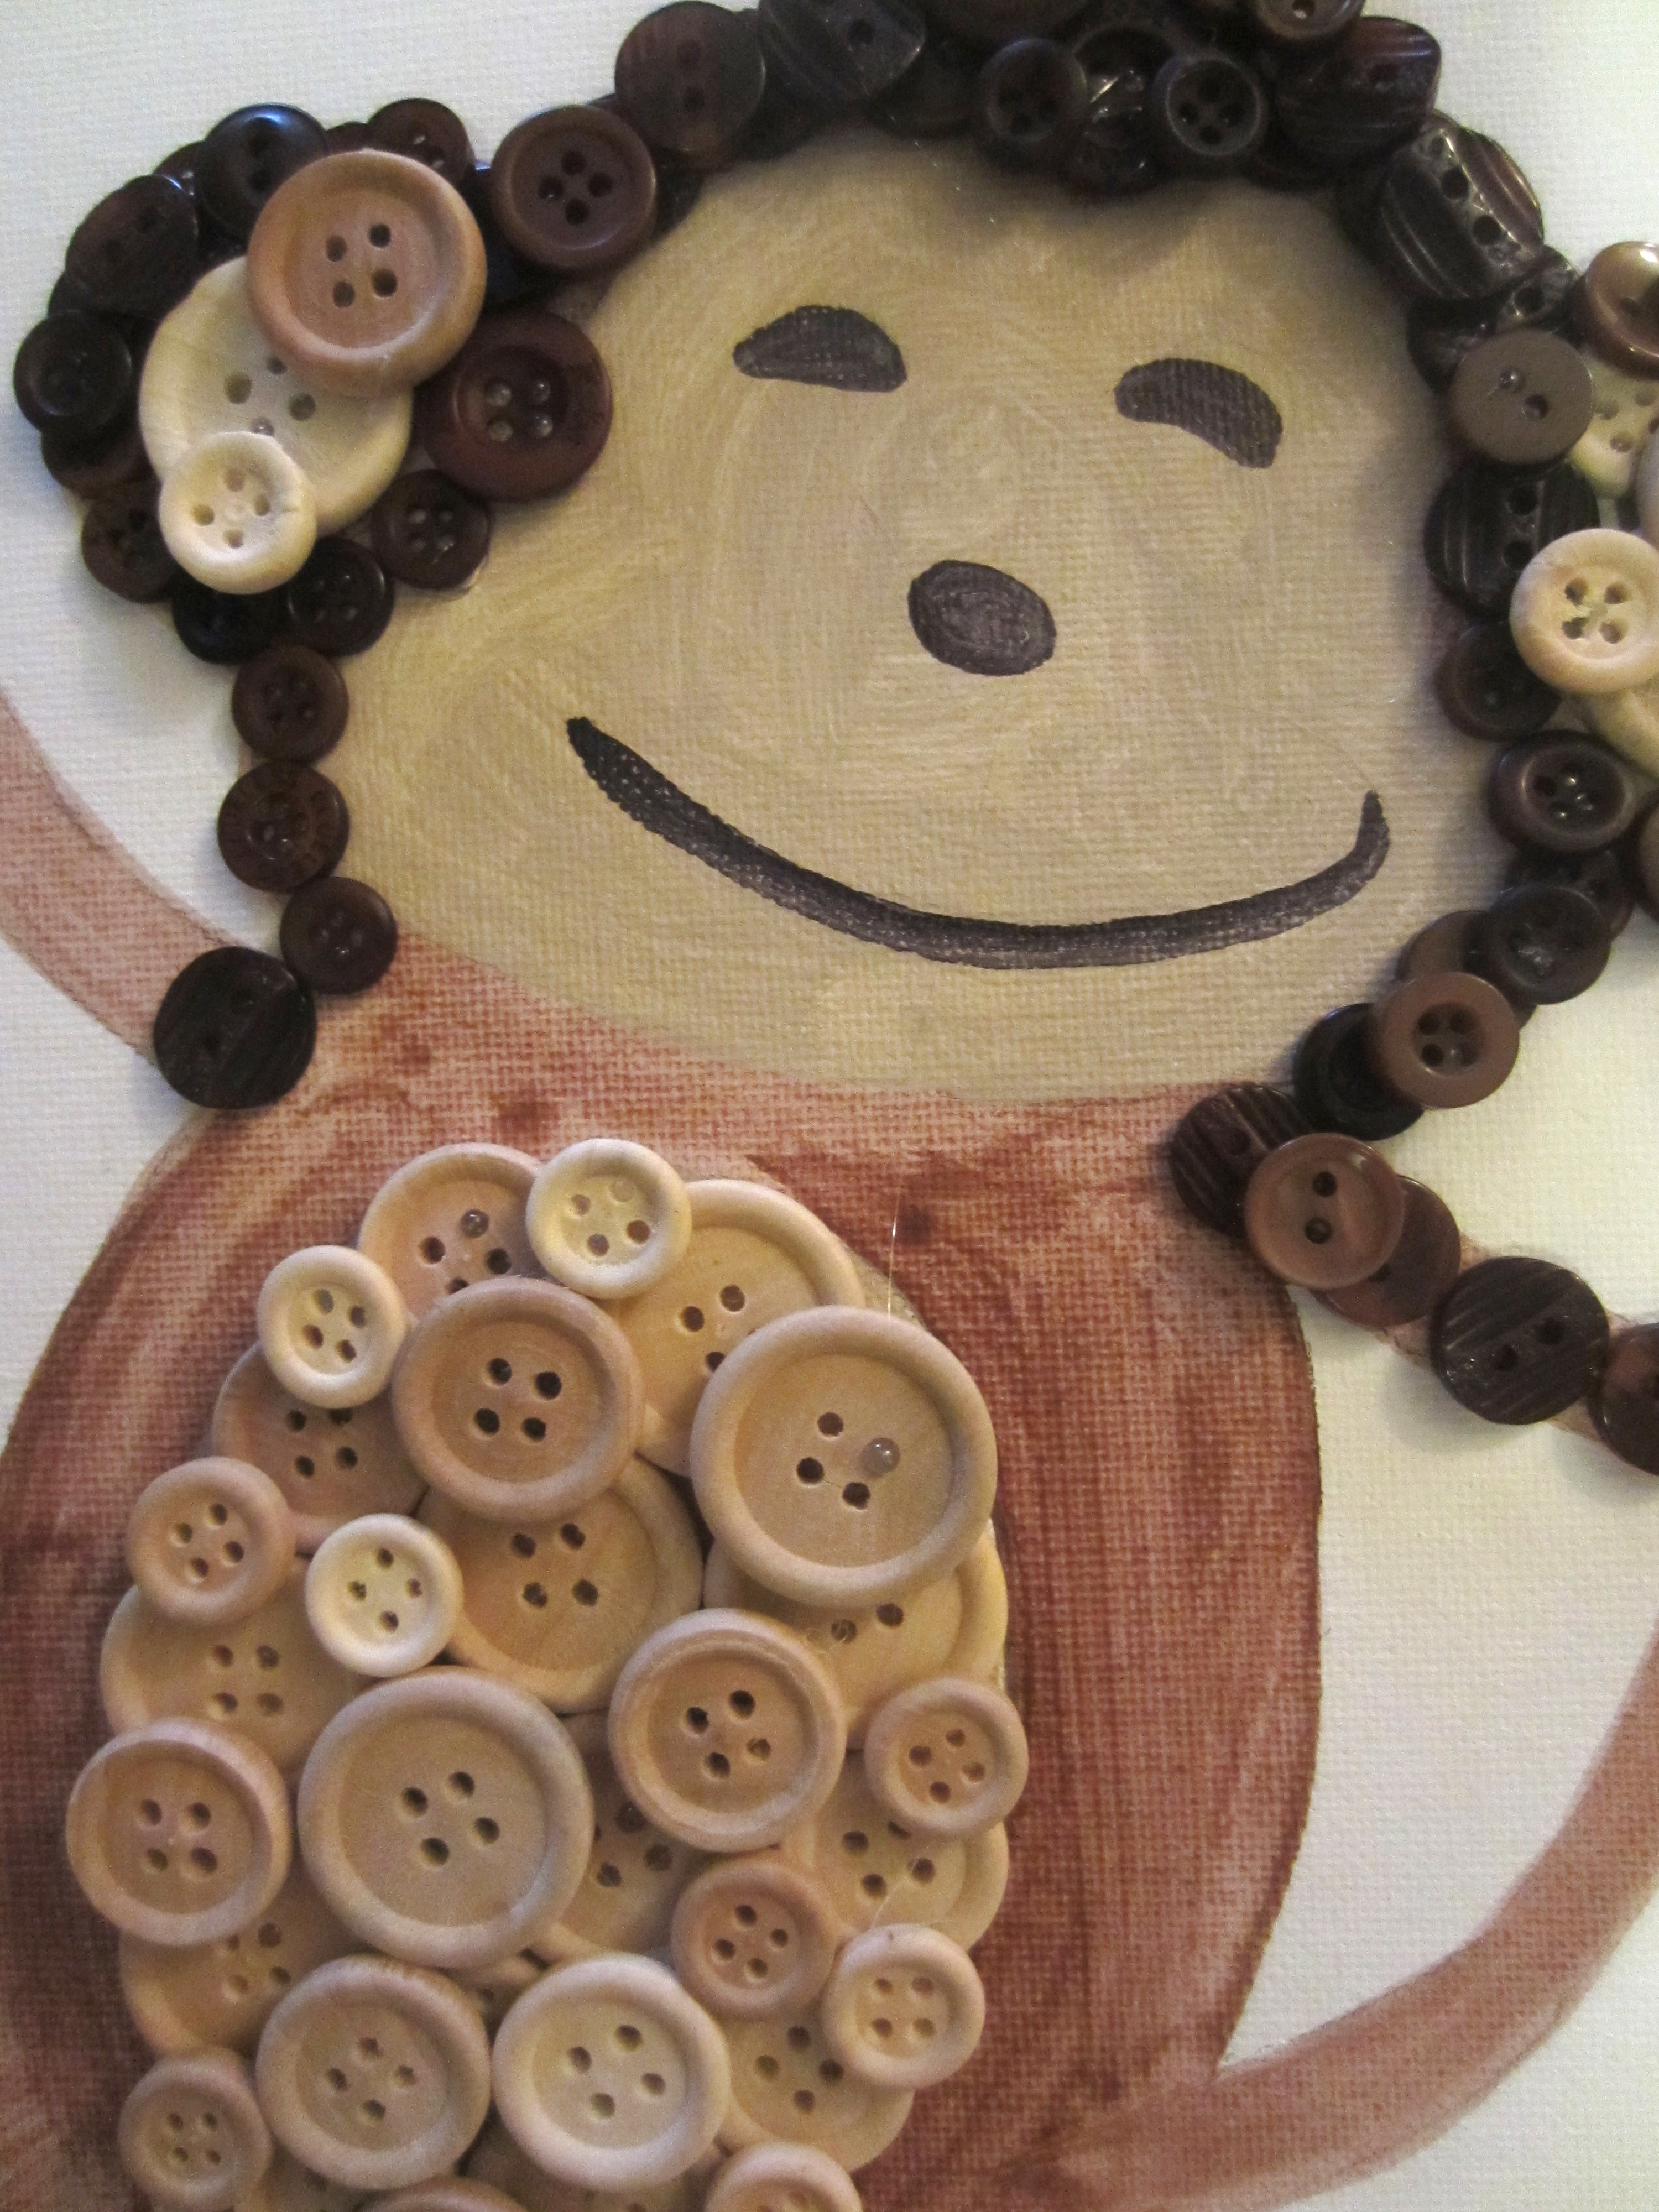
 For the eyes, I used some more BUSTED BUTTONS like that, then covered up the bottoms like this:
 There are lots of neat little tips and tricks I’m learning as I go about how to make these buttonly creations. Oh, spell check, put your red squiggles away. Don’t tell me ‘Buttonly’ isn’t a word!
 After his nose and mouth were done, he was ready to frame!!!
 He was pretty excited. He has no idea that I plan on suffocating him in bubble wrap, then shoving him into a tight-fitting box, only to be man-handled by the friendly, not-friendly workers of Canada Post.
 I think that turned out pretty well!
I hope you try your hand at using buttons as your weapon of choice in your next DIY project!!!
While we’re here, check out some of the other button creatures I’ve been breeding over on the Facebook Album I’ve devoted to this awesome zoo. And ‘like’ my page while you’re at it- I could always a confidence boost 😉
OOH! Reminder! I have a Valentine’s Day sale going on at over at my Etsy Shop– Use the code ‘VDAY20’ at the checkout to get 20% off your entire order!
Buy yer lover something like this:

Or, better yet, these:

Cuz why wouldn’t you want weapons dangling from your ears?
“What do these have to do with Valentine’s Day?”, you ask? Arrows are so… 1700’s… Cupid needs to catch up with the times. Or at least the he needs to catch up to the Wild West.
Although, I do have some pretty cool Arrow Jewelry too.
And on that note,
Happy monkey-making, and booty-shaking. You do that on Thursday afternoons, right?
~Dot


love your artwork! =)
love your artwork!superb!i wish i can do that too~ =)))
Super cute! The horse was awesome as well!
Totally cute and absolutely amazing!
Pingback: Button Cupcakes (Tutorial) | Busted Button
Pingback: Аппликация из пуговиц для детей | Украшения своими руками
hello there! I love your pictures! I have a question for you. If you use a canvas board to place the buttons on, how do you find a frame that fits it? I would imagine it would be very thick and wouldn’t fit within a frame. Thank you!
I frame them without the glass and make sure to leave room around the edges so the frame fits over the board 🙂 One gal who bought some of my art actually had them framed in shadow boxes so she could still have glass covering them 🙂 thanks bre!
Pingback: 15 Wild and Fun Monkey Crafts – The Mommyhood Life
Pingback: 15 Wild and Fun Monkey Crafts that Kids Will Go Bananas Over