Button Cupcakes (Tutorial)

HELLO LONG LOST BLOGOSPHERE!

I’m back with a vengeance. Not really, but I am back with something good.

buttoncupcake

IMG_1048

Button cupcakes!!! And, because I have been neglecting my precious blog, I will share all of my secrets!

Firstly, here is what I’ve been doing the past few weeks:

flora-march-0591-1

Posing naturally with my precious newborn!

(Thanks Jody Wiger Photography for the awesome photo. She took so many beautiful pictures which I will be sharing soon!)

Though I have been neglecting my blog, I am as active as ever on my Facebook Page, so check that out and give me a ‘like’ if you want to keep up with my crazy brain, and take part in my billion giveaways (I’m addicted to giving stuff away).

NOW! Back to the button cupcake tutorial! This will be kind of a quick one, because I am juggling kids and glue, so if you want a bit more detail, you can check out my button elephant tutorial here. OR for even MORE detail, check out my button monkey tutorial here. 

Let’s get this party started-

IMG_1011

Step 1: Design the cupcakes!

IMG_1012

Step 2: Create templates -or use mine! if you want! I really don’t mind if you want to snag my ideas and designs. I grew up with 9 siblings, so sharing has never been an issue for me. Although if you do feel like giving me some credit, that would be sweet! I might get annoyed if I find my actual photos on Etsy being used to sell someone else’s stuff though (IT HAPPENED! Hahaa silly people, just use your own photos- mine aren’t even that great!) But anyways, I am honored when people are inspired by my artwork- and I get inspired by other people too, so go ahead and copy away! 🙂

IMG_1014

Step 3: Lightly transfer the cupcakes onto 8×10 canvas boards. (You can get these at any store that sells craft supplies.)

IMG_1015

Step 4: Paint in the cupcakes. (I used acrylics.) This step ensures that the button holes don’t reveal white underneath.

IMG_1018

Step 5: Add the first color/layer of buttons- start around the edges.

2cupcakes

Step 6: Add the second layer of buttons, making sure to cover any spaces. Start around the edges, adding buttons over the first layer- this helps you get a straight line.

chock

If you want to try this swirl cupcake, once you get to the icing, start buttoning with one color and then finish with the other color to get this beauuuutiful 3-D effect. Woah this writing just went really small and I have no idea how to fix it.

IMG_1025

Step 7: Pretty please with a cherry on top. And polkadots on the bottom. Embellish those babies with some finishing touches!

Oh good- the writing is back to normal now! Darn technology.

IMG_1042

Step 8: Frame (without the glass- these are 3-D so the glass doesn’t fit!)- My fave frames to use are nice thick, white ones. The gal who ordered these wants to hang them above her stove (CUTE!) So she is going to frame them in shadow boxes to keep them clean!

IMG_1052

Step 9: FEED THEM TO A HUNGRY FOX!!!!!!!!

Let me introduce you to Monsieur Fox:

IMG_1004Here he is being hugged between a very small portion of my ever-growing button collection. 

Well I hope you enjoyed that tutorial- and give it a try! While yer here, I have a painting up for sale on etsy (this is a rare occasion because I mainly do custom paintings) So check that out here and save 50 bucks while yer at it!

Screen Shot 2013-04-21 at 10.29.14 PMHappy Buttoning!!!!

~Dot

Posted in Button Art, Craft Tutorials | Tagged , , , , , , , , , , | 18 Comments

Mini Pies! (Canning Jar Lid Pies)

Sorry for being M.I.A. for a couple of weeks but…

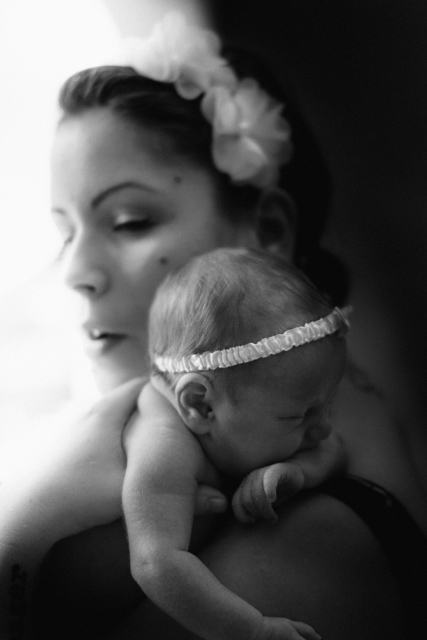
I HAD MY BABY!!!! Exactly 2 weeks ago I was running up and down the hospital stairs in an attempt to progress my labor and avoid a C-Section! It worked- VBAC success- and check out my reward for 9 months of puking and fatness,  followed by the pain and gore of natural childbirth:

flora good close ups colage

Flora Nightingale- She weighed in at 6lbs 10 oz. and she is like 50 lbs of cuteness!! Worth every minute of discomfort I tell ya!

Now- back to more important matters…

Like pie:

IMG_9699

This mini apple ‘tartlet’ was baked in a canning jar lid!!! I saw the idea on Pinterest one day and thought it would be a good opportunity to test out my pal Melissa’s suspicious- sounding pie crust recipe.

Good thing Melissa has some credibility, since she is the master-mind/body behind Buttercream Couture. This pie crust sounds CRAZY- but I trust her with my children, so I suppose that means I can trust her with my tastebuds.

This is a hot water pie crust (WHAT?!?!) and it is all wrong… but it turns out so right! It was SOOOO EASY! Usually pie crust is like alchemy- a tsp of this at this temp or else it will turn into a death potion. But this, my friends, is easy peasy and I will definitely not be buying any more pre-made crusts  putting in all that hard work I usually do to get a perfect pie crust anymore.

Check out the recipe and instructions for this magical crust that will change your pastry-making world forever here. 

IMG_9669

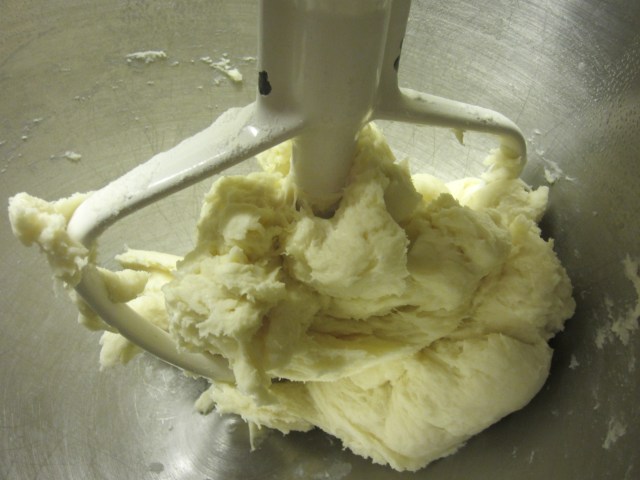
Crazy pie crust!!! But trust me, it turns out grand. I actually quartered the recipe because the original makes quite a bit, which is awesome if you want to freeze some pies, but the recipe is super-easy to half or quarter so that is handy dandy.

SIDE NOTE- I am most-definitely going to be trying to make some samosas with this recipe! It’s gonna be good! OH! anddd if you use vegan margarine (or vegan shortening)  instead of lard or butter, this recipe is dairy-free and vegan!

IMG_9672

After I rolled out the pie crust to a crusty kind of thickness, I used a cup that was around an inch larger in diameter than the lids I planned on using as a mini springform pan to cut out the circles for my mini pies! I just made a few pies to start- 2 large and 2 small ones to test them out, and I still had enough dough left over to make a glorious (life-sized) lemon meringue pie, which I will share with you later.

IMG_9673

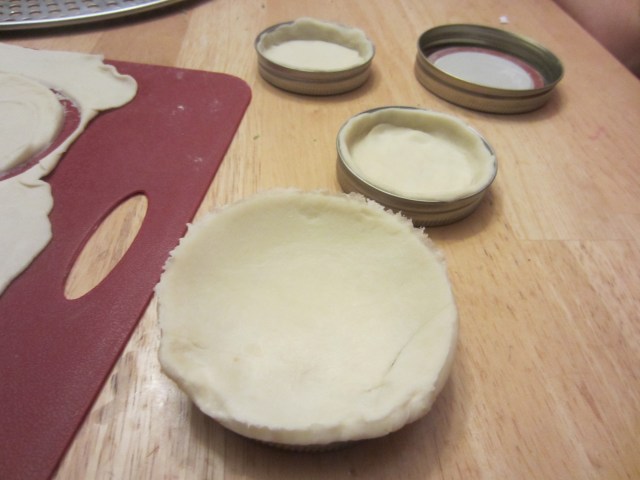
Then I pressed the dough into the lids. these look pretty cute when they are ‘rustic’- which means you can do an imperfect job and they turn out great.

Some people might be concerned that a small amount of BPA that can be found in the canning jar lid will leach into the pie crust. I am not one of those people, because I like to live life on the edge, but I did think of an idea for all the cautious fellas out there- I think if you flip the BPA-ish part of the lid upside-down or cover it in aluminum foil, you should be fine. Also, you can use the foil to make a hat.

Moving on…

IMG_9674

Prick the bottoms of the crusts with a fork, and place em on a tray in the oven at 350 degrees for around 10 minutes. Meanwhile, you can get started on your fillings!

IMG_9676

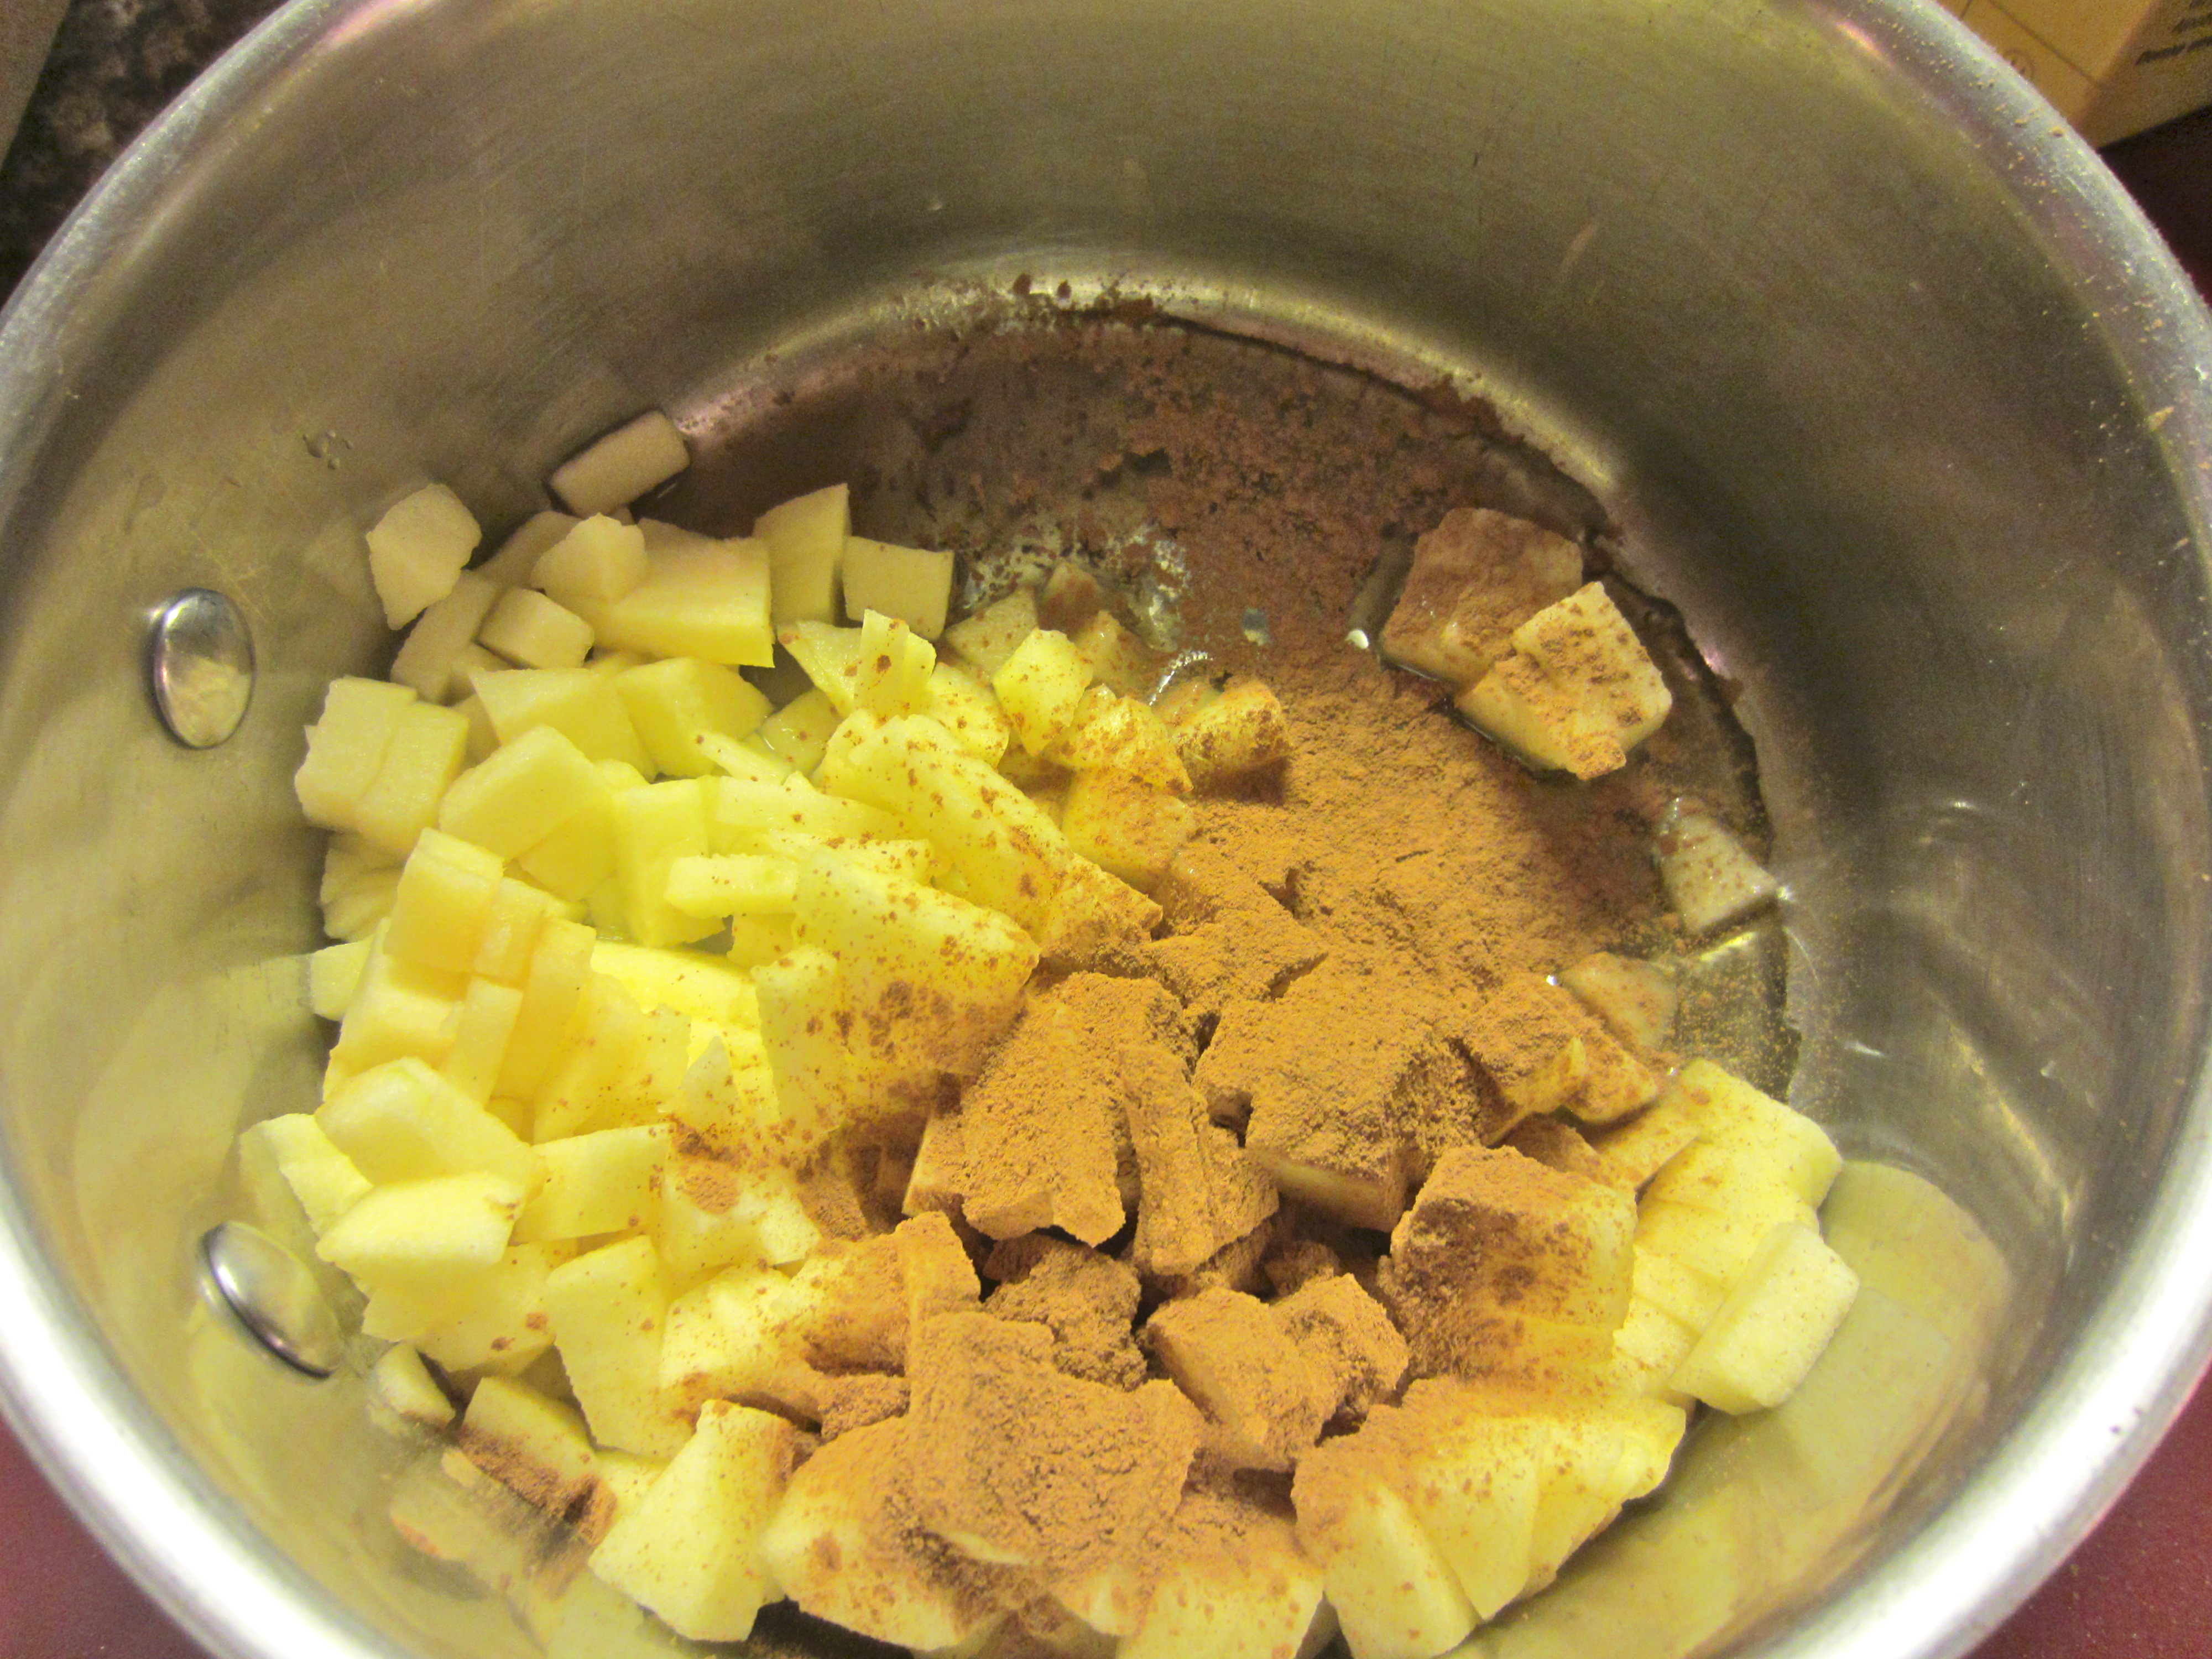
I just whipped together a super quick apple pie filling. It consisted of one diced apple, 1/2 tsp cinnamon, 1 tablespoon honey, and 1/2 tsp lemon juice. Woah- I just accidentally made these apple pies SUGAR-FREE. I was honestly just too lazy to drag the huge sugar bag over to the counter, (I was 8 months pregnant at the time) so I went with the accessible honey. And it worked awesomely- yay for accidental sugar-free recipes!

IMG_9677

I cooked the apple filling on medium heat for the 10 minutes that the crusts were getting crusty in the oven, until the apples became tender.

IMG_9679

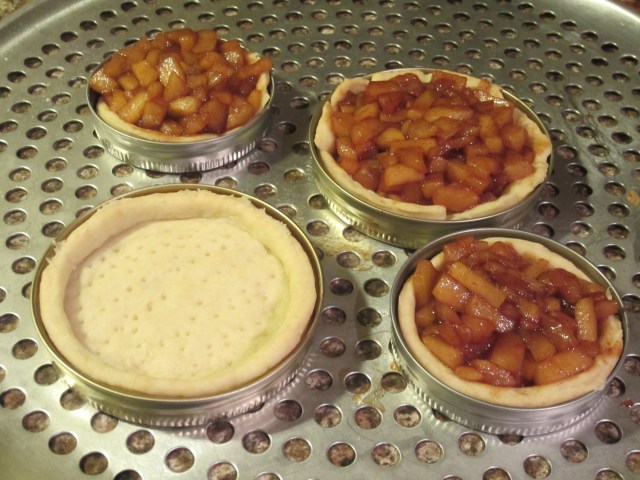
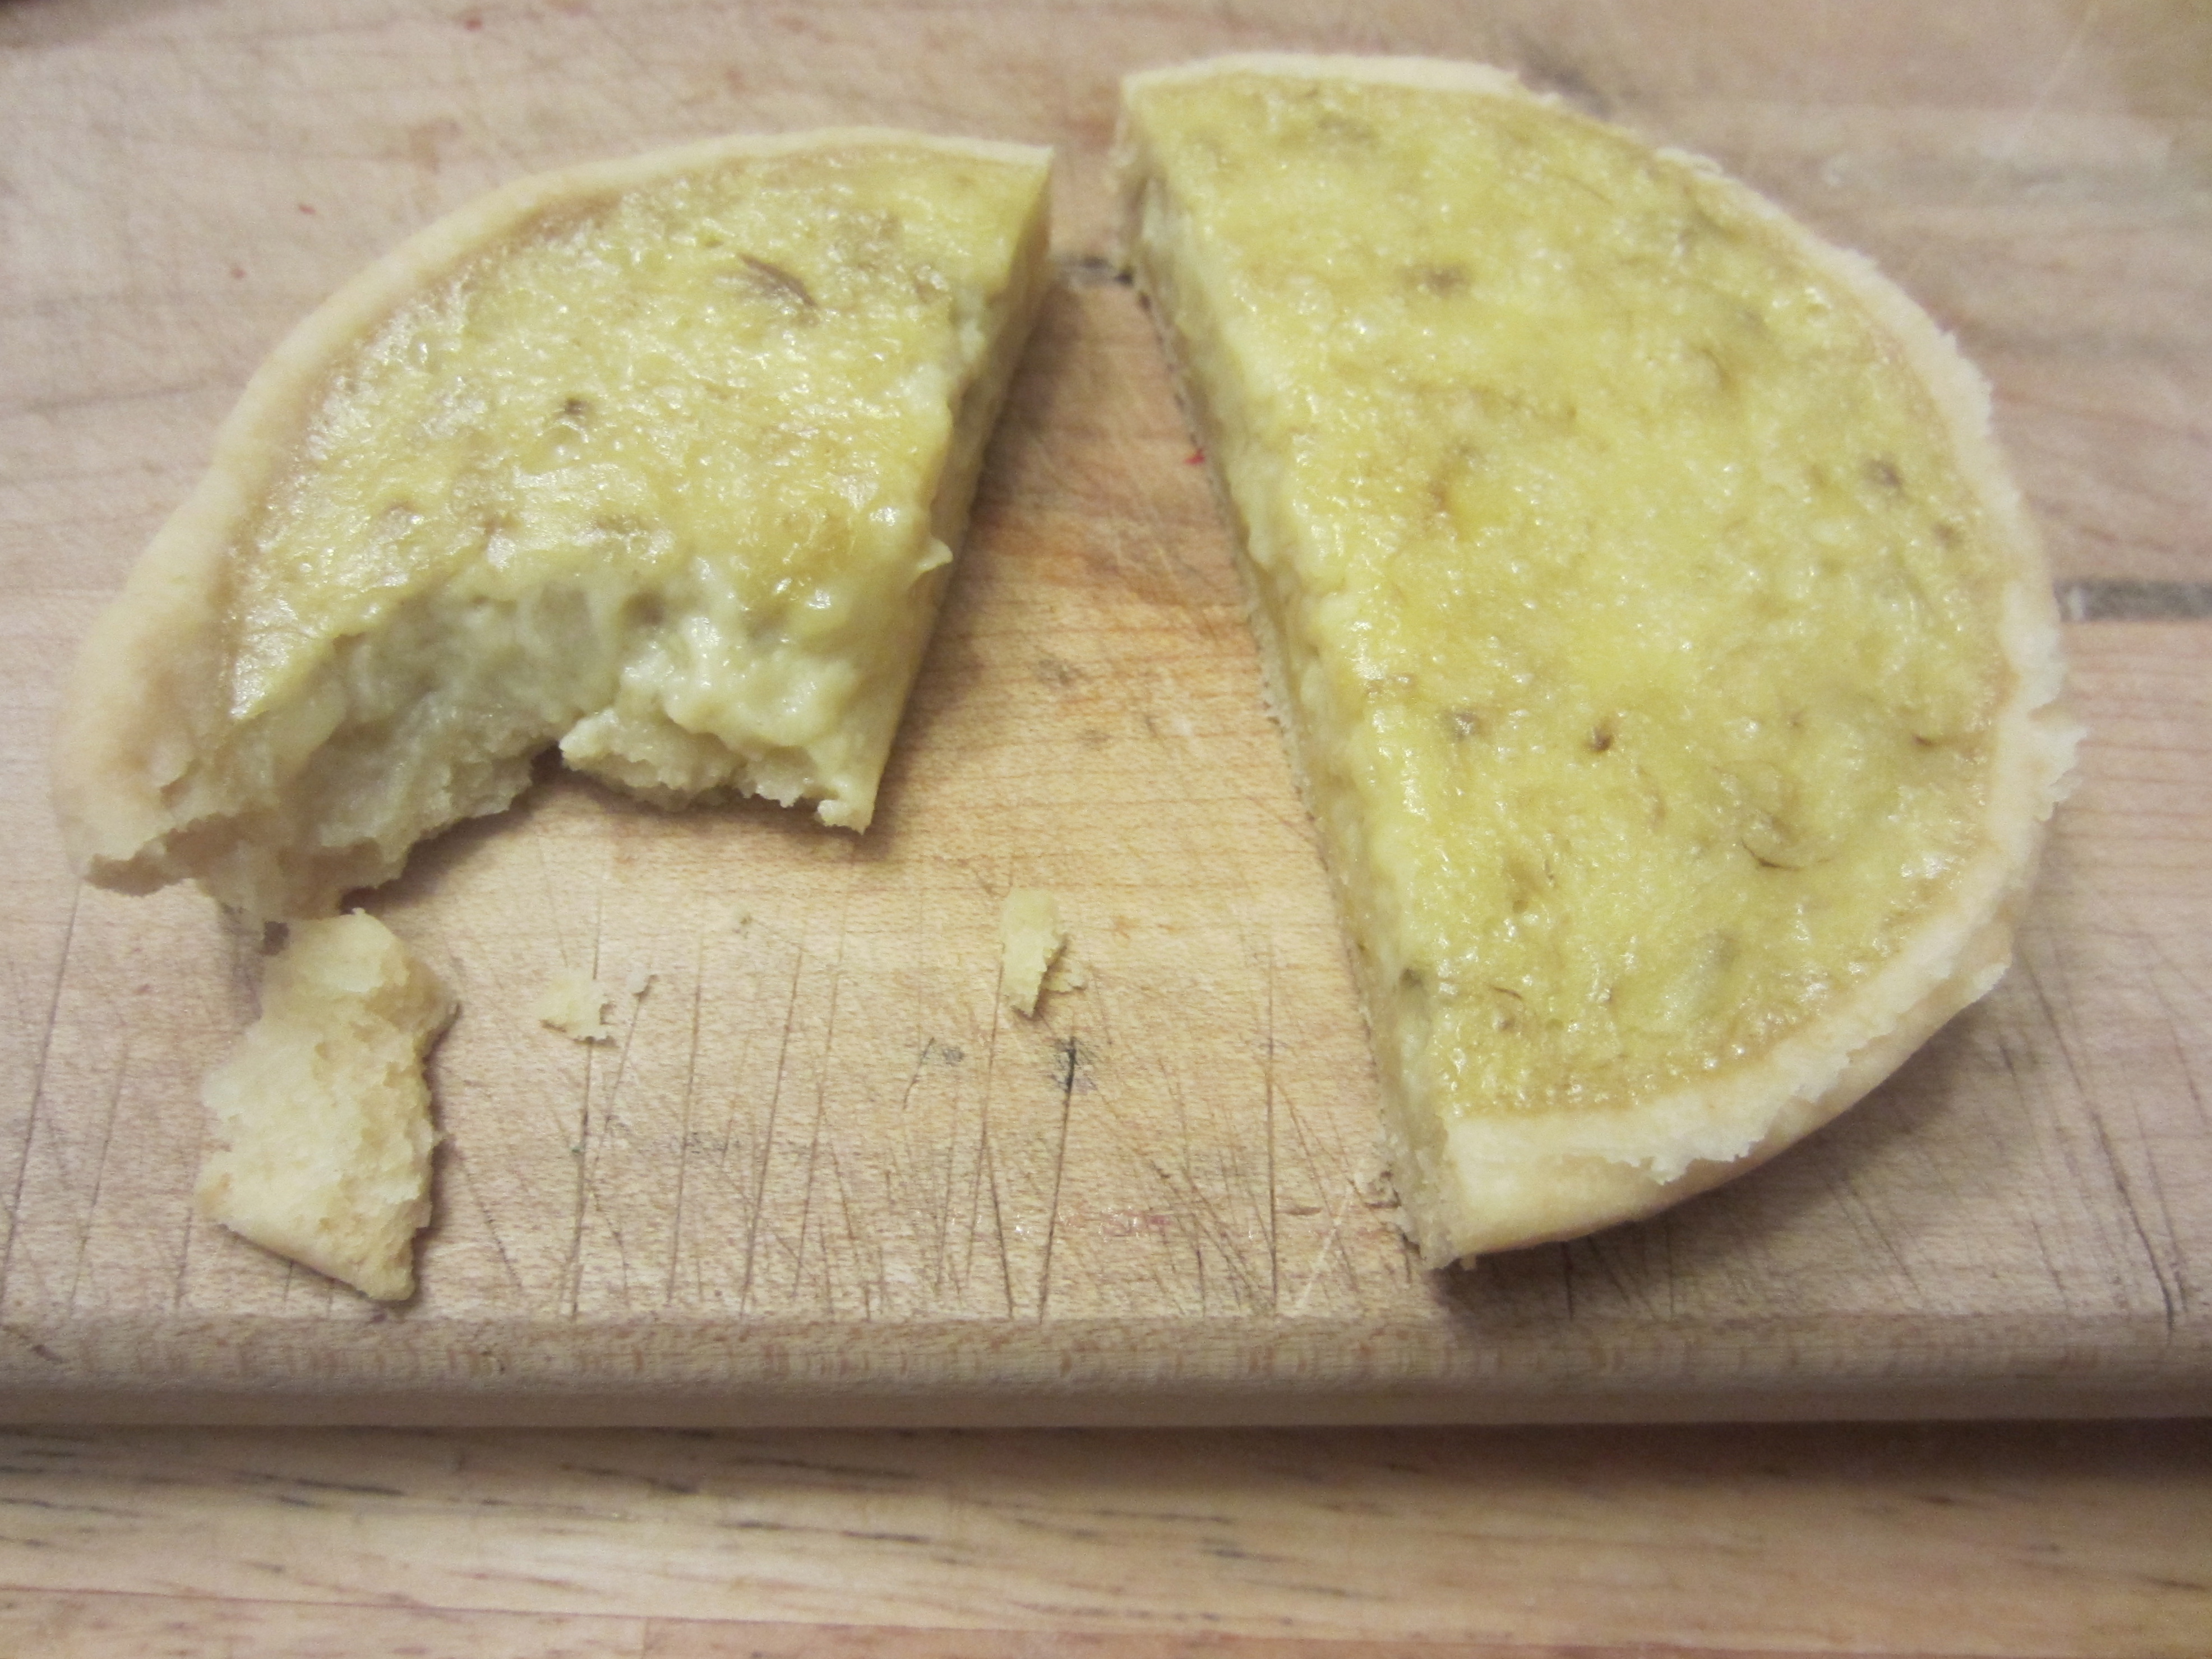
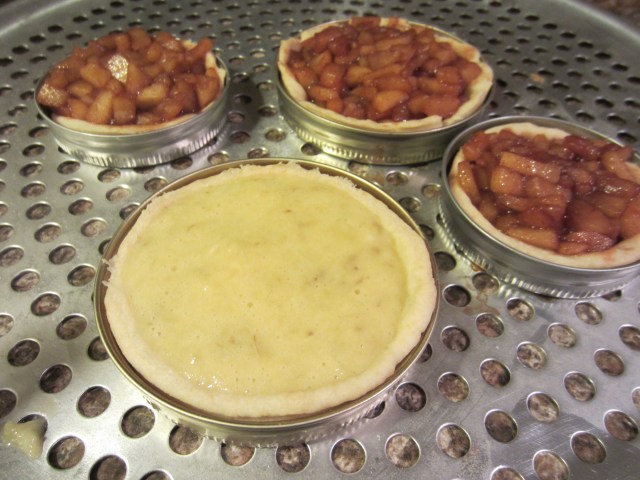
Then I filled the shells up like so. Actually I only filled up 3 of the 4 crusts, because I ate too much of the apple filling while I was waiting. So I needed to come up with a quick mini-filling stat. This was basically an emergency.

IMG_9681

I stuck to my new found sugar-free idea and mixed one egg yolk with a tablespoon of coconut milk and half a banana, which resulted in a delish banana cream pie-esque filling.

IMG_9682

Now, off to the oven with these under-cooked pies!

IMG_9685

Just another 10 minutes and they were done! I cooled them for a bit then ate most of them myself. But first I did a photo shoot:

IMG_9686IMG_9692

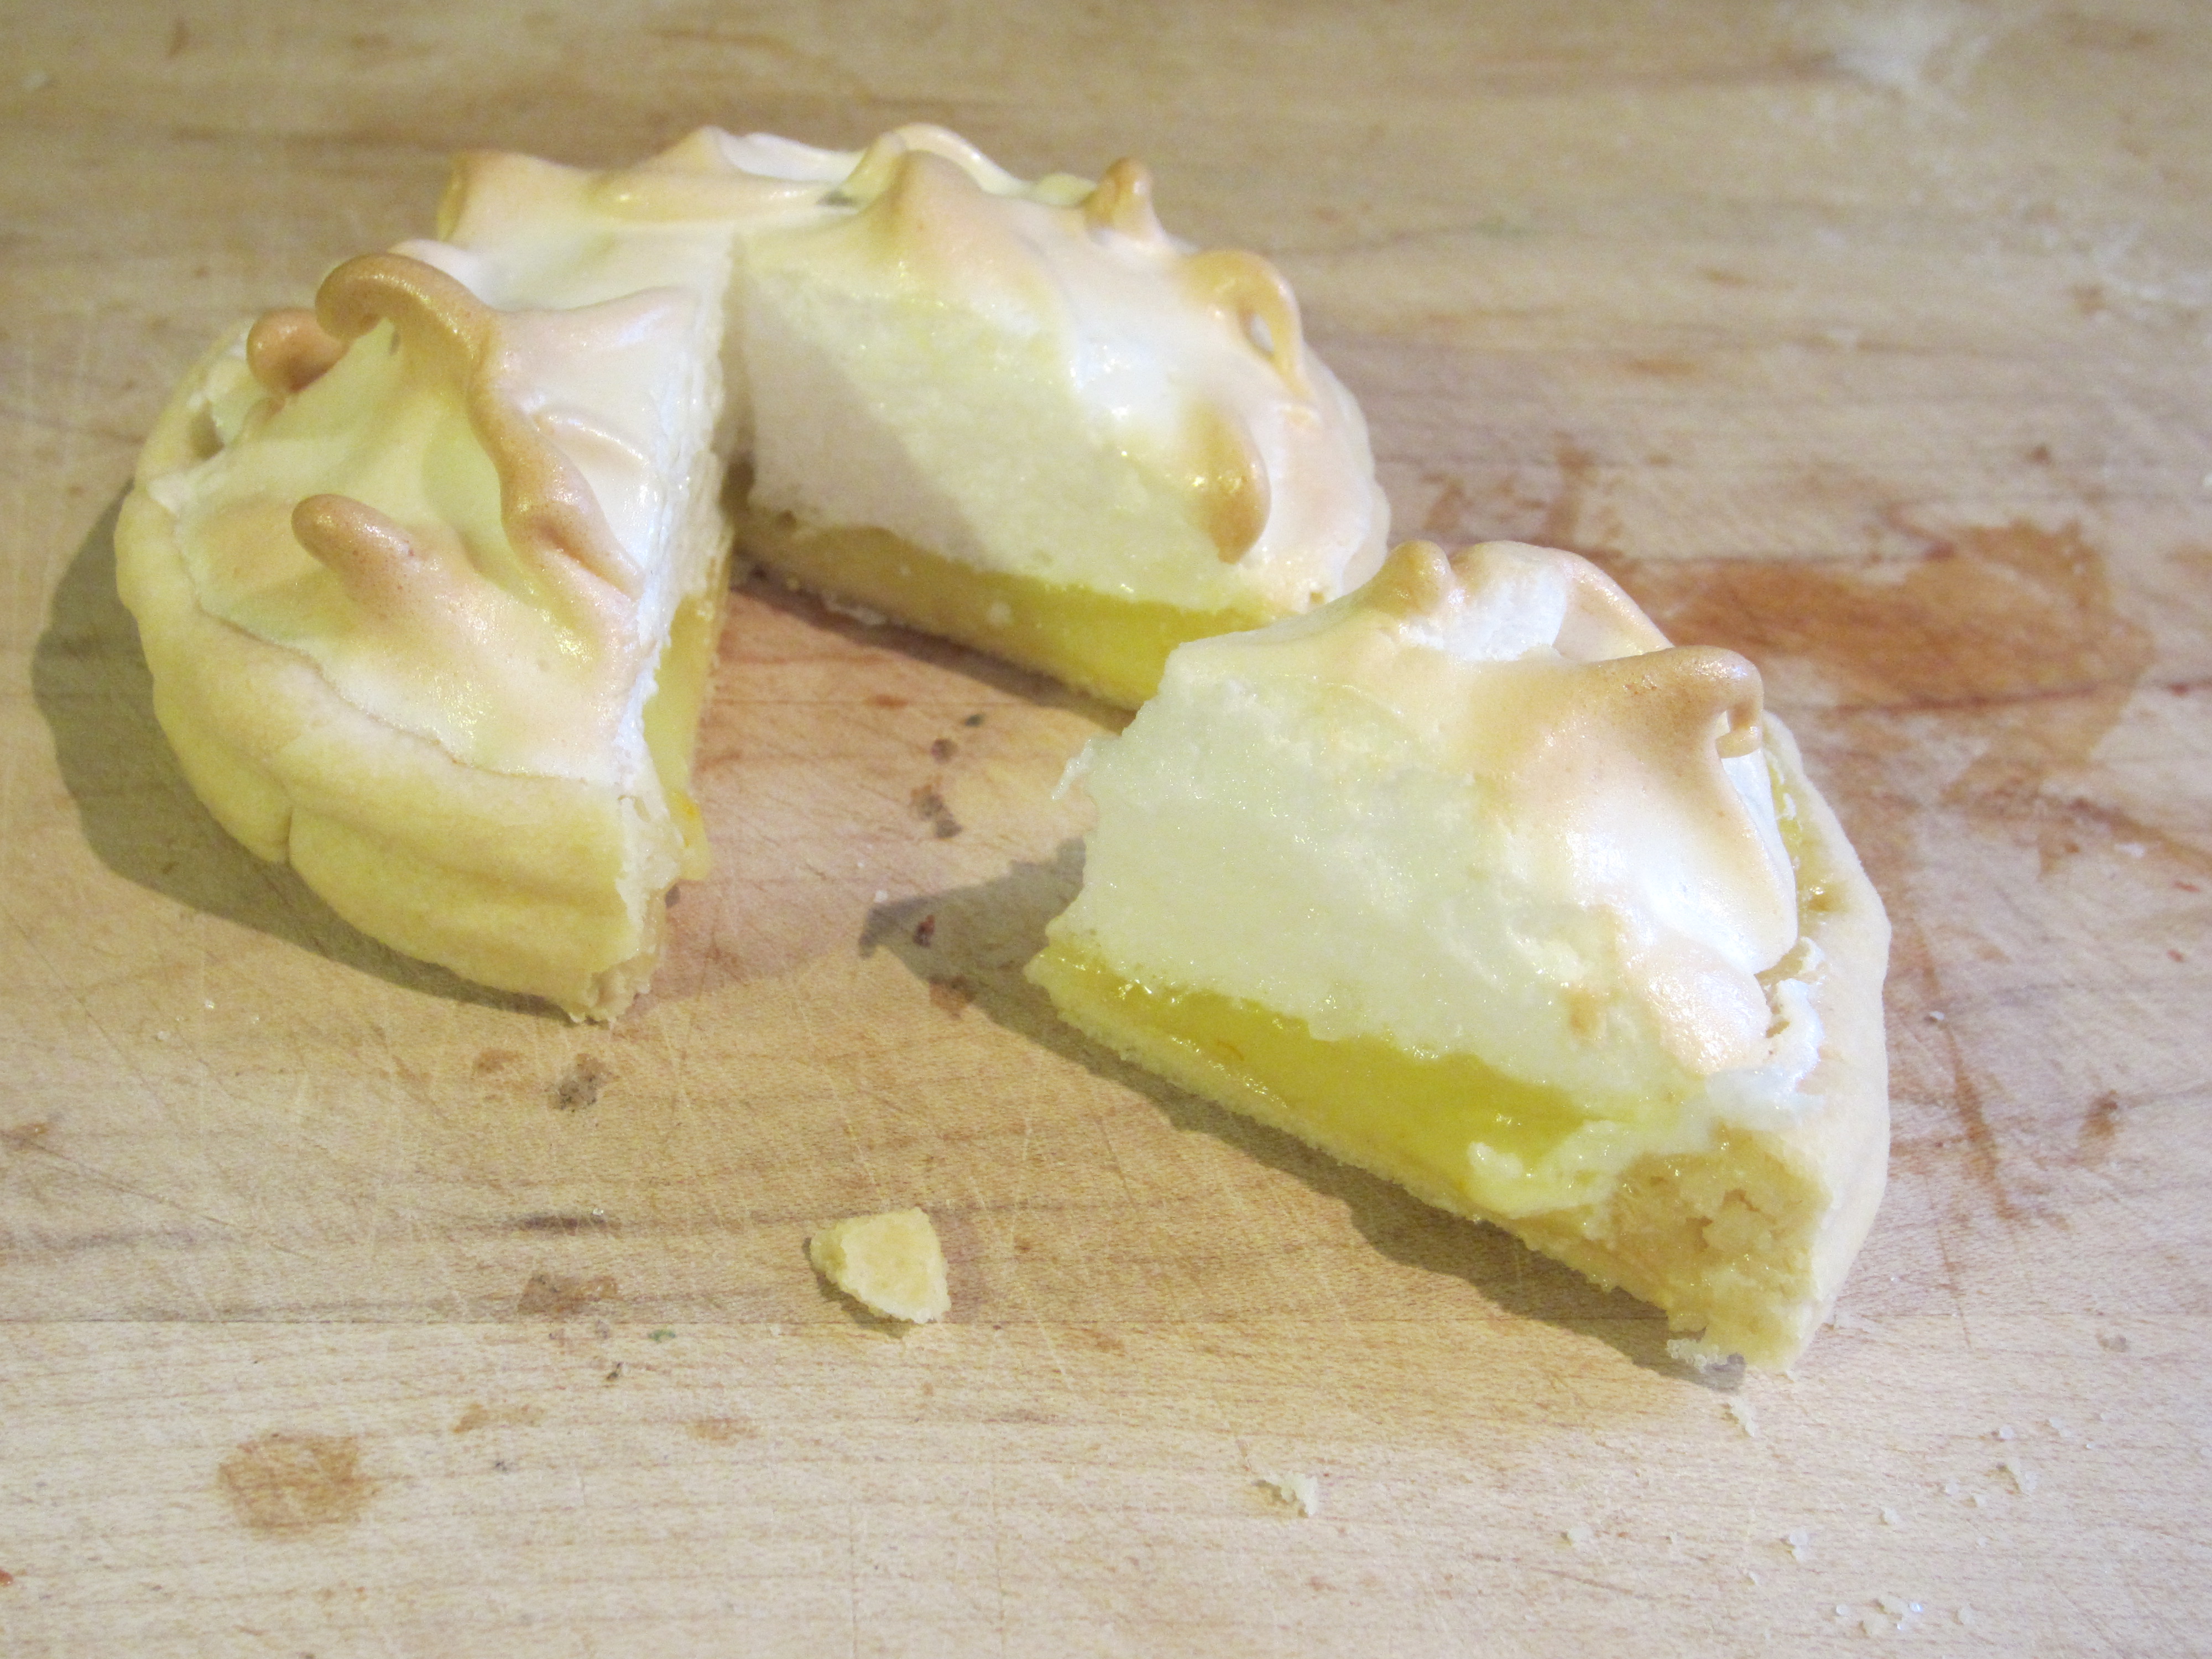
Like I said before I also made a large lemon meringue pie, and I had enough dough left to make another mini pie!!! So here is the cutest lil lemon meringue pie you ever did see!

IMG_9741

AWWWWWW! Why, that is almost as cute as THIS:

20130301_192252

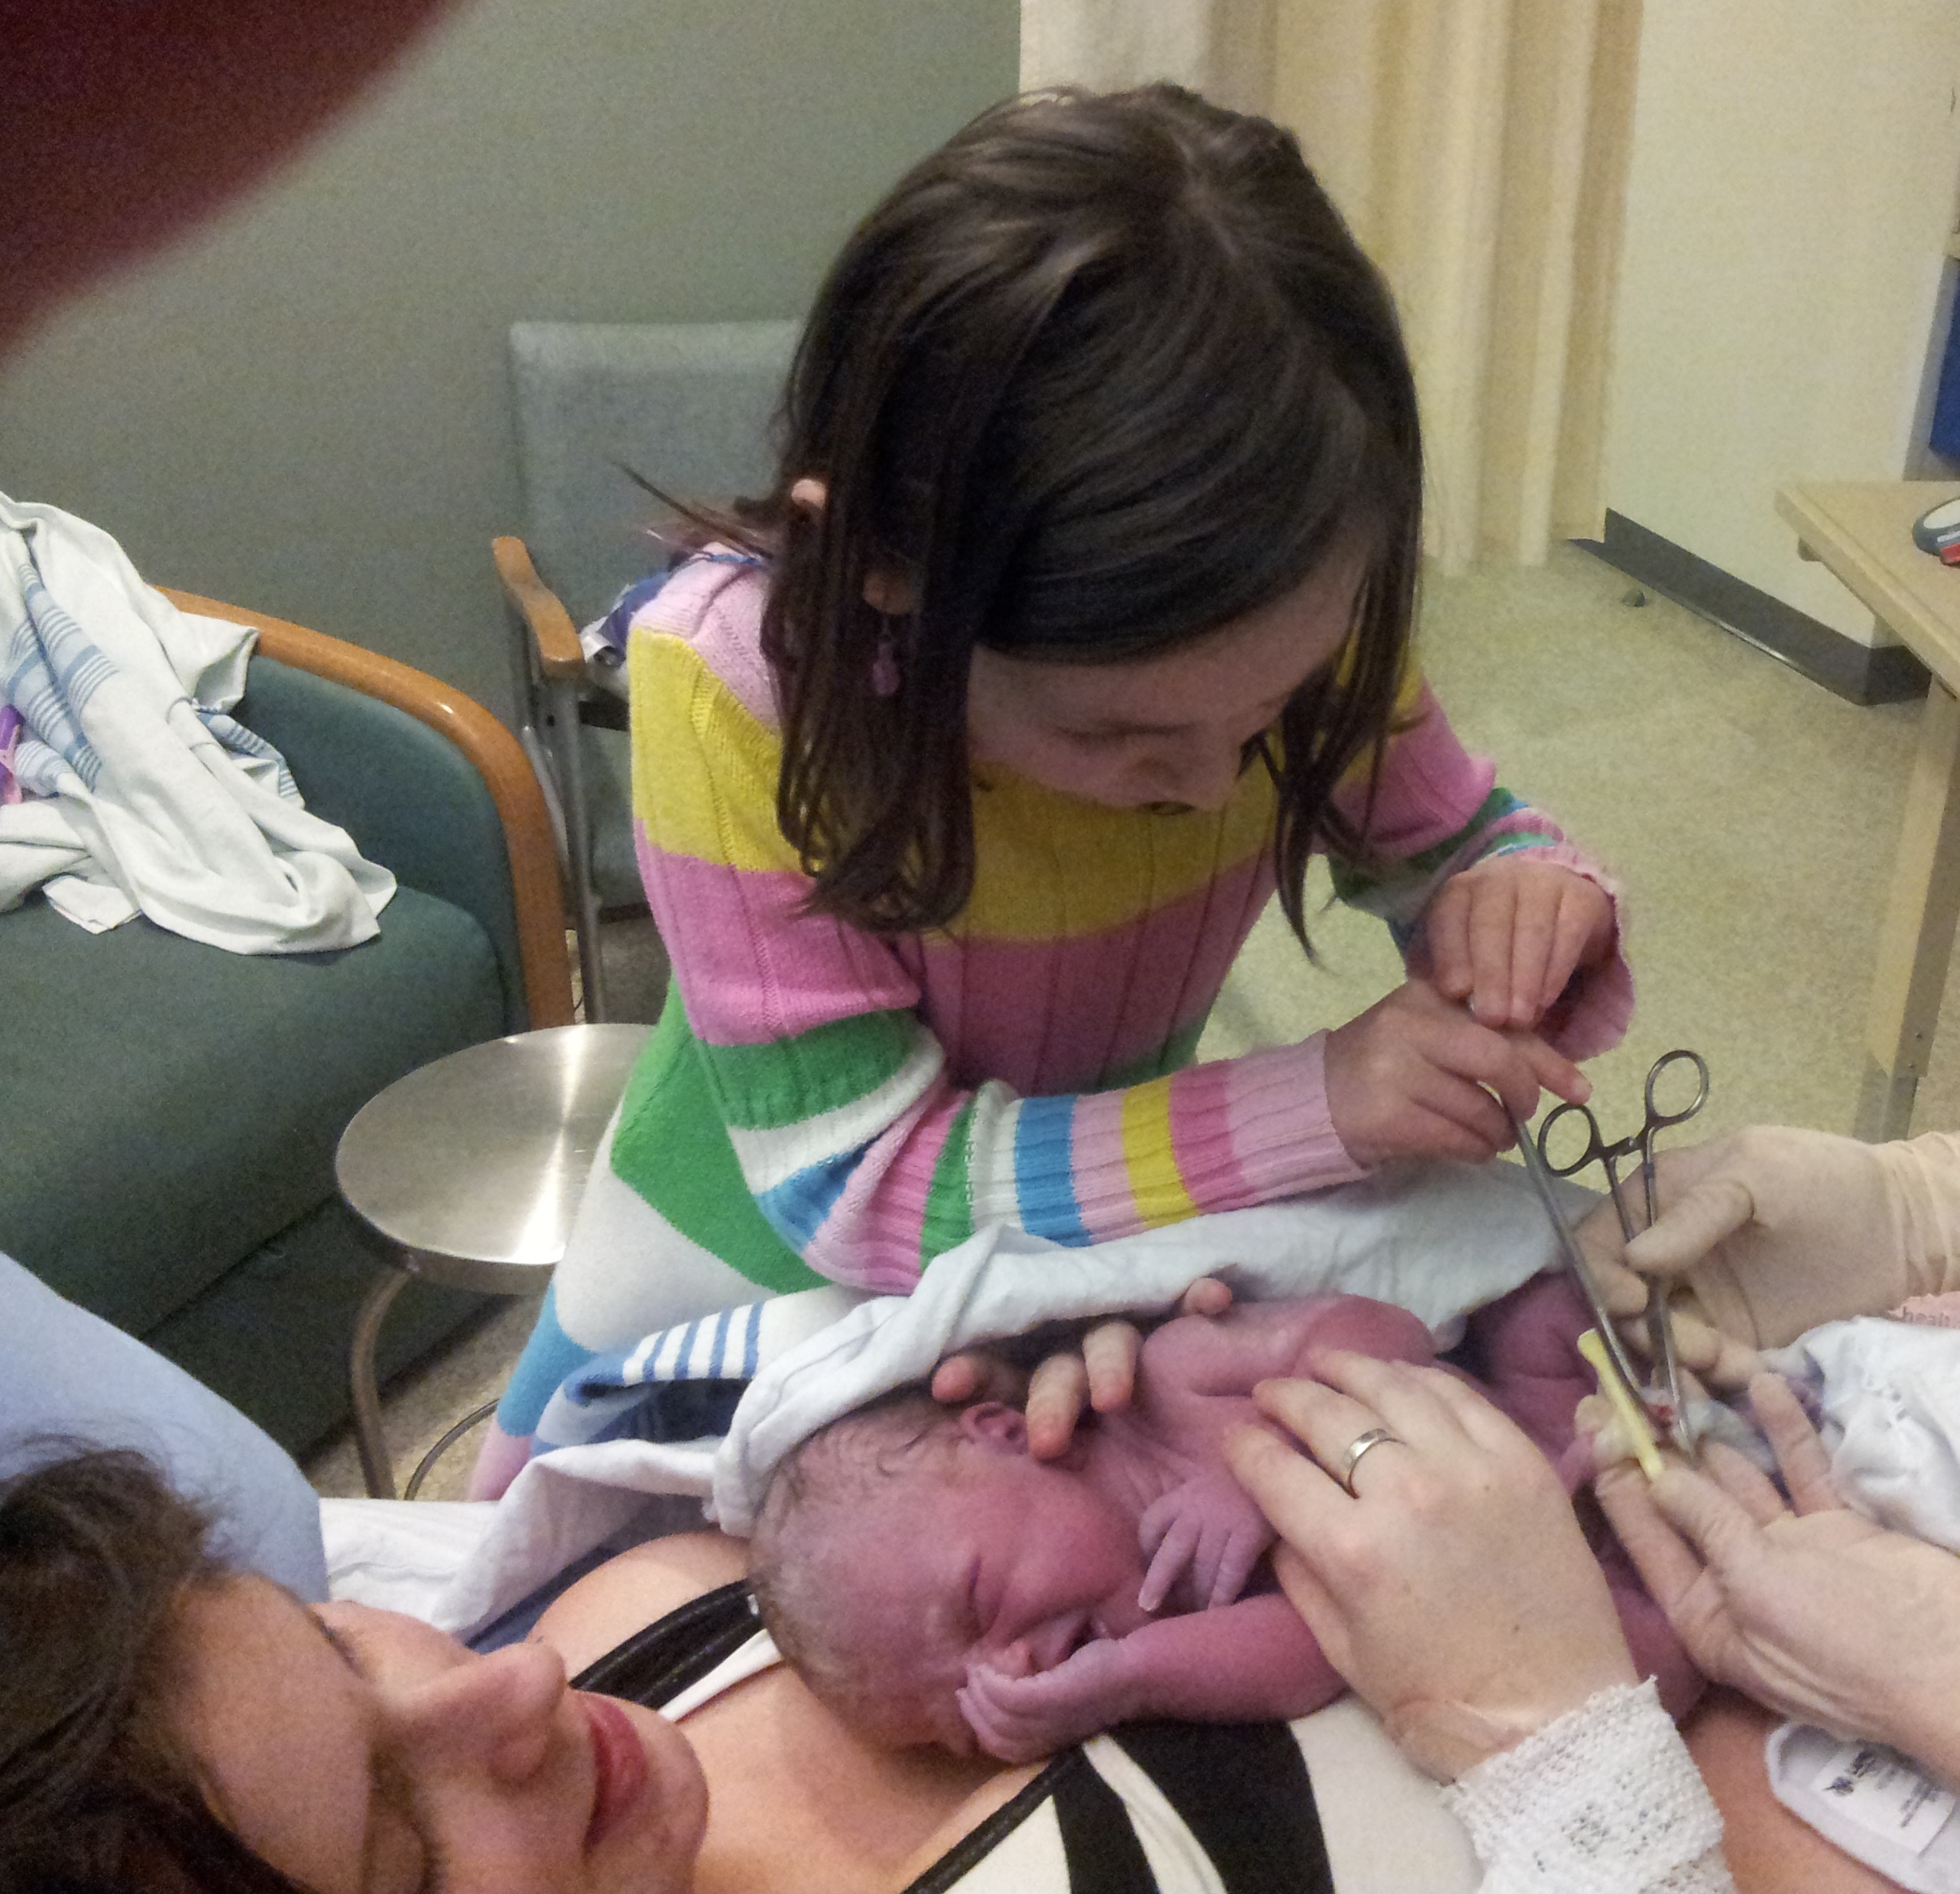
Here is big sister Mercie with her new lil sis! After having 3 boys in a row, she was pretty darn excited to finally have a little sister! Actually, she was so excited that she wanted to attend the birth. Here is a photo that might turn you off of the next set of pie photos, but at the risk of that, I am going to share it with you, because I think it is pretty darn cool:

20130226_225852SHE WANTED TO CUT THE CORD! How special is that?!?! She has been swearing that she will be a midwife since she was 3 years old. And so far she is going in the right direction. P.S. they should really pay someone to do people’s makeup in those last stages of labor… Ewy haha.

OKAY, now, if you are still in the mood to see some delicious photos- check out the ‘unlidding’ and cutting of these precious pies!!!

IMG_9698IMG_9696IMG_9745

Mmmm. Those were good. I did save the two smaller pies for a couple of my kids who were pretty excited when they woke up to a fairy tea party for breakfast the next day!

Hey, whiiile I’ve got you here- In honor of having my baby I am having a sale at my Etsy shop! Just use the code ‘FLORA’ at the checkout and you will get 15% off your entire order 🙂 Pretty handy if you are in a baking mood and want to sport some of these stand mixer earrings while you are making mini-pies:

il_570xN-1.388661923_950wAppliances belong dangling from your ears! These are sure to inspire creativity in the kitchen 😉  (Click the photo to see the listing.)

Well, I have to go cuddle a brand-spanking-new baby!

Happy Pie-Making and Jewelry-Purchasing. Hehe. That didn’t rhyme at all.

Please excuse any typos or nonsense that comes out of me in the next little while. My brain fell out 2 weeks ago.

~Dot

P.S. Ohmigash! Someone just reminded me that tomorrow is Pi Day!!! (March 14th A.K.A.  3/14 A.K.A. 3.14!!) What a strange coincidence! HAPPY PI DAY!! Make some pie.
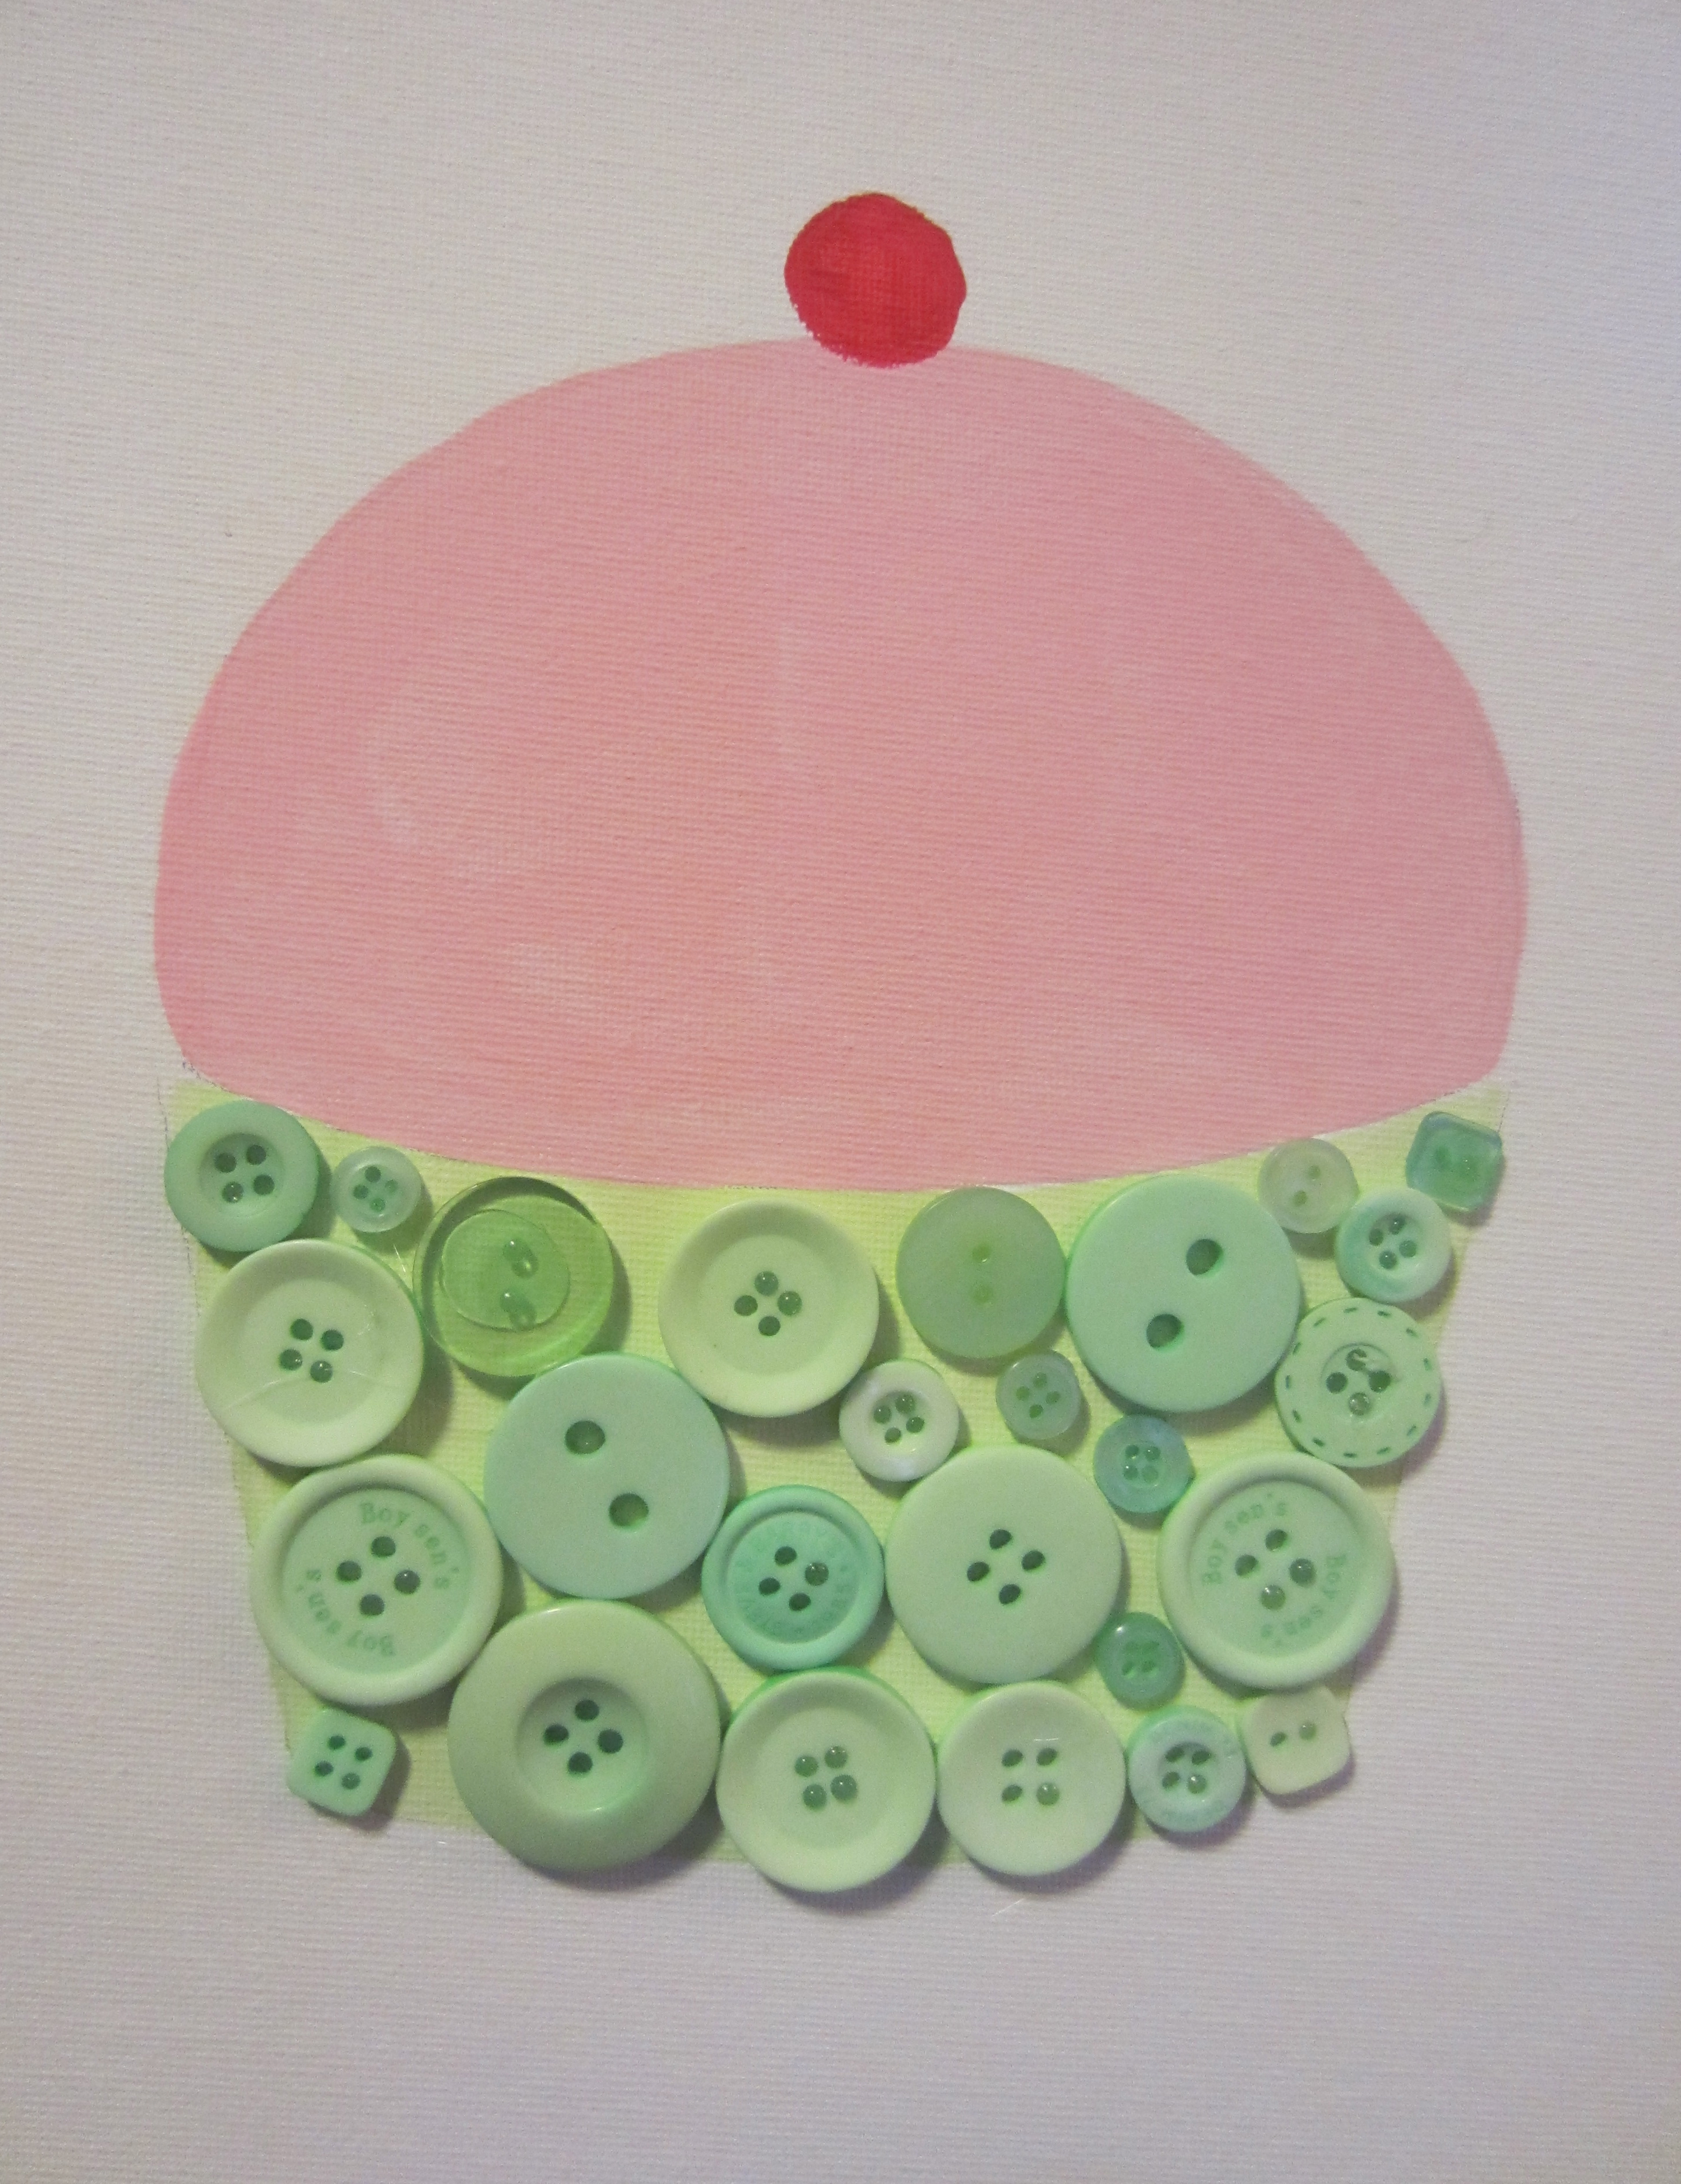
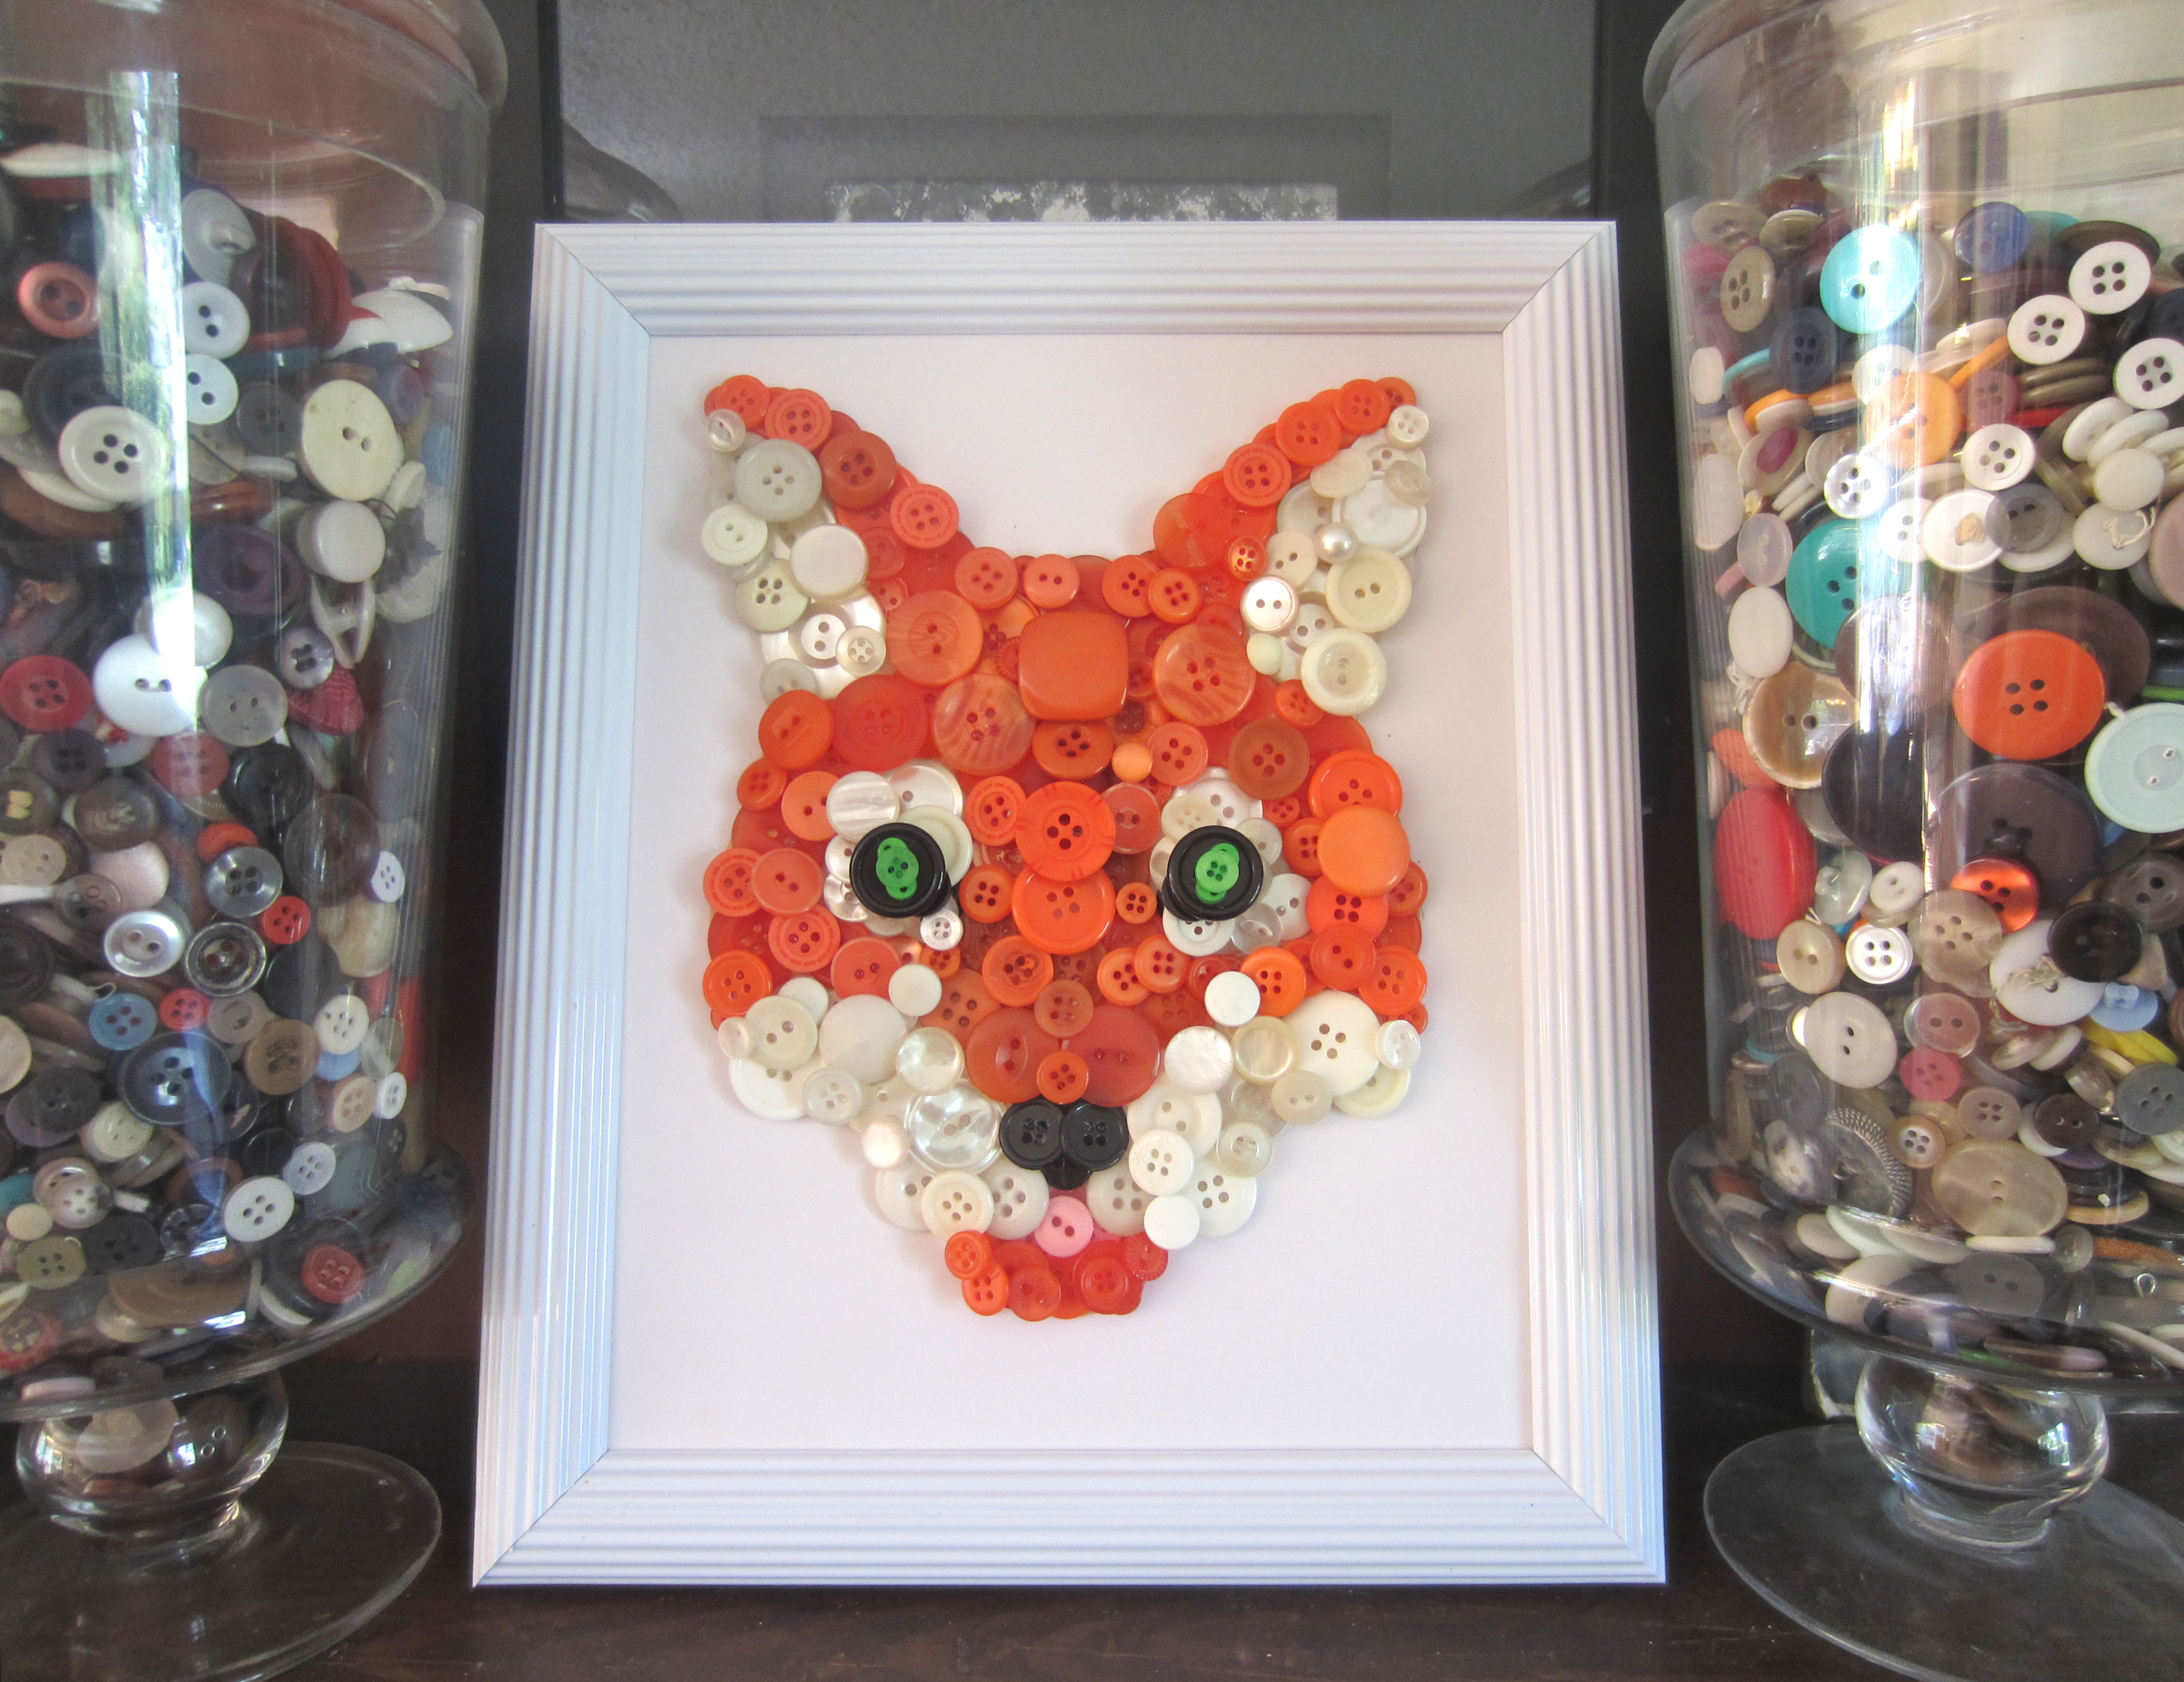
Posted in Dairy-Free recipes, Dessert, Recipes, Snacktivities, vegetarian/vegan recipes | Tagged , , , , , , , , , , , , , , , , , , , , | 11 Comments

Heart-Shaped French Toast (and Dark Chocolate Orange Bread Pudding)

I wanted to do something special for breakfast today, but I was sick of pancakes. And since I just blogged about the cinnamon roll pancakes (which are majestic and  you need to check them out) I wanted to do something different. So I made heart-shaped french toast!

IMG_9611

AREN’T those festive?! After I made them, I logged onto my Facebook, and what did I see? My mom posted this:

559969_135743196593669_105665930_n

SHE HAD THE SAME IDEA AT THE EXACT SAME TIIIIME! (And the same freaking plate!) So creepy. I don’t believe either of us have ever made heart-shaped french toast before!

If you don’t have a french toast recipe, I’ll share mine- I just made it up, and it happens to be dairy-free, but every one was pretty happy with it!

IMG_9600

I got a whole loaf of bread and cut it length-wise, so my large cookie cutter would fit!

IMG_9602

I stamped out some large hearts (I got most of my cookie cutters from Michaels- there was a Wilton-brand set of 100 on sale. It is such a sweet set- it came with all the letters and numbers, and different sized cutters for almost every holiday!

IMG_9604

This made for a lot of left-over bread scraps, DON’T THROW THEM AWAY! I am leaving half of them out on the counter to dry out to use for bread crumbs, and just wait to see what I did with the other half… I will share that after this french toast business is done.

IMG_9605

Now to make the custardly goodness, you just need a few simple ingredients. I doubled this recipe, but had left-overs, so I really didn’t need to.

Dairy-Free French Toast (for 12 pieces of bread)

~1 cup of coconut milk (or regular milk)

~2 eggs

~1/2 tsp vanilla extract

~1 Tablespoon honey or sugar

~1/4 tsp each of cinnamon and nutmeg

BEAT IT UP

IMG_9606

Dip the glutenous hearts into the milk mixture, then plop them onto a hot griddle or a frying pan.

IMG_9607

I didn’t need to grease the pan because it was non stick, but use a bit of butter (or vegan margarine) if you need to!

Cook em on med-low heat for a few minutes on each side, or until they are cooked through. Slimy, undercooked french toast is gross.

IMG_9614

Now that’s a pile of love if I ever did see one!

IMG_9616

I’m pretty lucky and have 4 Valentines this year 🙂  Let’s see how they appreciated their morning surprise!

IMG_9627

“OHHHHHHH!”


IMG_9620

“Where are my damn Cheerio’s?”

IMG_9622

AND SUCCESS! I microwaved some frozen blueberries for an added class-factor.

Hubby liked em too, but he wasn’t interested in being paparazzied this morning haha!

SOOOO like I said, I made too much custard and had allll those bread scraps left. I decided I would make some bread pudding, which is kind of a boring dessert, but I was in the mood.

Although I thought I’d switch it up and add some extra goodness:


IMG_9608

Dark chocolate and orange zest. 1/2 cup of dairy free choc. chips and the zest of one large orange, to be exact.

IMG_9612

I added these delicious additions to about 2 cups of bread scraps and about 1 recipe’s-worth of the french toast mixture.

IMG_9613

That’s a pretty sight!

IMG_9621

After I mixed everything together, I let it get all squishy for an hour before I baked it for 30 minutes (until a knife inserted to the center came out clean) at 350 degrees.


IMG_9635

Mmmmmm.

IMG_9636Confession: I hate french toast. I ate this for breakfast. So. Darn. Good.

Well, the babies need lunch, so I’m off!

Happy Valentine’s Day!!!

Speaking of Valentine’s Day, I have some thoughts that might be worth sharing. I guess the kids can wait to eat lunch hahah!

I love any excuse to celebrate a holiday. I used to get kinda cranky if my hubby didn’t do something special for me on VDay- even the years that I pretended I was an anti-VDay-er.

19610_10151423238182509_349285617_n

Hehehe so true. My friend Katie just shared this on Facebook and I love it.

Anyways, I changed my attitude and expectations, and now my February 14th is always grand!  I switched my focus off of myself and onto my kids and hubster- so I do some special little activities with my kiddos throughout the day, and make some extra special treats for breakfast and dinner.

Yesterday me and the kids made these amazing, fruity, gummy candies from Buttercream Couture  (I’ll post more about these candies in the future!)

IMG_9596


I made some little gummy pops by sandwiching a lolly pop stick in between two hearts, and I even made a button candy :’)

And for my husband…

IMG_9585

Gummy gun.

This morning I got up early to make the fam these french toast hearts, and tonight I plan on replicating a restaurant dish my hubby brought up in a convo the other day!

Anyways, not yapping to brag, but switching my attitude and expectations has really helped to make this holiday not glum, so I figured I’d share.

You still have time to make these bacon roses for your hubby or friends today!!! DO IT!!!

Happy Cinnamon-Toasting, and Bacon-Roasting!

~Dot


Posted in Dairy-Free recipes, Dessert, Just writing about stuff..., Recipes, Snacktivities | Tagged , , , , , , , , , , | 2 Comments