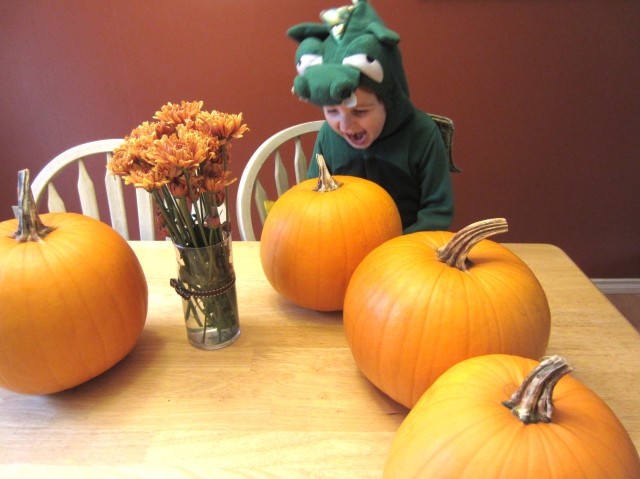
I looove Halloween- I love the neat little traditions that go along with it too- Hanging out with the neighbors, decorating, dressing up, and carving pumpkins! This year I’ve been super-inspired by all the unique pumpkin ideas that Pinterest has to offer- so I thought I’d try my hand at a few of them. This year I have 4 beautiful pumpkins to work with:
Me and the dragon were pretty excited to get started! I’ll be sharing a tutorial for each of my special creations before Oct 31st. So this is Pumpkin #1 and even though I’ll be showing you a few stolen pumpkin ideas, this first one is my own creation:
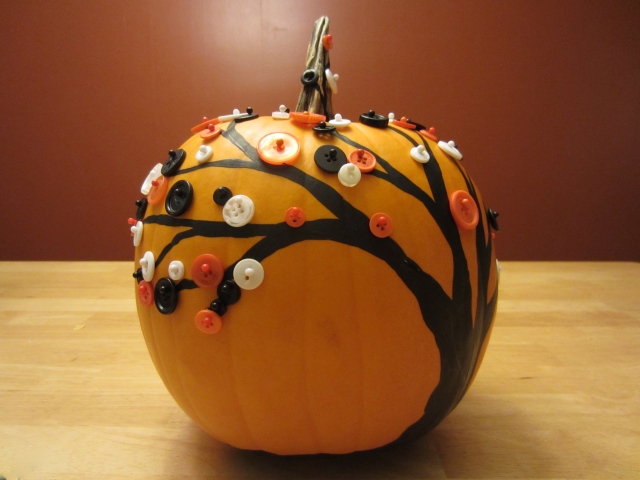
Button Tree Pumpkin!!!! OF COURSE!
This was so fun to do and I’ve been waiting soooo long to do it! So letsss do it!
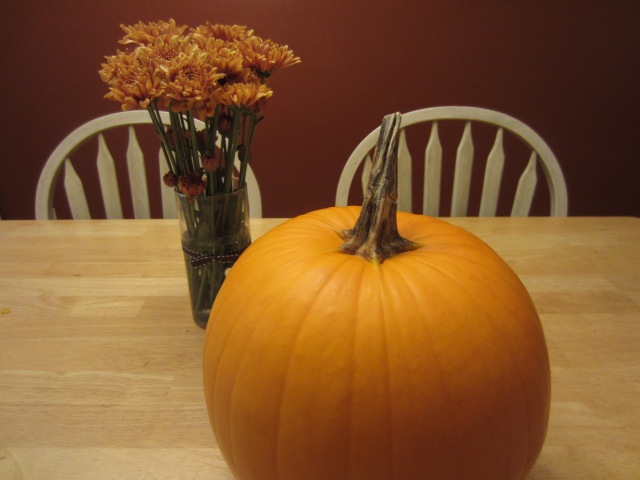
Step 1: Pick your pumpkin. (And pick some lovely fall-colored flowers for the effect.)
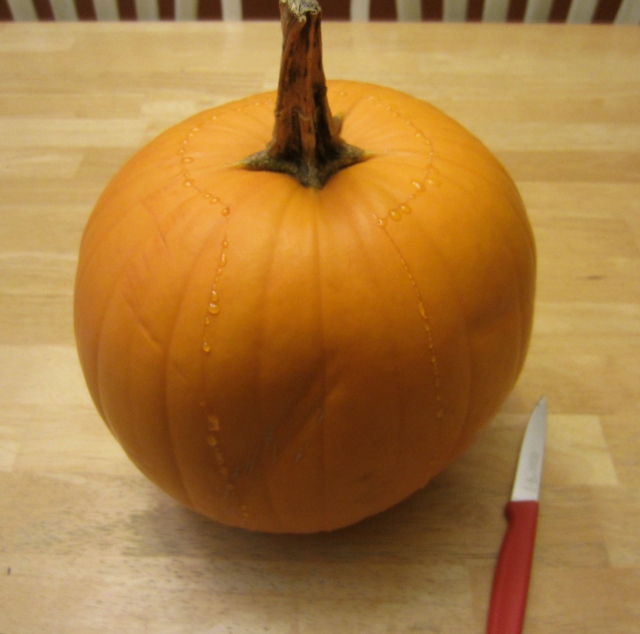
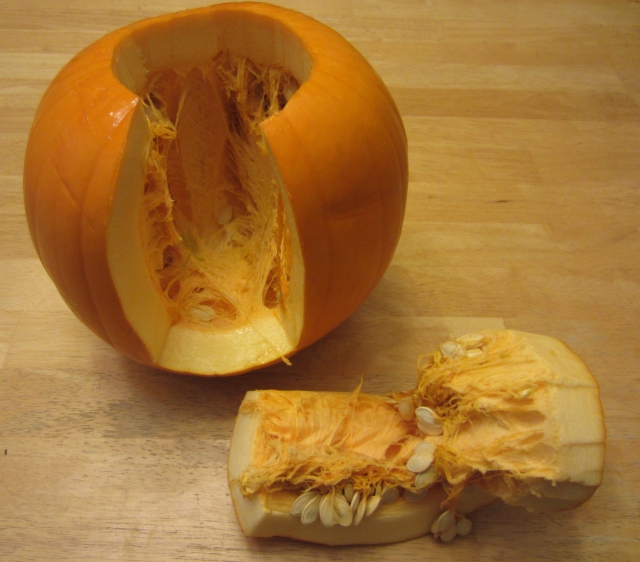
Step 2: Cut out the top/ back of your chosen pumpkin. I saw this little trick on Pinterest too- cutting the pumpkin like this makes it so much easier to scoop the guts out!!! (*UPDATE* with one of my pumpkins this method caused the top to be kinda flimsy, so I had to fasten the top with some pins. SO I’d recommend reading this tutorial on how to open up the pumpkin in this way, which is a lot more clear than the first one I saw!)
I lightly scored the pumpkin before I cut it all the way through. The first cut is the deepest… pumpkin totally cried 😦
Check out that chunk! Look how much room there is now to do the gut-removal surgery!
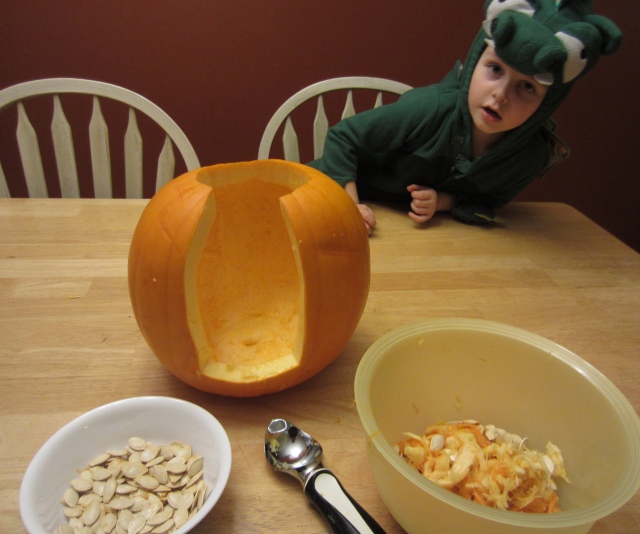
Step 3: Remove the guts. I like to use my super-sharp, super-awesome Tupperware ice cream scoop to scoop out the innards. Get your friendly neighborhood dragon to help you separate the seeds from the stringy bits. Reserve the seeds for later- perhaps I will do a tutorial on my favorite indian-spiced pumpkin seeds! And keep those pumpkin guts too- I even have a recipe for a delicious pumpkin broth that uses the pumpkin innards here.
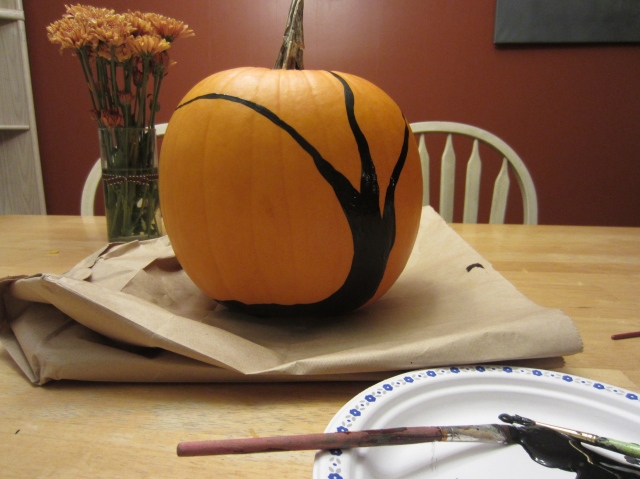
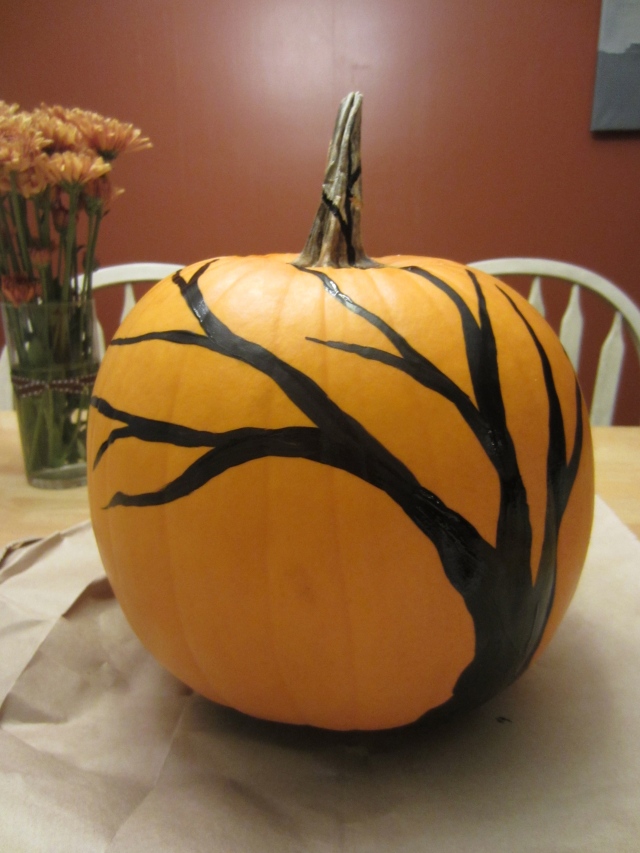
Step 4: Start to paint a spooky tree on the pretty front of the pumpkin using acrylic craft paints. For my detailed tutorial on how to paint a tree- check out the link here.
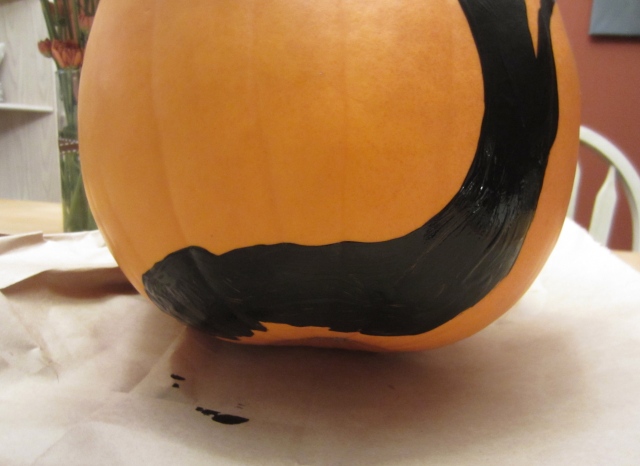
Make sure to paint a bit under the pumpkin too-bring the trunk/roots of the tree down until you can’t see any orange peeking out- lets keep this pumpkin looking nice and crisp!
You can even add some branches going right up the stem! Nifty, huh?
Now that we are done painting the spooky tree, let it dry for 15 minutes… then add the most important ingredient! Step 5:
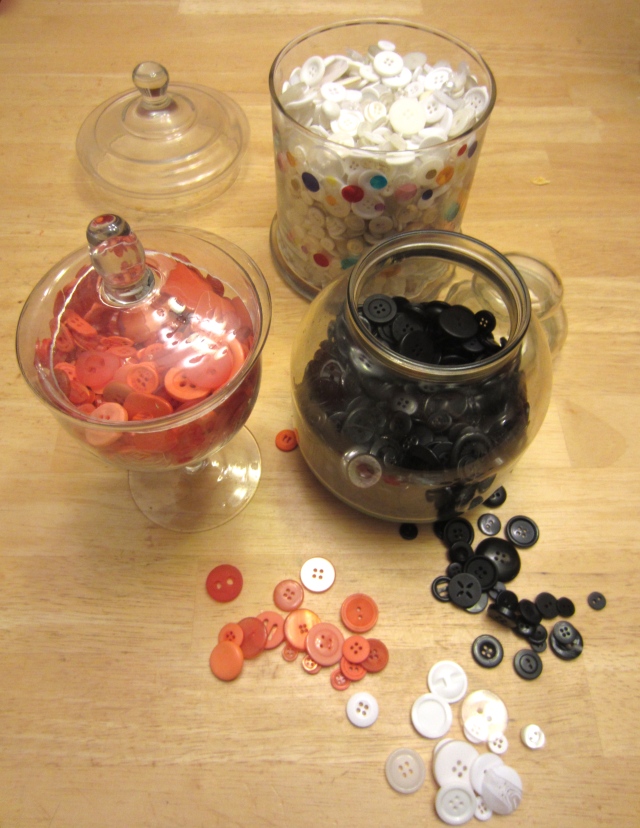
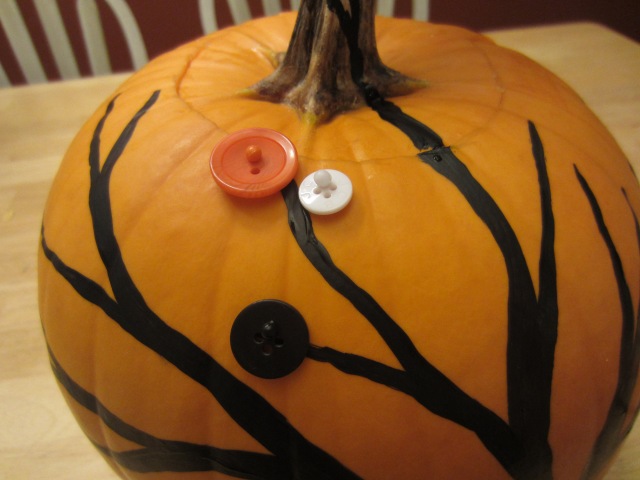
Buttons! Get yourself an assortment of Halloweeny buttons and stick em on yer tree like so:
I used pins, making sure to coordinate them with the buttons. You could probably use hot glue if you don’t have black, white and orange pins, but there is something so incredibly satisfying about sticking pins into a pumpkin- I’d definitely recommend it.
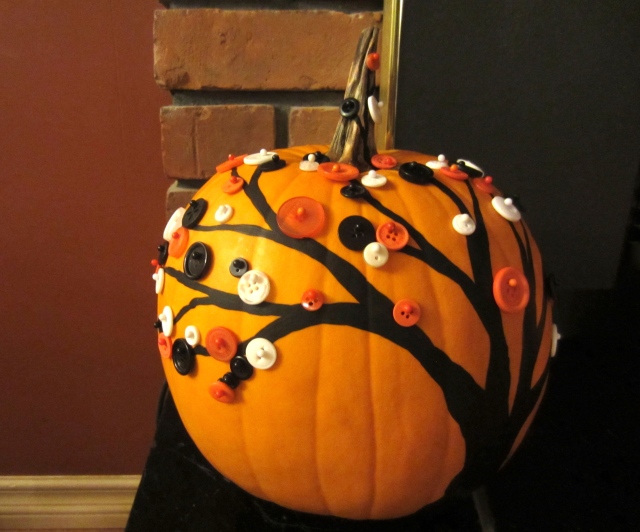
So keep adding buttons until your tree is perfect, then place it gingerly on the hearth of your new fireplace, where it will be displayed in all its glory until October 31st. Or until it starts to get moldy…
This year I am making sure to check the freshness of my pumpkins regularly- the second they start to seem less than healthy, I am cutting them up! I don’t want any of this precious melon to go to waste! I have so many great pumpkin recipes to share with you after their 15 minutes of artistic fame is up!
Well I hope this was inspiring and/or helpful! Can’t wait to share my other 3 jack-o-lanterns with you!
Happy… Pumpkin Pinning!!!
~Dot



In Mexico we don´t have these traditions (we don´t celebrate halloween, instead we celebrate Dia de Muertos), but I love to see all these beautiful, creepy, spooky and fun halloweeny things. That pumpkin is awesome!
Pingback: Four little pumpkins (Part 2) | Busted Button
Pingback: Four Little Pumpkins (Part 3) | Busted Button
Pingback: What to do With Pumpkin Guts (And a Most-Delicious Stock and Mushroom Soup Recipe) | Busted Button
Pingback: Halloween decorations « Craft Bay
Pingback: Excuse me, Ma’am, There’s a Life-Sized Witch in Your Window. | Busted Button
Pingback: my Craft Bay » Inspiration. How to reuse old buttons for Halloween decorations
Pingback: Inspiration. How to make Halloween decorations reusing old buttons my Craft Bay
Being that you just painted and pinned buttons, there is no where for light to come out, meaning no need for a candle, meaning no need to carve out the middle…? Did I miss something?
I’m partially blaming my pregnant brain at the time on that, lol, but I also wanted to explain how I hollow the pumpkin in my first of the four pumpkin tutorials, so I could link back to it in each one 🙂
Thank you for the response! I totally understand! Just wanted to make sure my mommy-brain wasn’t missing something =]
Pingback: Halloween Decorations - 100 Easy to Make Halloween Decor - Rilane