Poop and Pancakes (Cinnamon Roll Pancakes)

With all these painting orders and planning for the arrival of my little Miss Flora Nightingale in the next few weeks, I CANNOT BELIEVE that I forgot that today is PANCAKE TUESDAY. Oh yes it is, and noooo I did not make that up! This isn’t even a silly invented holiday- In fact it’s Shrove Tuesday, and I just dug this little nugget of info off of Wikipedia so you can learn something new today!

“Pancakes are associated with the day preceding Lent because they were a way to use up rich foods such as eggs, milk, and sugar, before the fasting season of the 40 days of Lent. The liturgical fasting emphasized eating plainer food and refraining from food that would give pleasure: In many cultures, this means no meat, dairy, or eggs.”

Wow. My mind is so bursting with knowledge and my stomach is ready to be bursting with pancakes, so lets get started. And I’ll make these dairy-free in honor of Lent. Just kidding, it’s in honor of me or anyone who can’t digest bovine juice.

Now, feast your eyes on this stack of pancakes (you’ll need to if you want to get the term ‘bovine juice’ out of your mind!)

IMG_7468

These are no ordinary pancakes! In fact, I think pancakes are boring and I don’t really chose to eat them. I was spoiled as a kiddo- my mom would usually make us muffins, french toast or pancakes for breakfast, even on school days, and for some reason I’ve just never been a breakfast fan. Oh man I need to tame the A.D.D. in this post- I am in such a rush for you all to see it that I will probably not even edit this. So, pardon the spelling mistakes etc.

Okay one distraction- I got the BEST blog comment ever! It went like this:

“Although I really like this publish, I believe there was an punctuational error near towards the end of your third paragraph.”

I am SO tempted to respond with his grammar errors! But, I wont. I am aware of my lack of English skills, and until I’m getting paid an insane amount of money to write, I just can’t bring myself to do anything but craft, cook, ramble and show off! That being said, feel free to correct my mistakes- I don’t want to look like an idiot!

BACK TO THE PANCAKES (hopefully we will stay on this topic!!!)


IMG_7454

The thing that makes these pancakes extra special is the cinnamon swirlyness.

OH MY GOSH my 1 year old just got into his poopy diaper. So much for not being distracted and posting this recipe ASAP! You probably don’t want to hear about poop while reading this delicious tutorial- but oh well, it is the story of my life. All  I have to say is that 1 year old poop-messes are SO much better than 7 year old autistic poop messes.

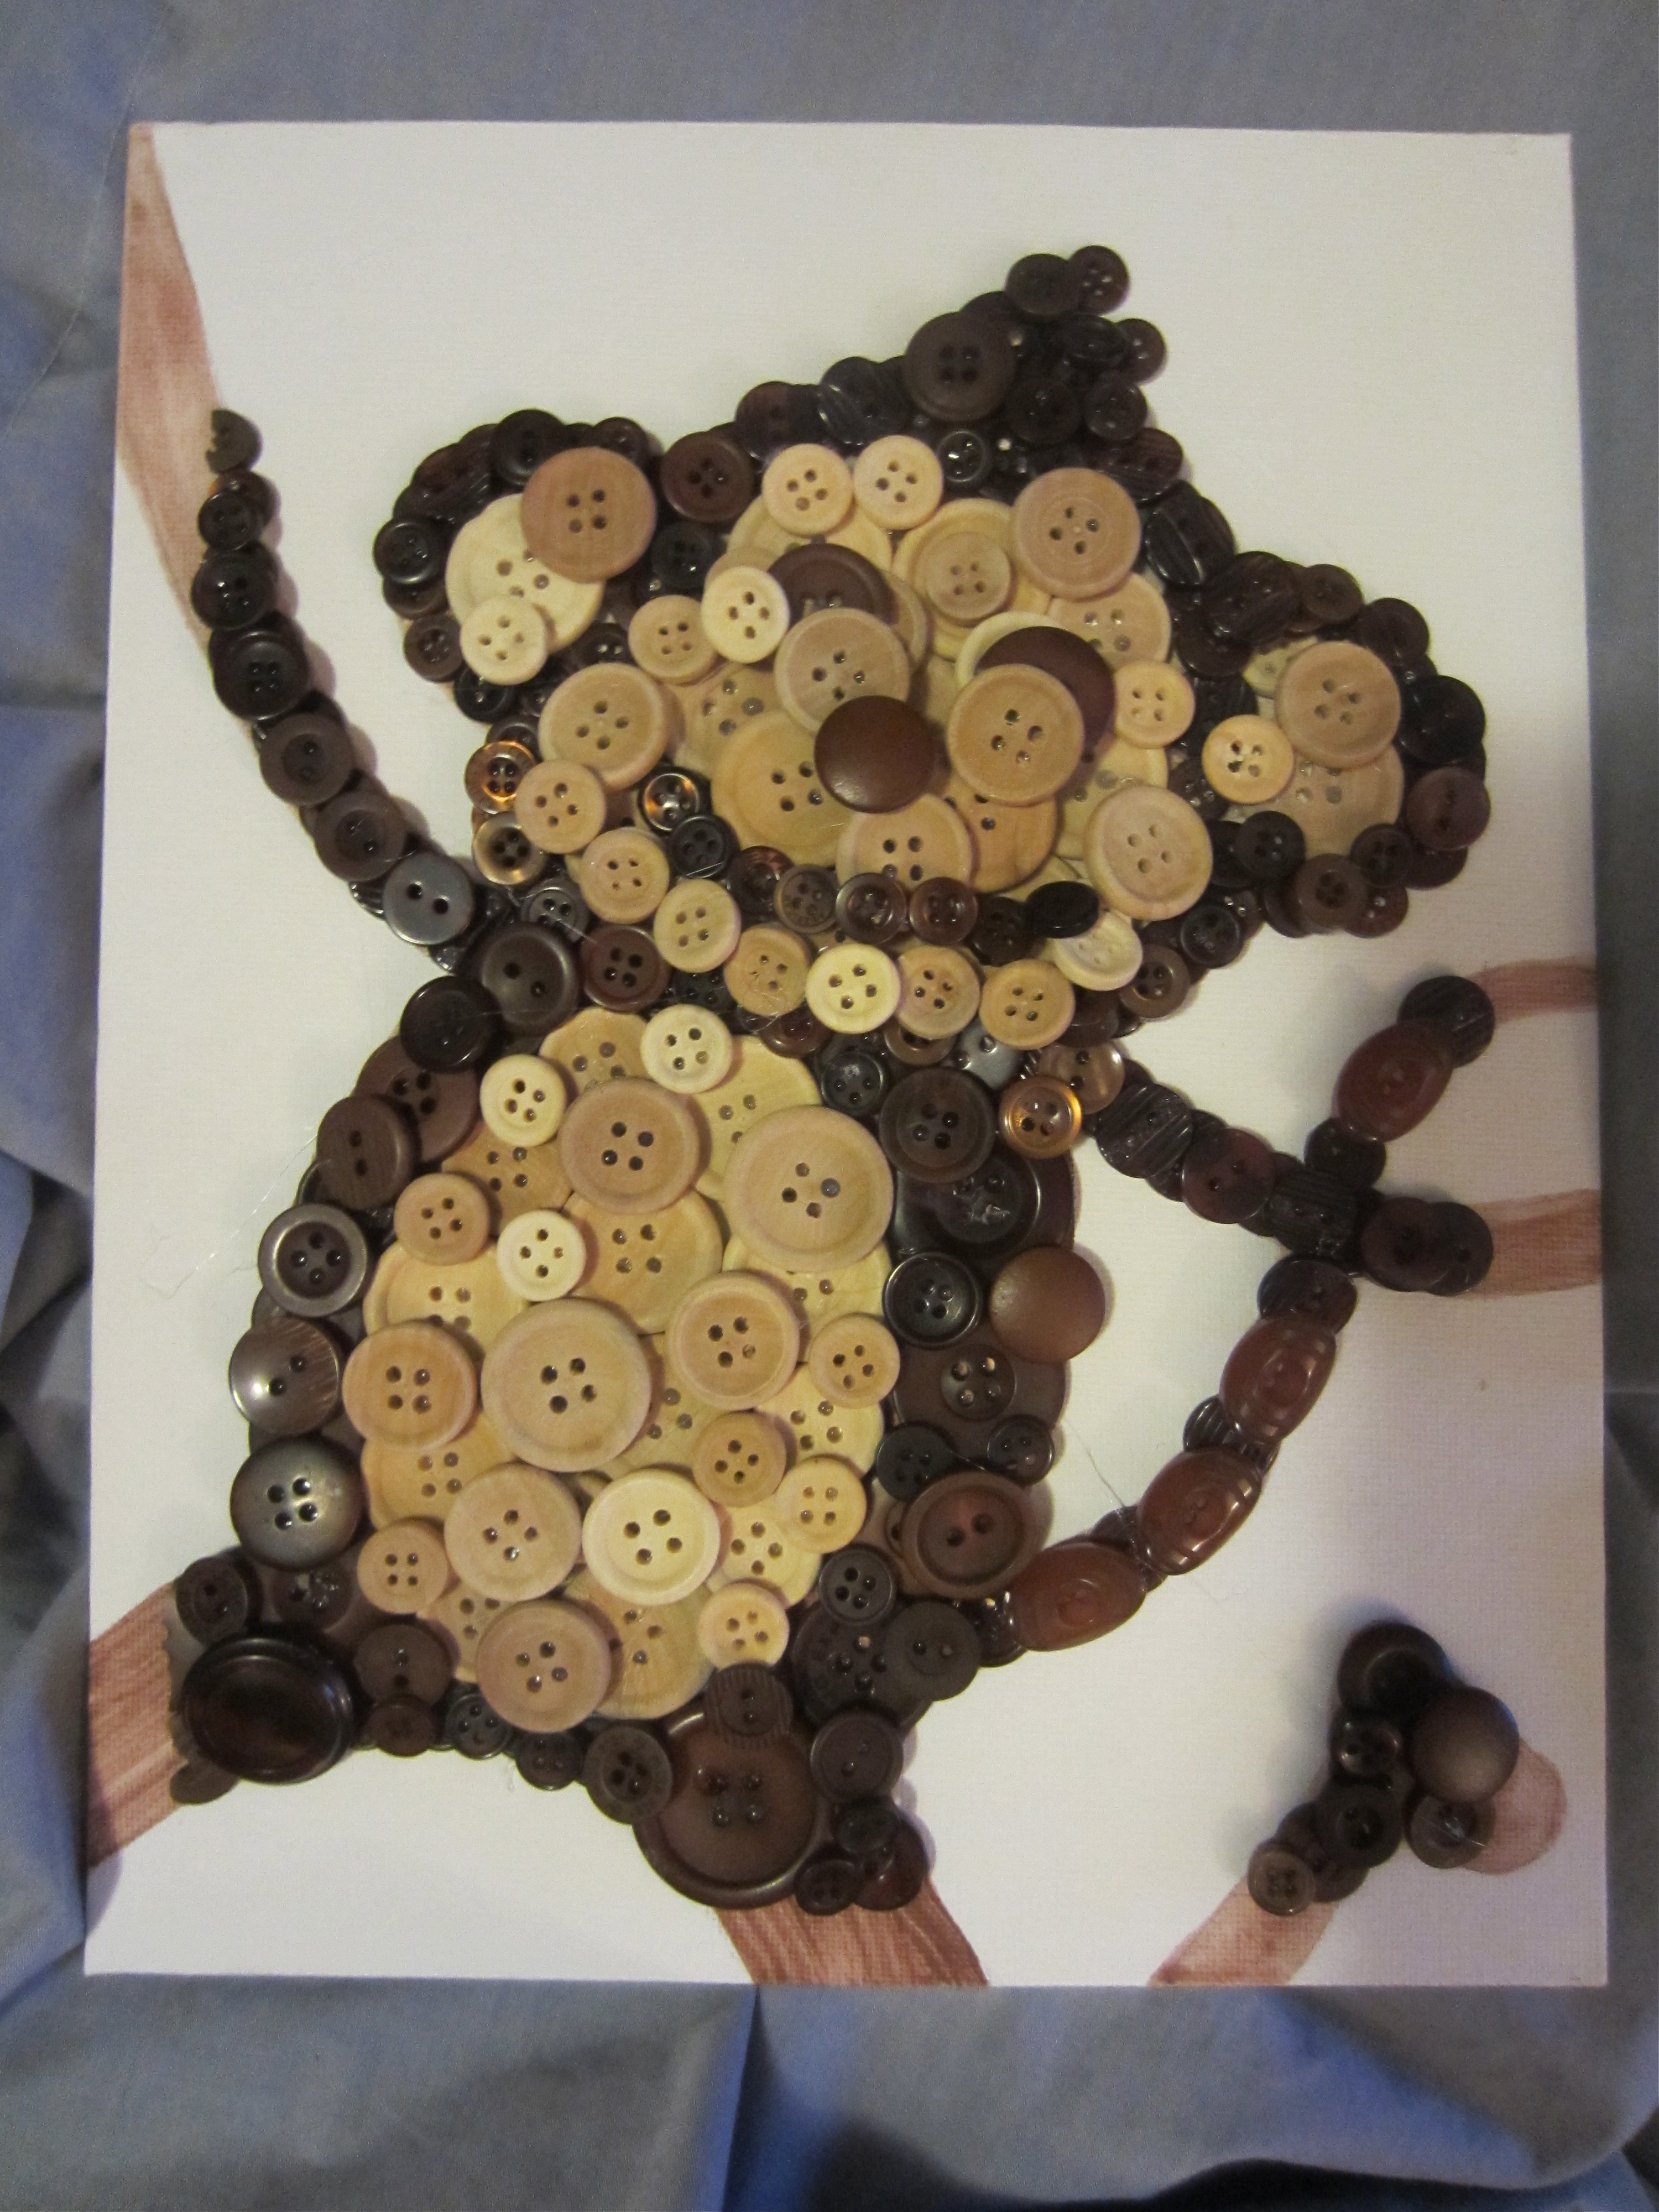
Speaking of autism, check out the sweet fundraiser that my sons AMAZING school organized to raise money for autism services!!! It is a great auction, with lots of awesome handmade things to be won! I’ve even got a couple of items up there- so check it out HERE! 

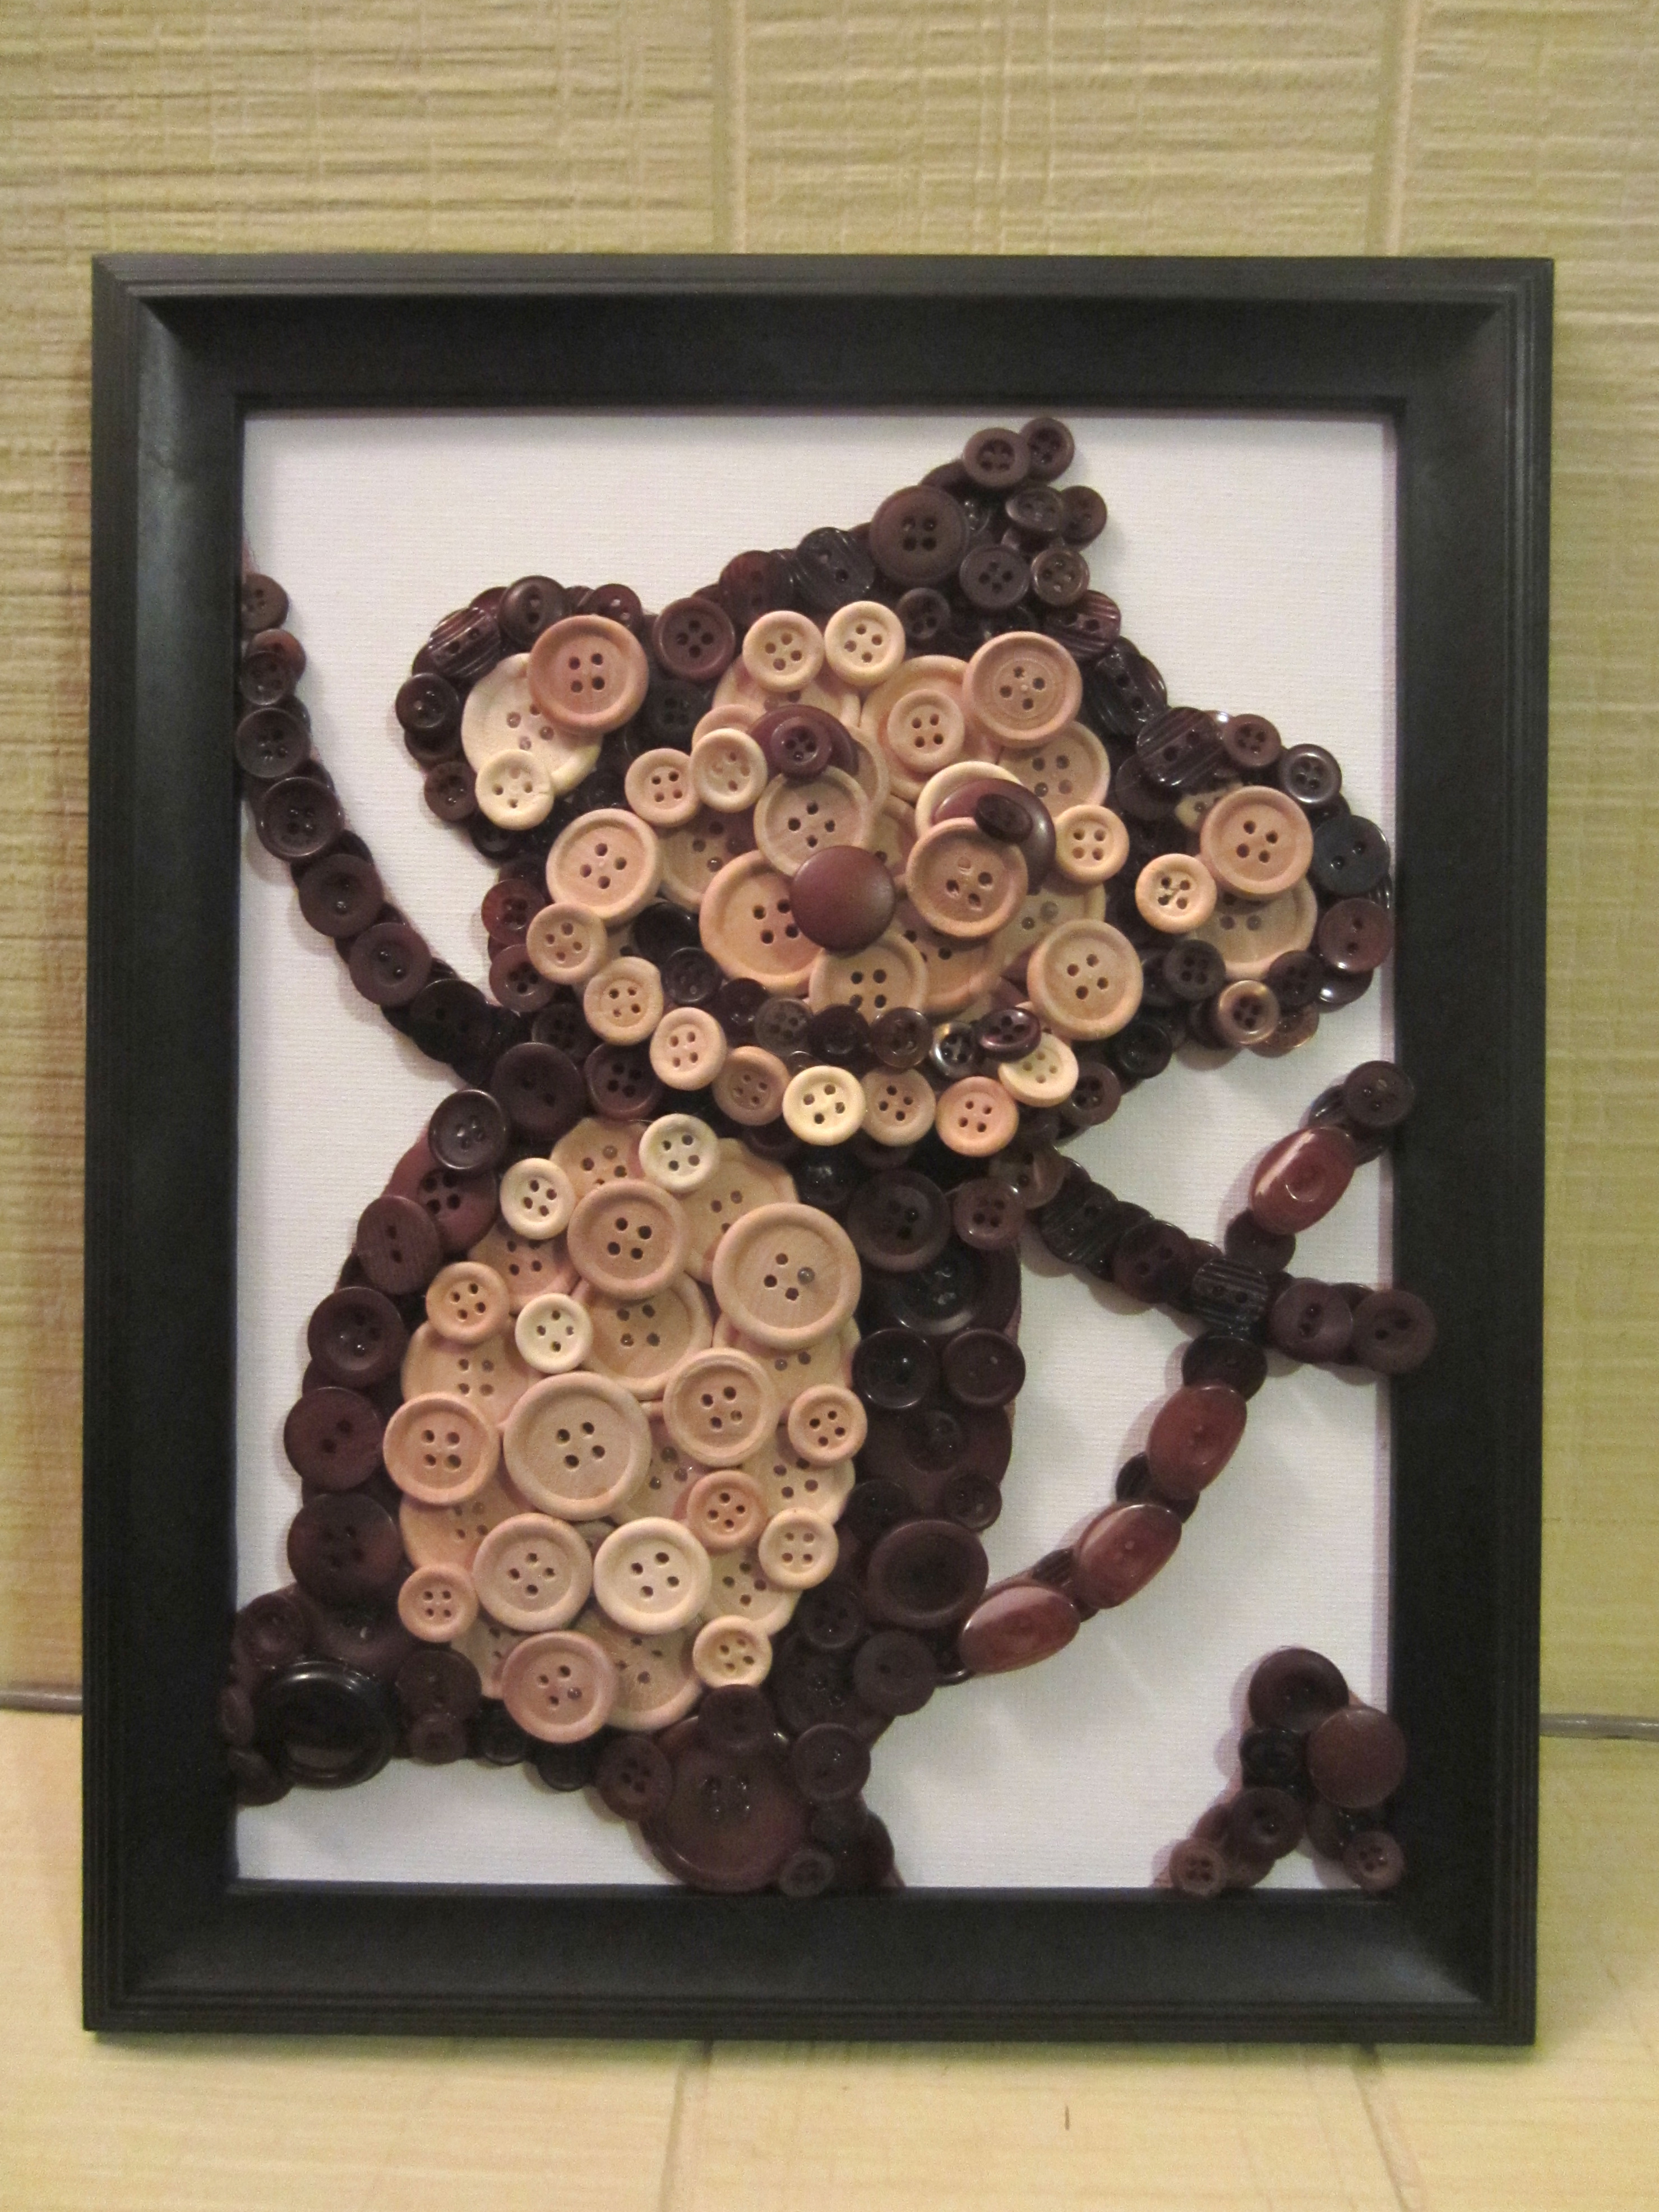
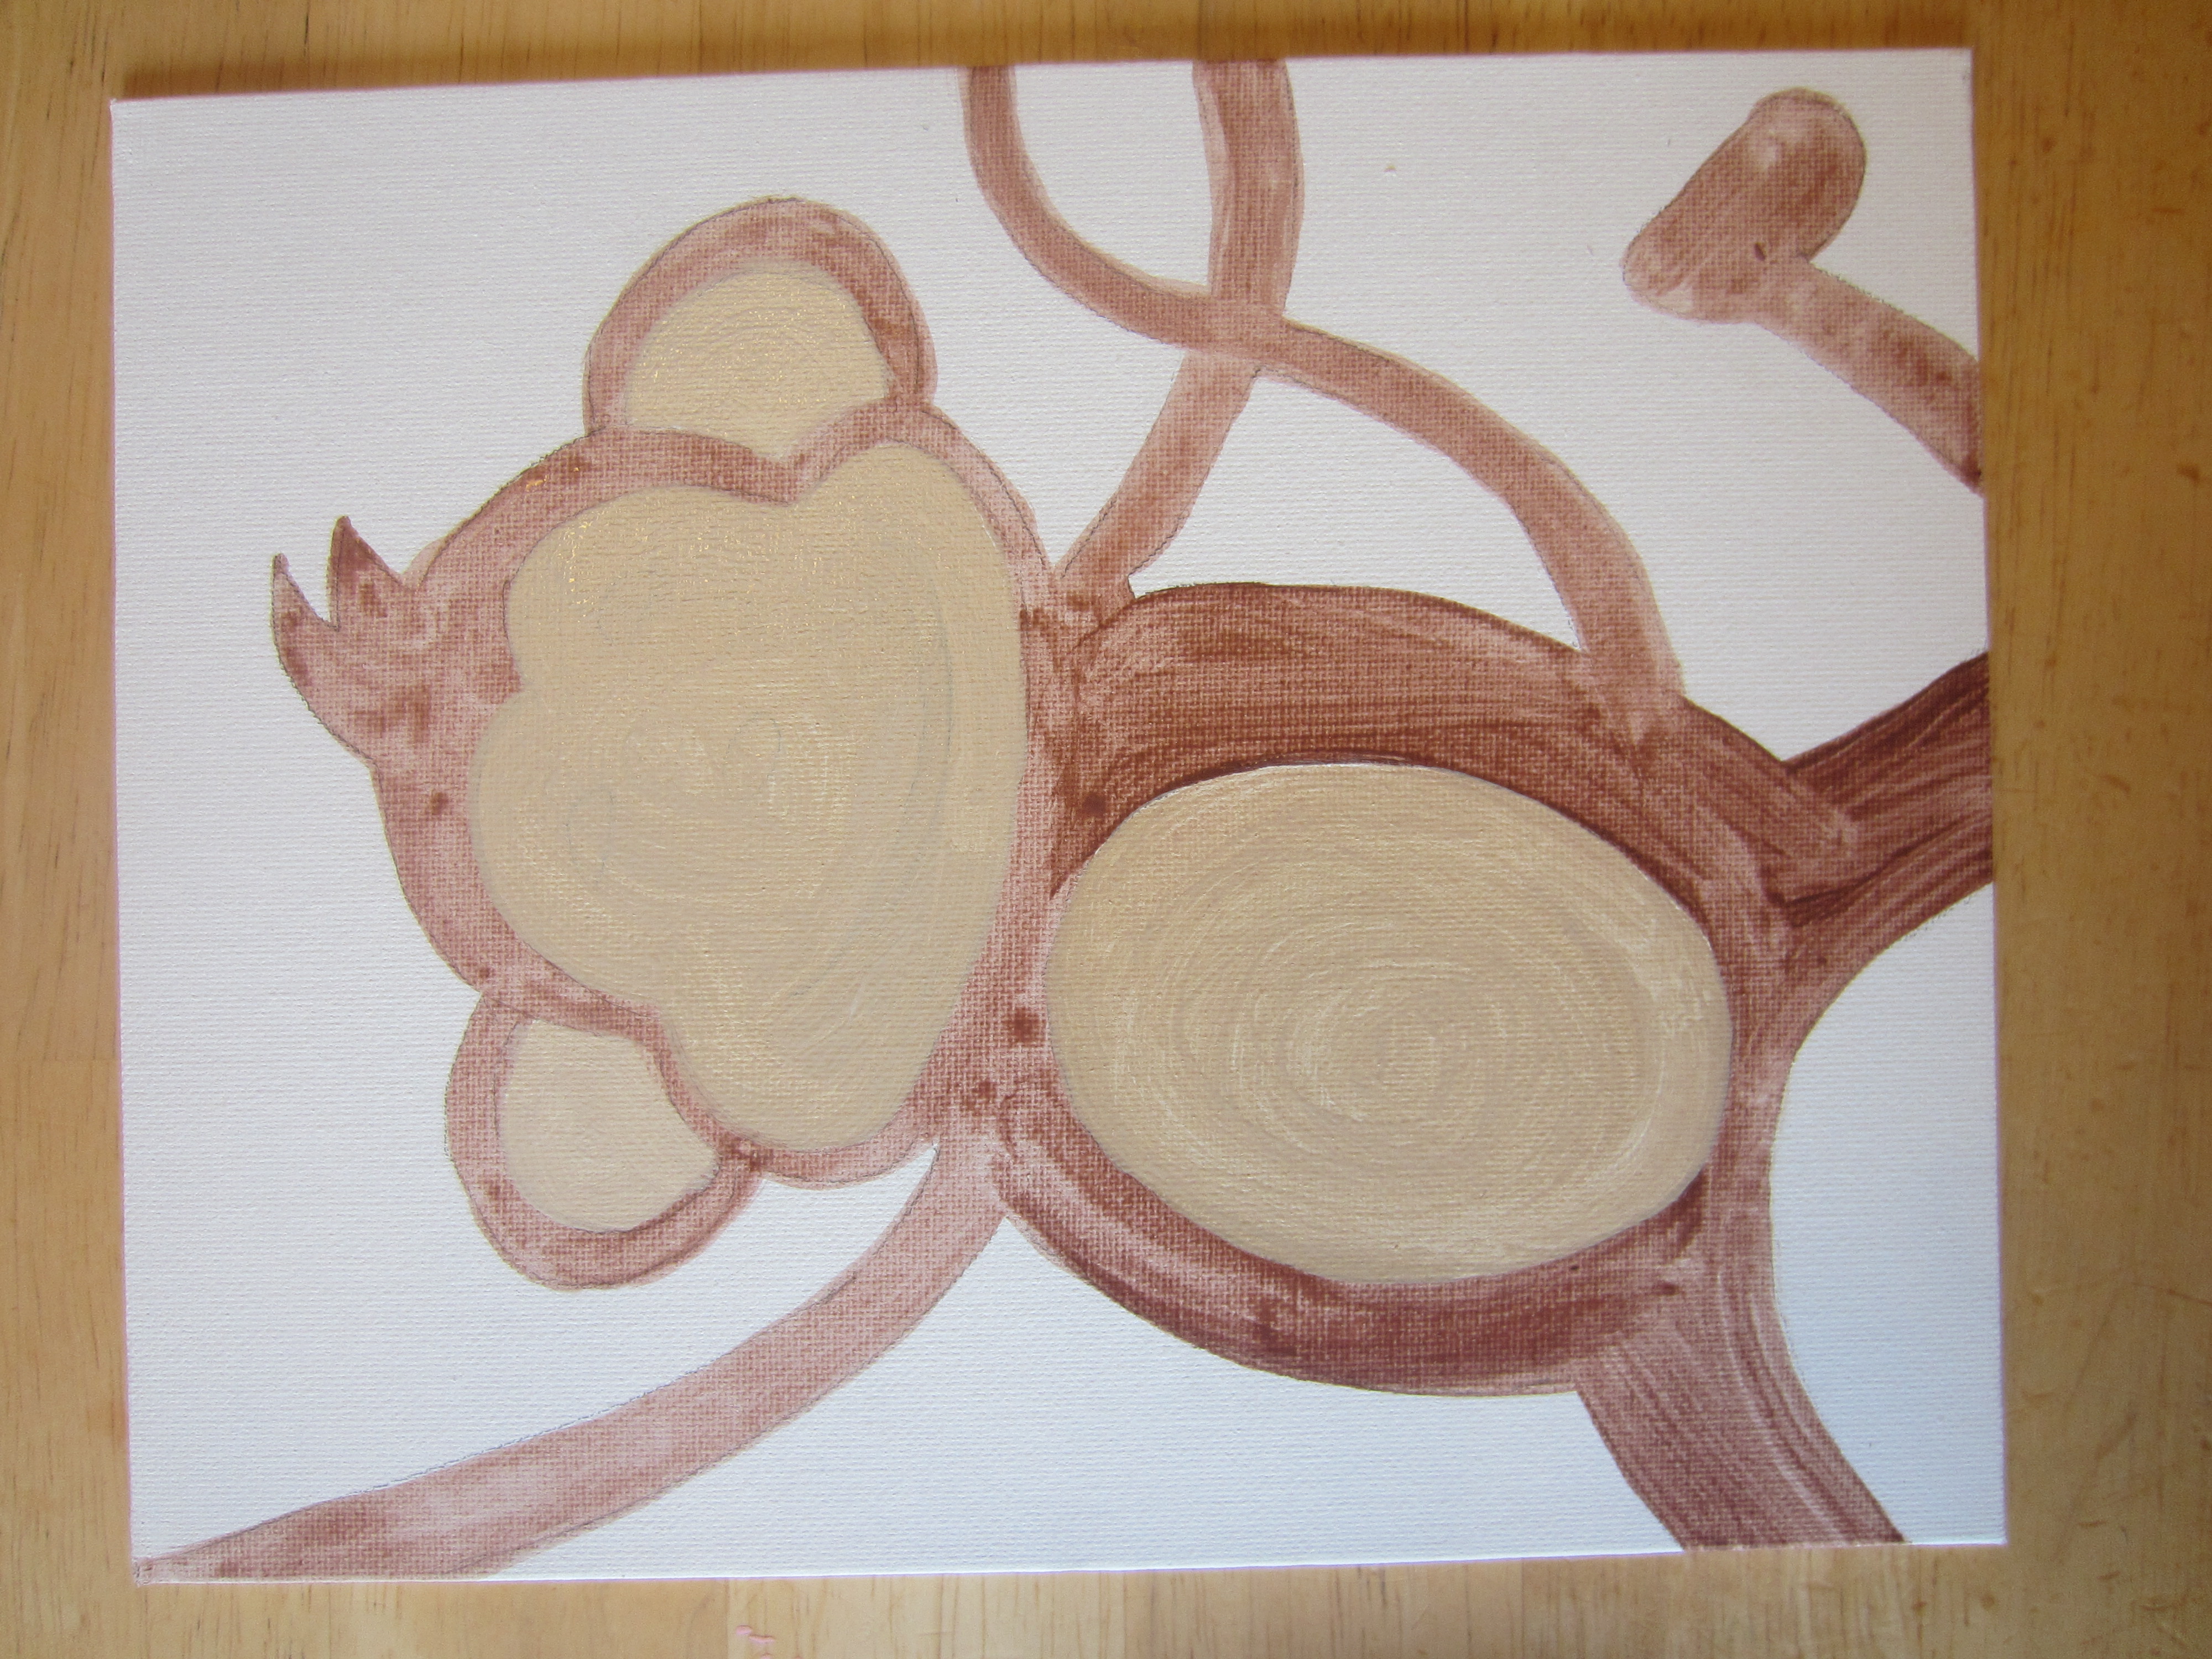
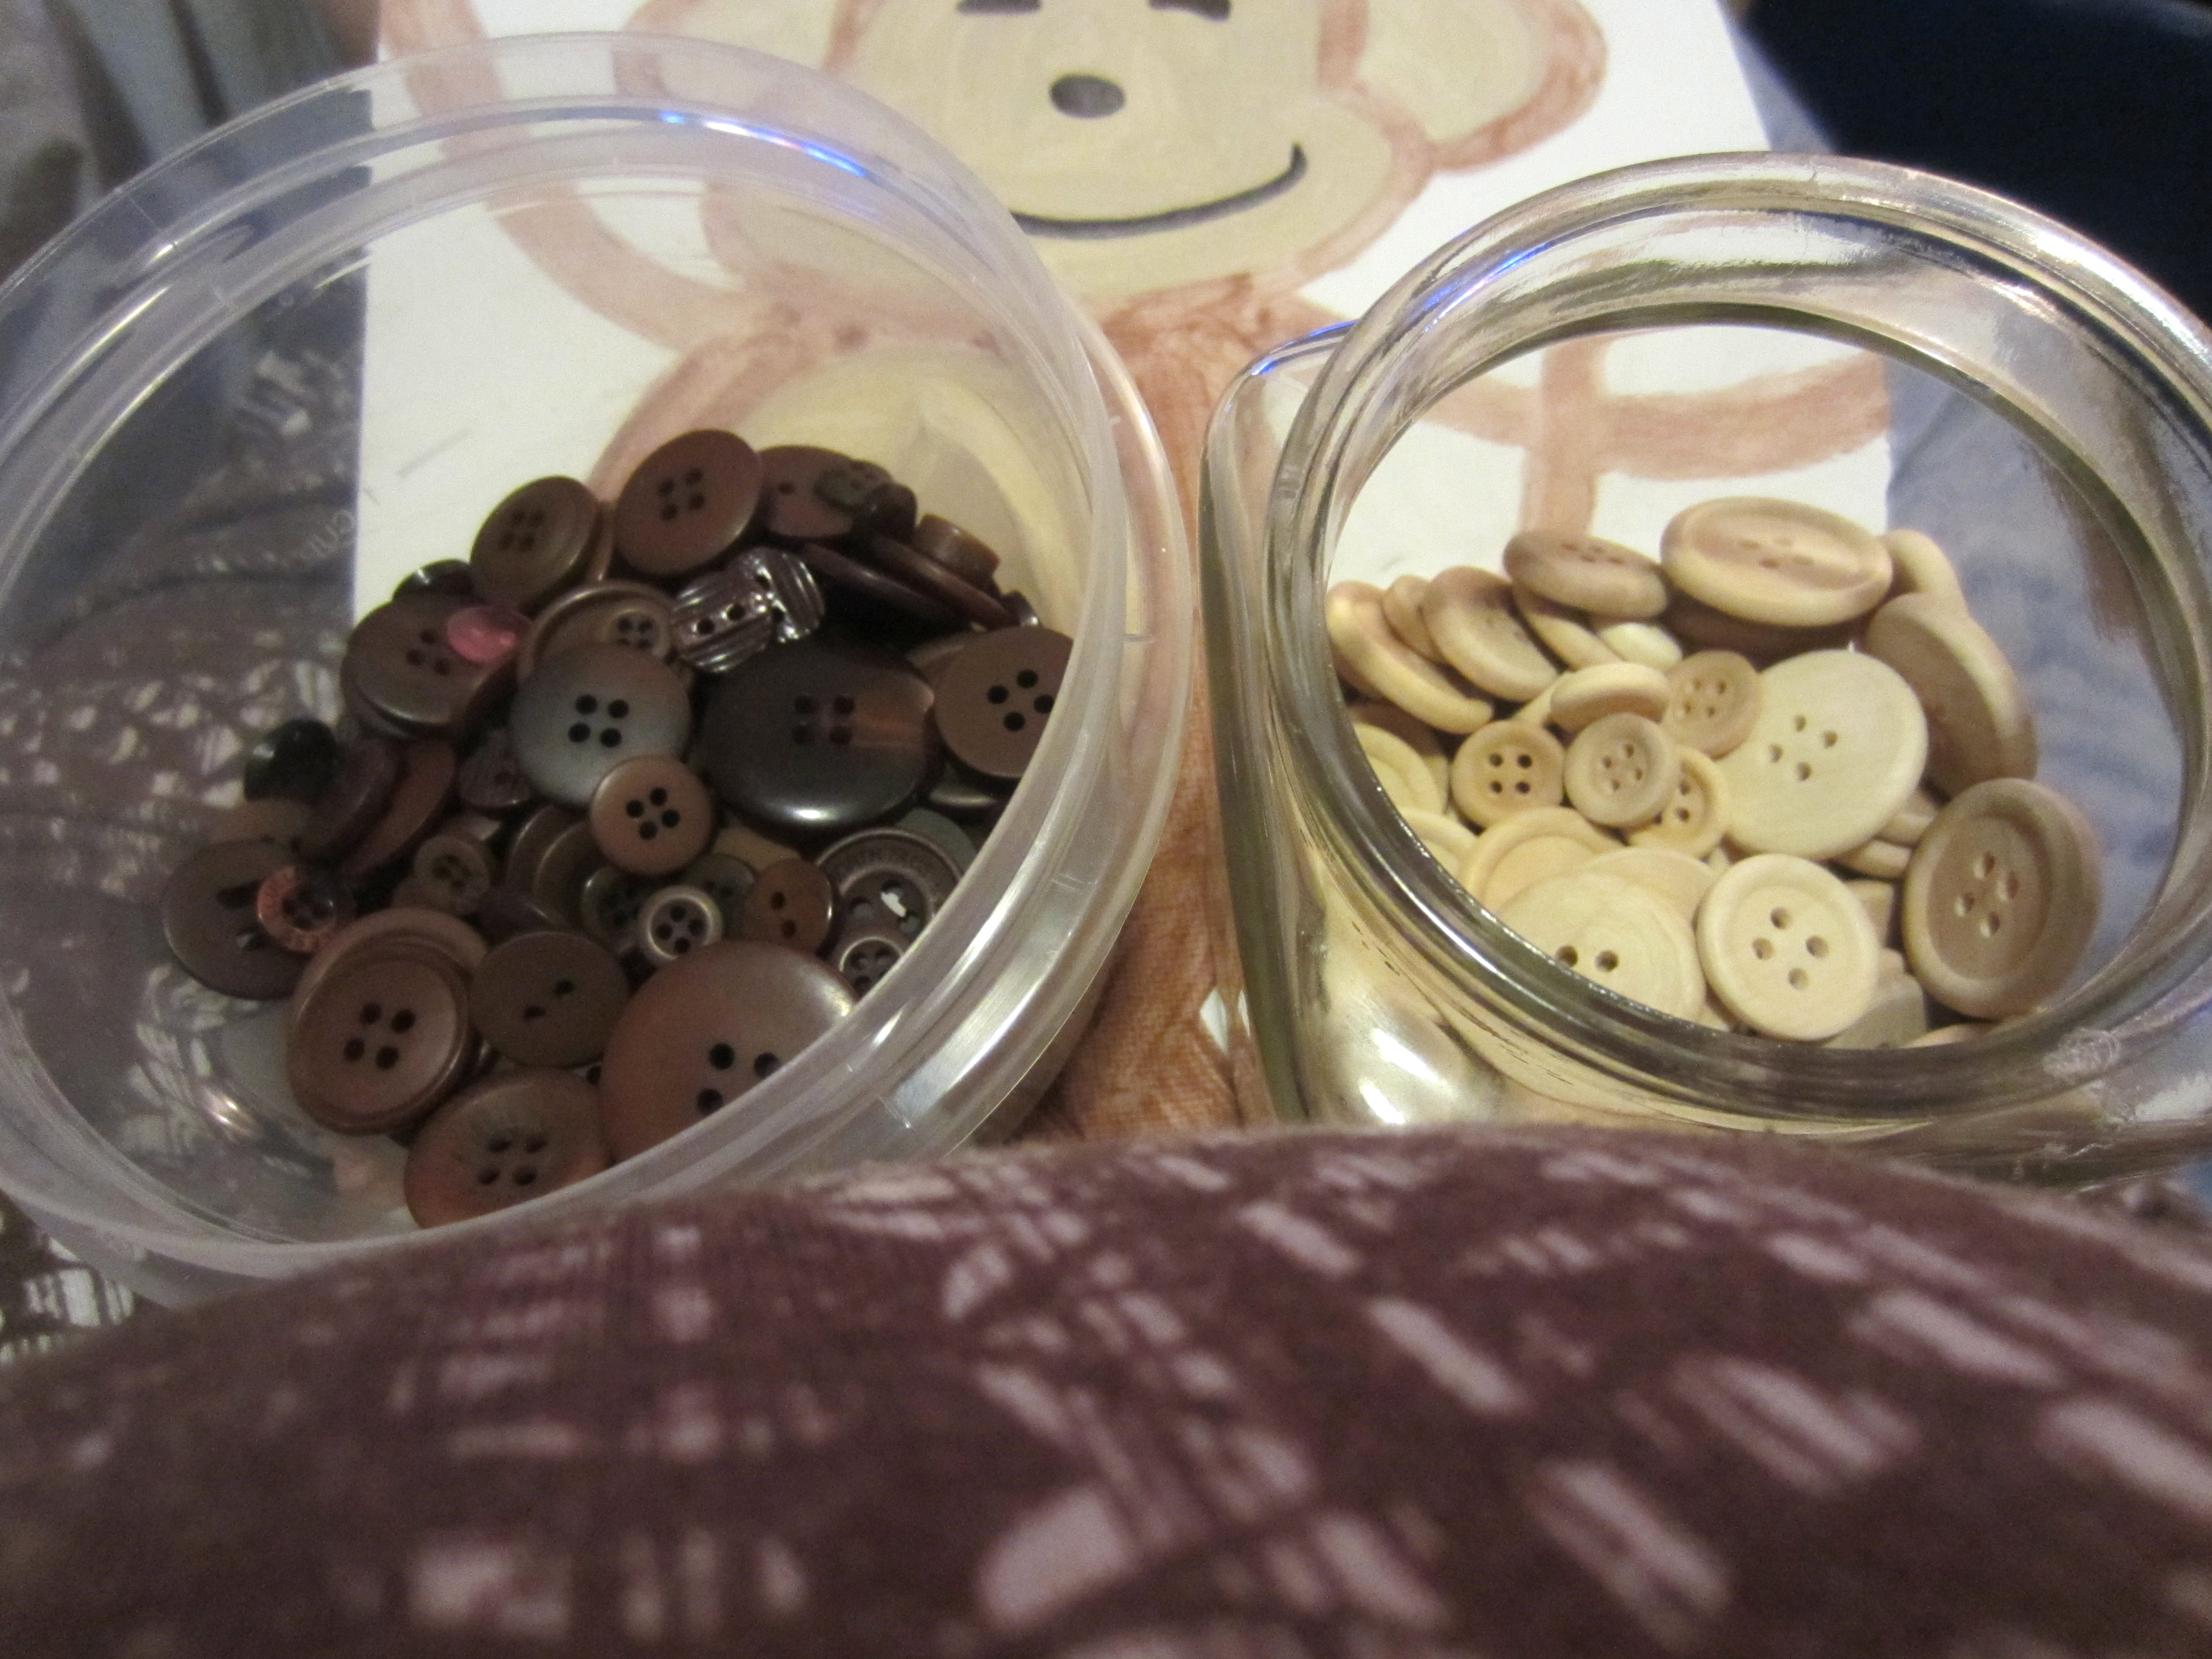
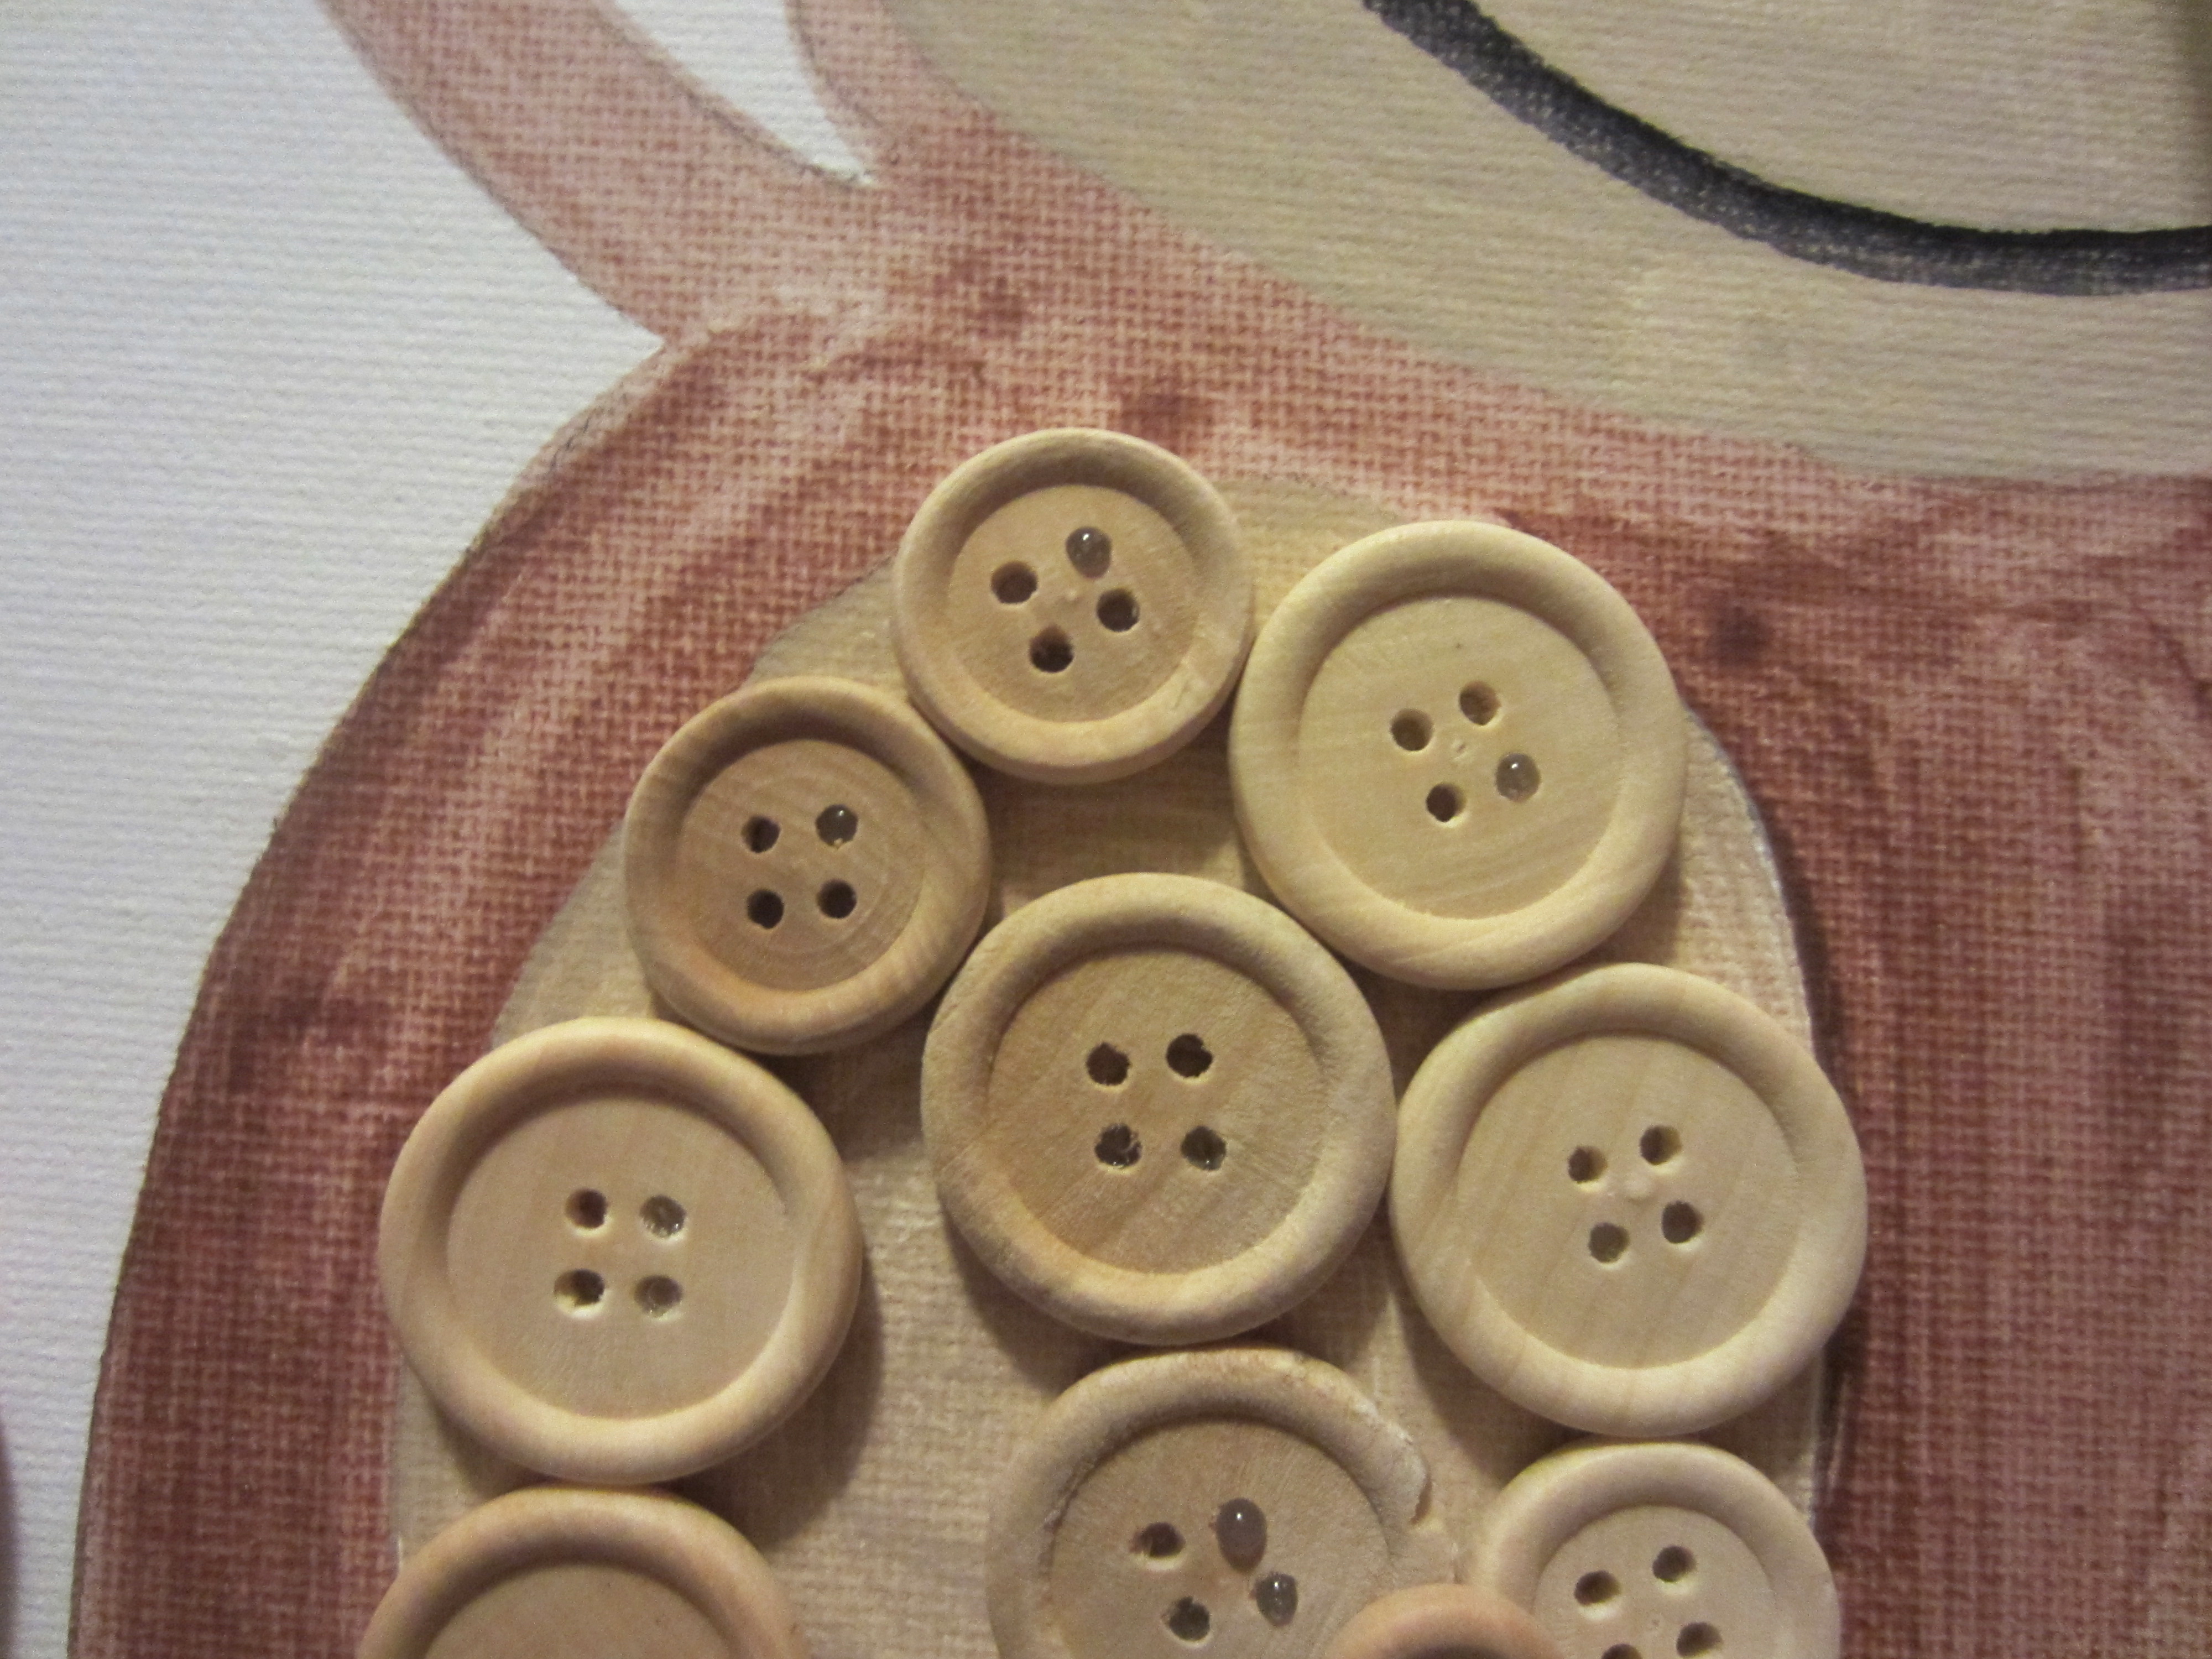
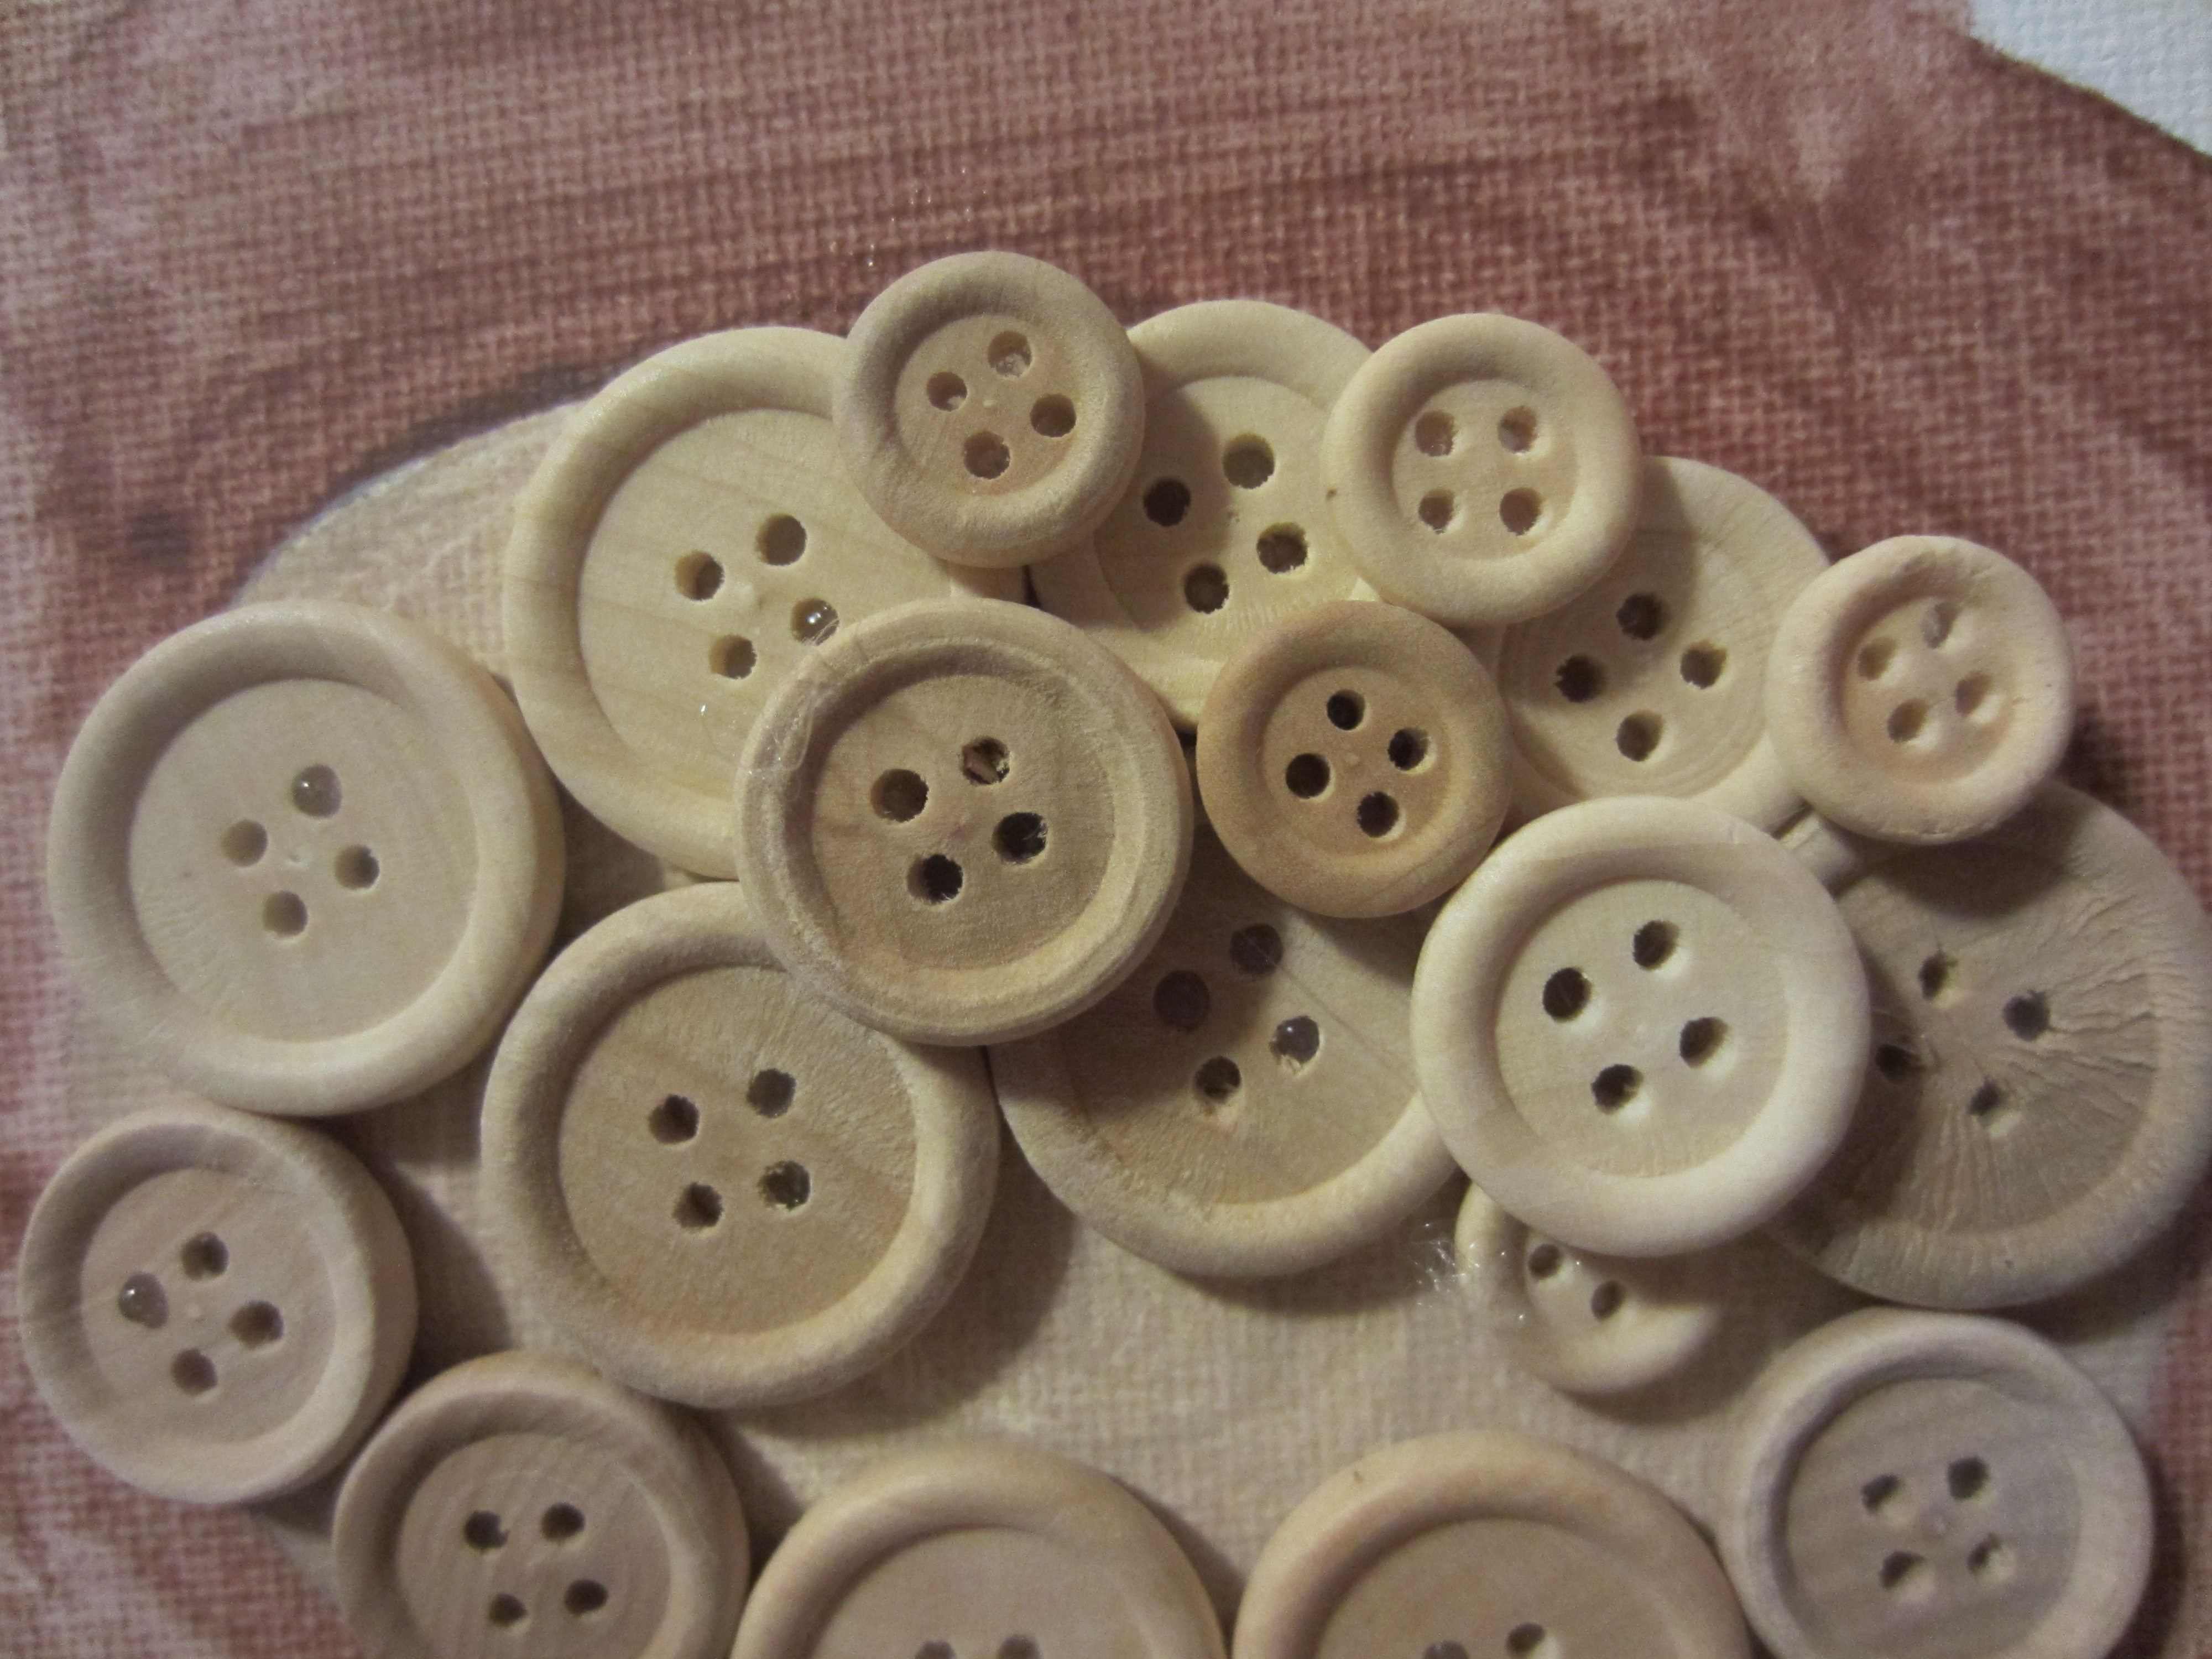
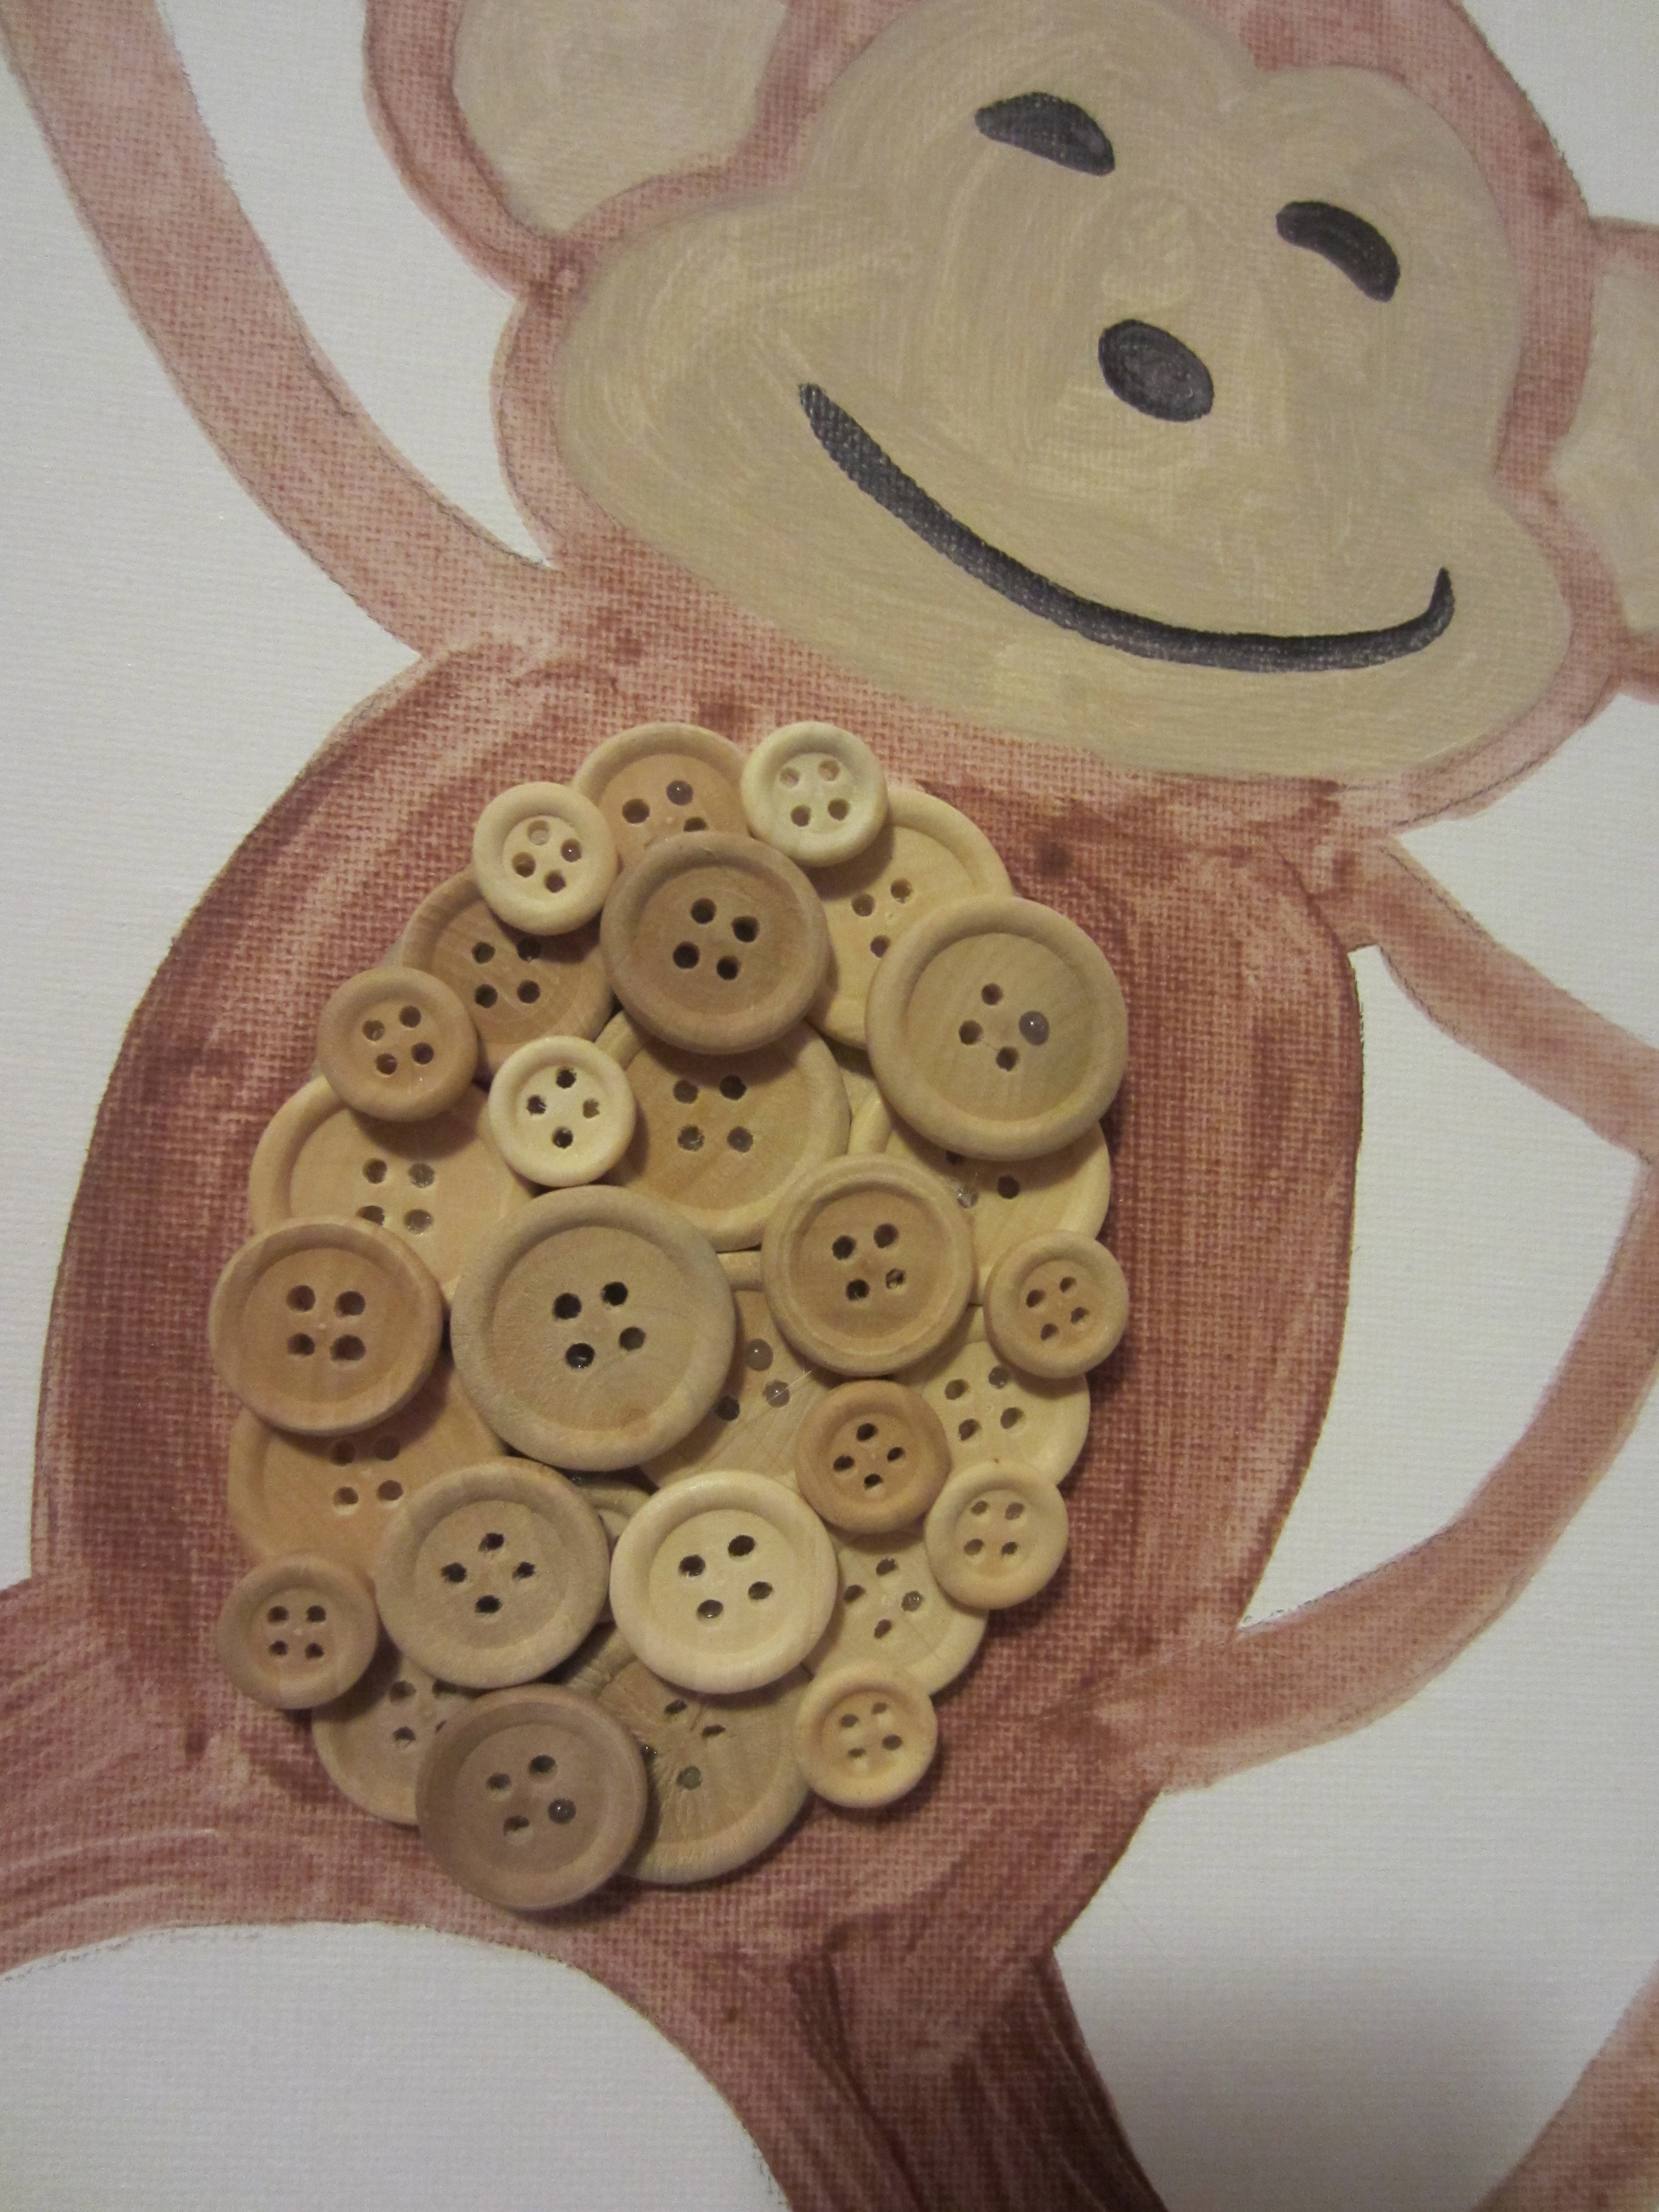
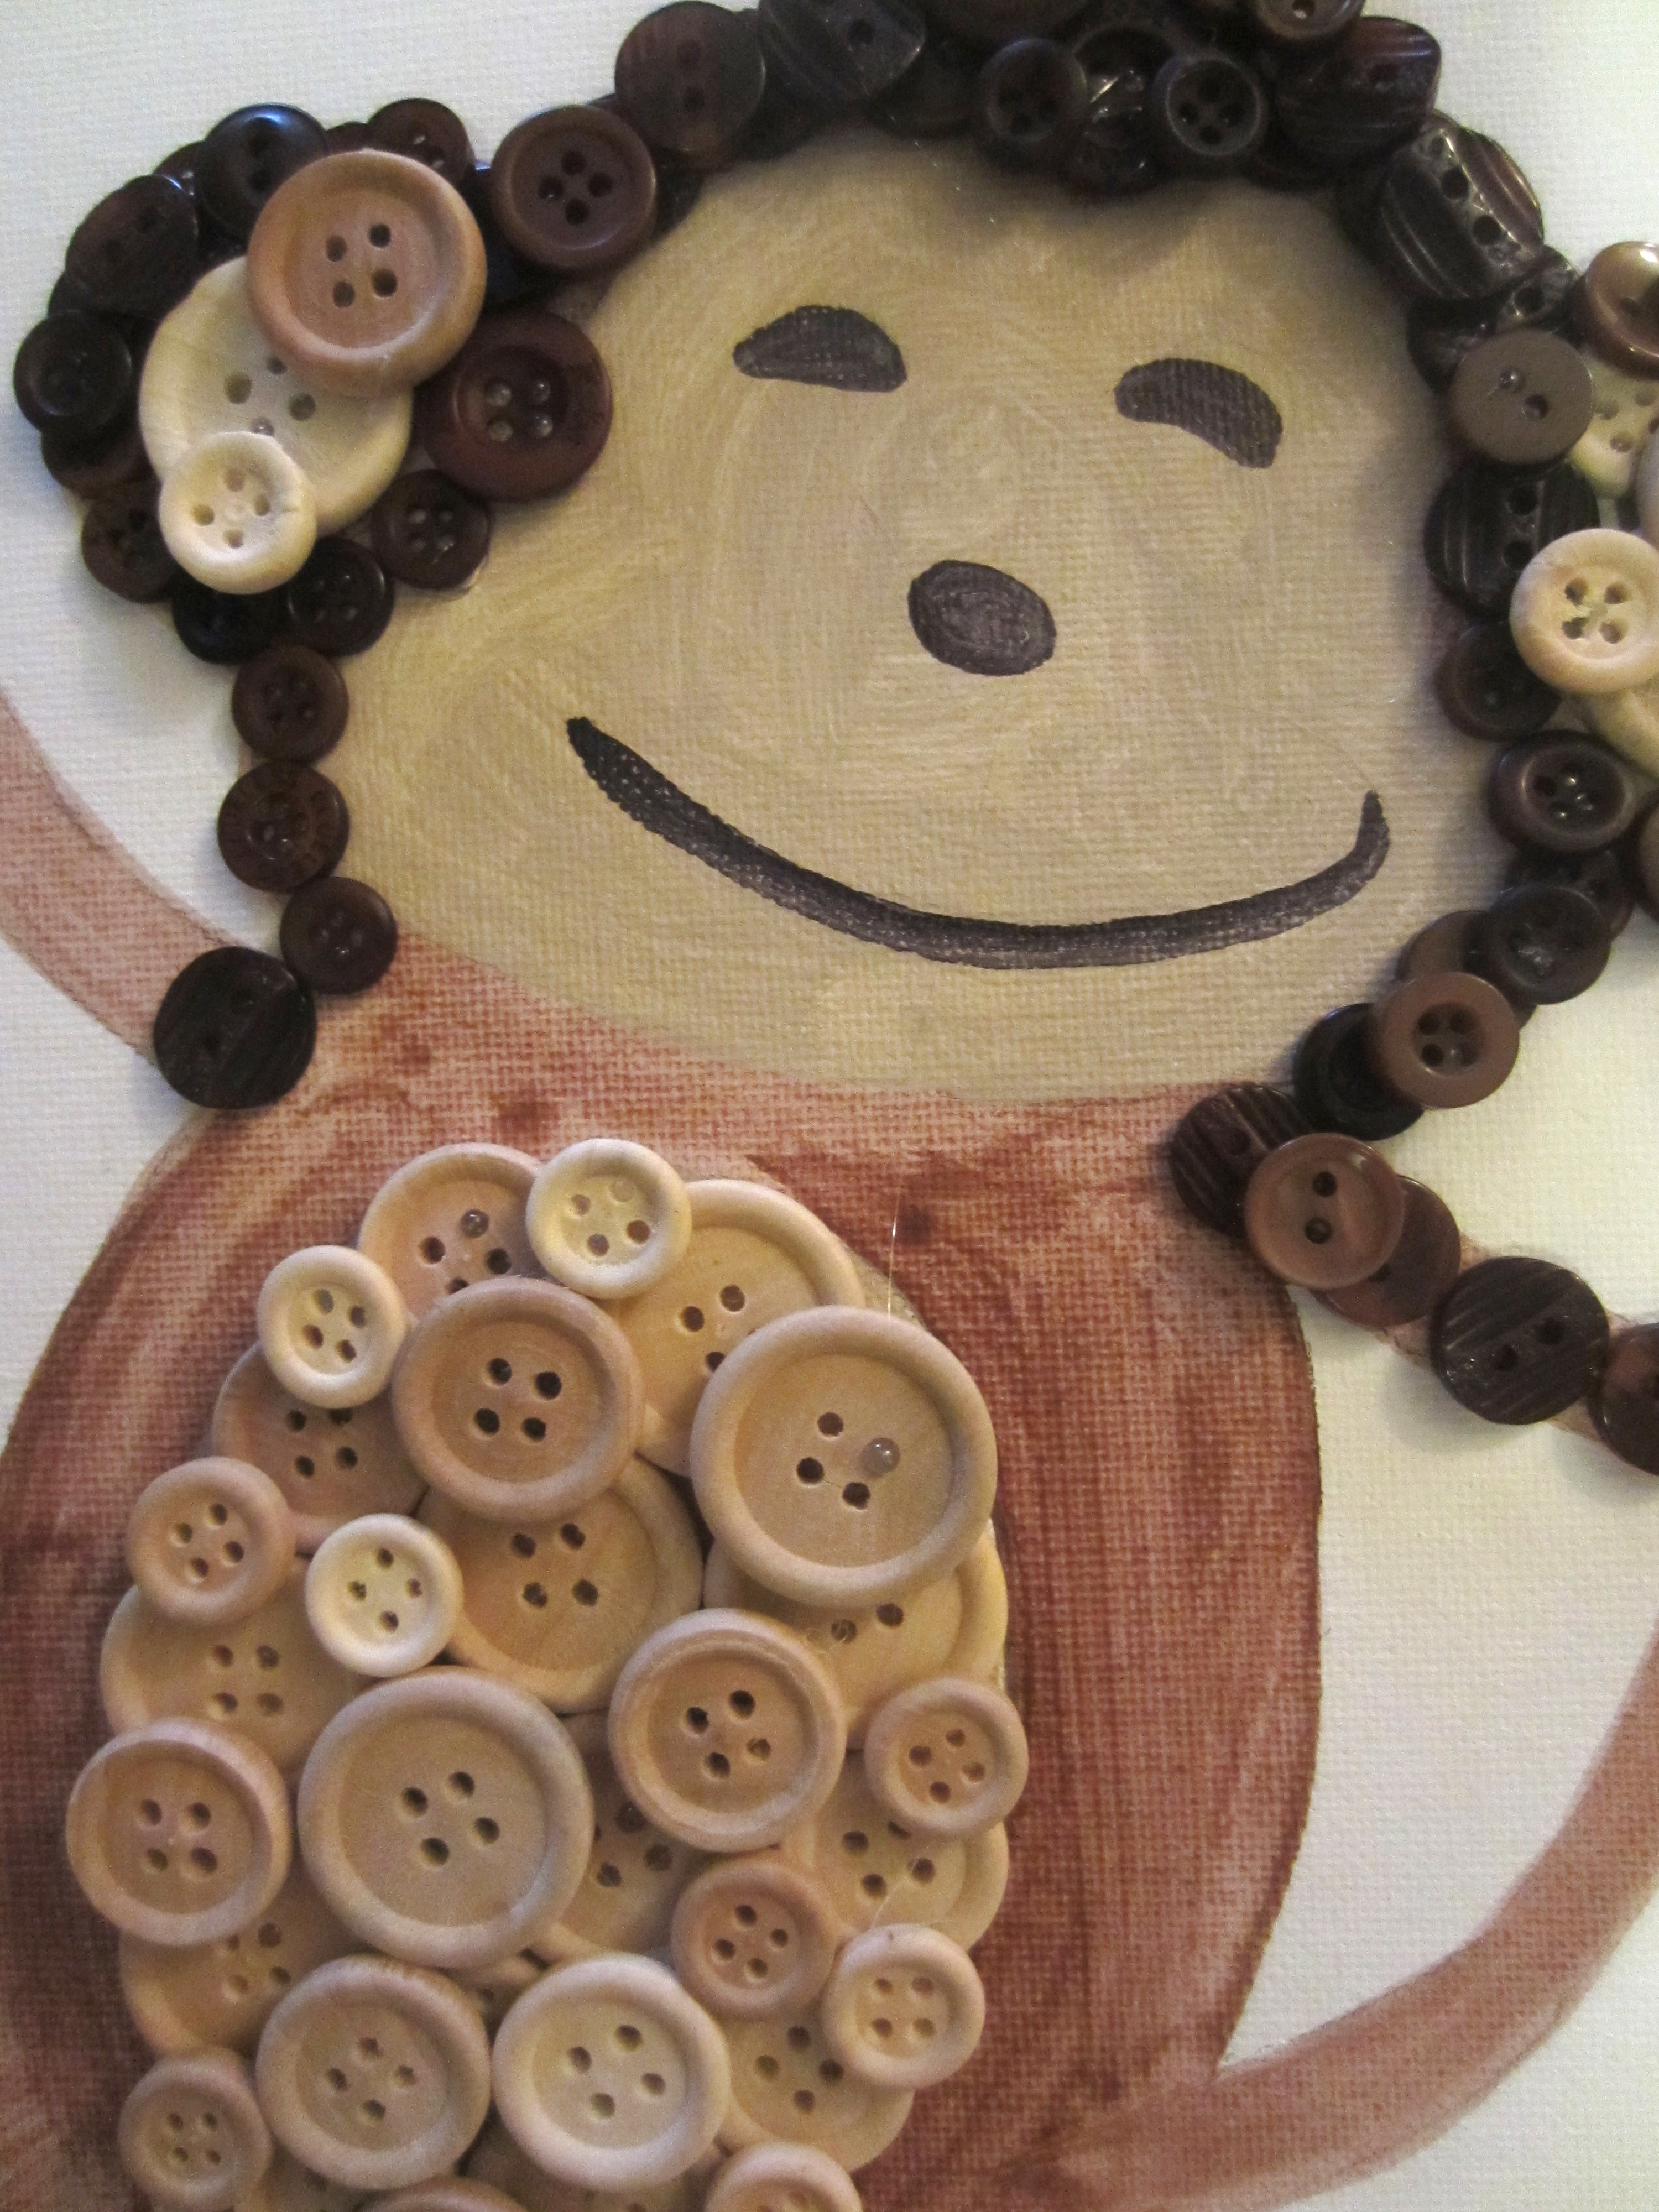
I can’t believe that I just went from pancakes, to poop, to an autism fundraiser. This, my friends is the story of my life, all between stirring pasta sauce and gluing buttons onto a very special painting. I love it, and I hope it at least entertains you a bit 😉

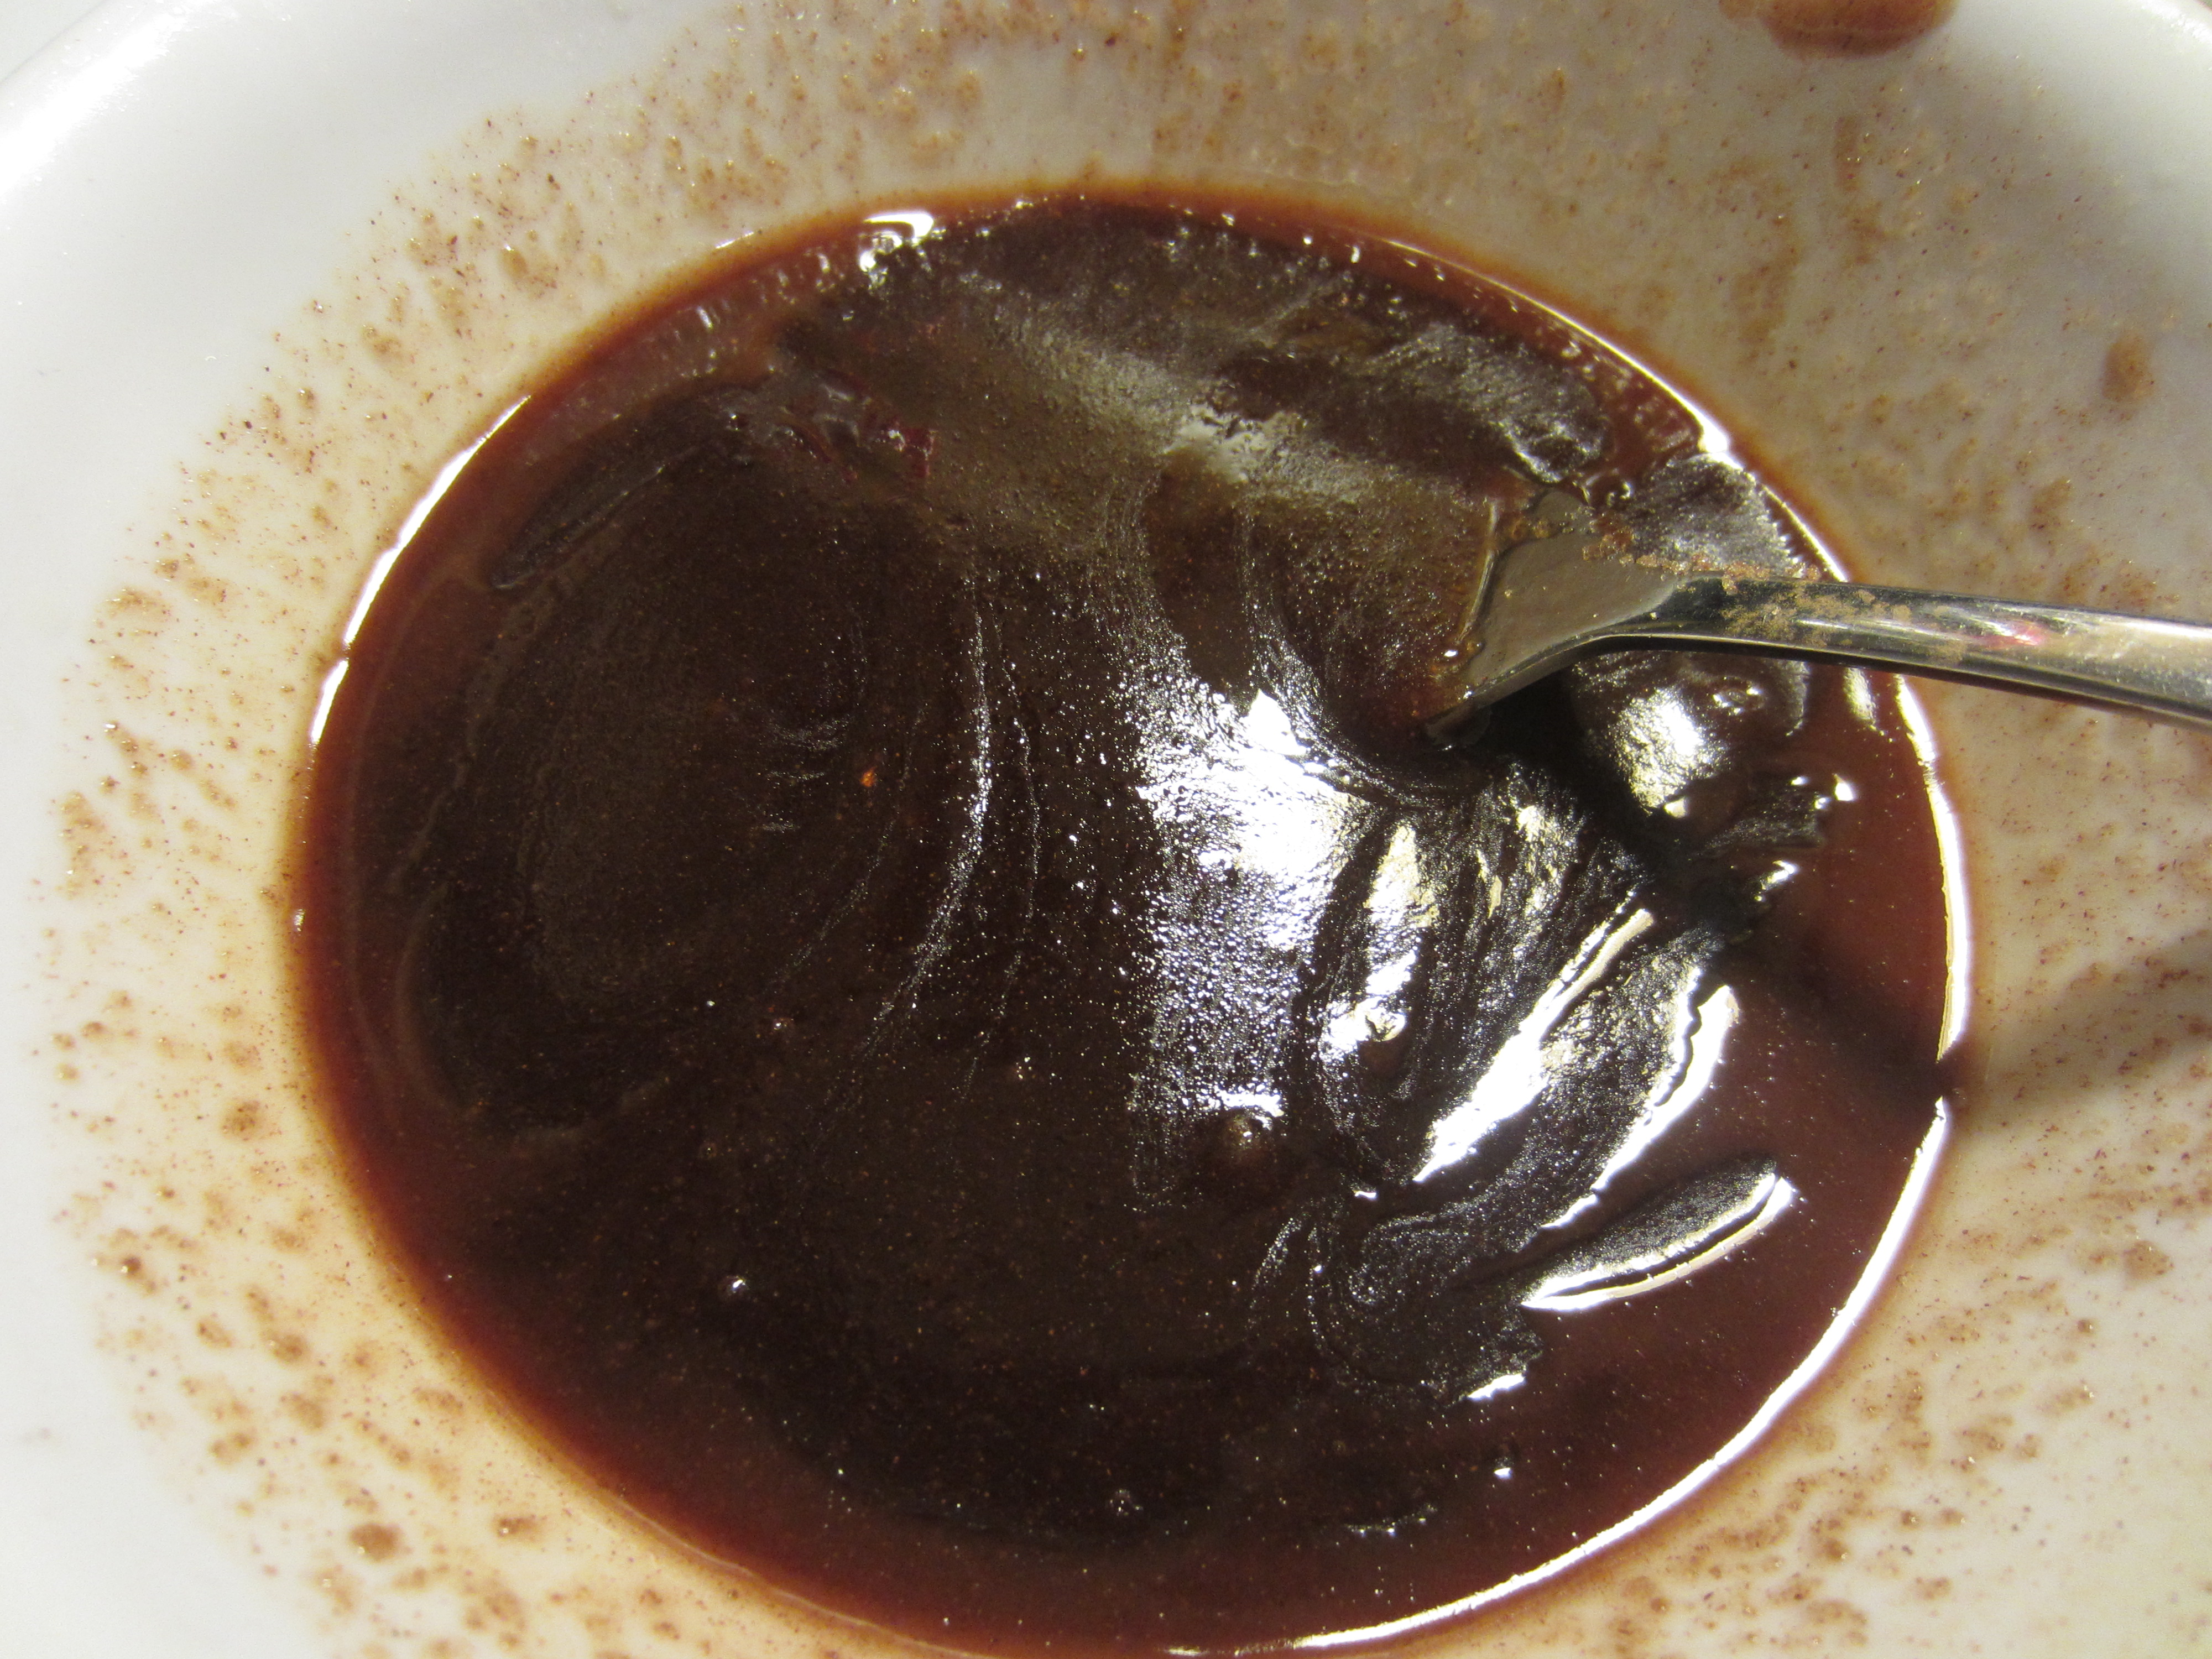
I got the recipe for this cinnamon mixture from this sweet blog. She made some pretty spectacular cinnamon roll pancakes and has a great recipe for cream cheese icing to put on top- but we are doing something a little bit different here.

For the cinnamon swirlyness, I mixed up:

1/2 Cup vegan margarine, just melted (which is dairy free- but you can use butter if you can handle milk products)

1/2 Cup packed brown sugar

1 Tablespoon of cinnamon

Then I stuck it all in a baggy, tied it off and cut a small bit of the tip off:

IMG_7459

And I took a cruddy picture, and didn’t even photoshop the marinara off of my stovetop because I am in such a rush to get these pancakes in your belly STAT!

I stick this baggy of goodness in the fridge for around 5 minutes to harden up a bit while I am making my pancake batter.

Now, the batter you chose to use doesn’t really matter! Heck- you could even use a mix! Really- the added swirl and icing will make these awesome no matter what you do! My personal fave pancake recipe comes from America’s Test Kitchen, and you can check that out here. 

To make them dairy-free I just sub almond or coconut milk for the cows milk, and I use my handy vegan margarine in place of butter.

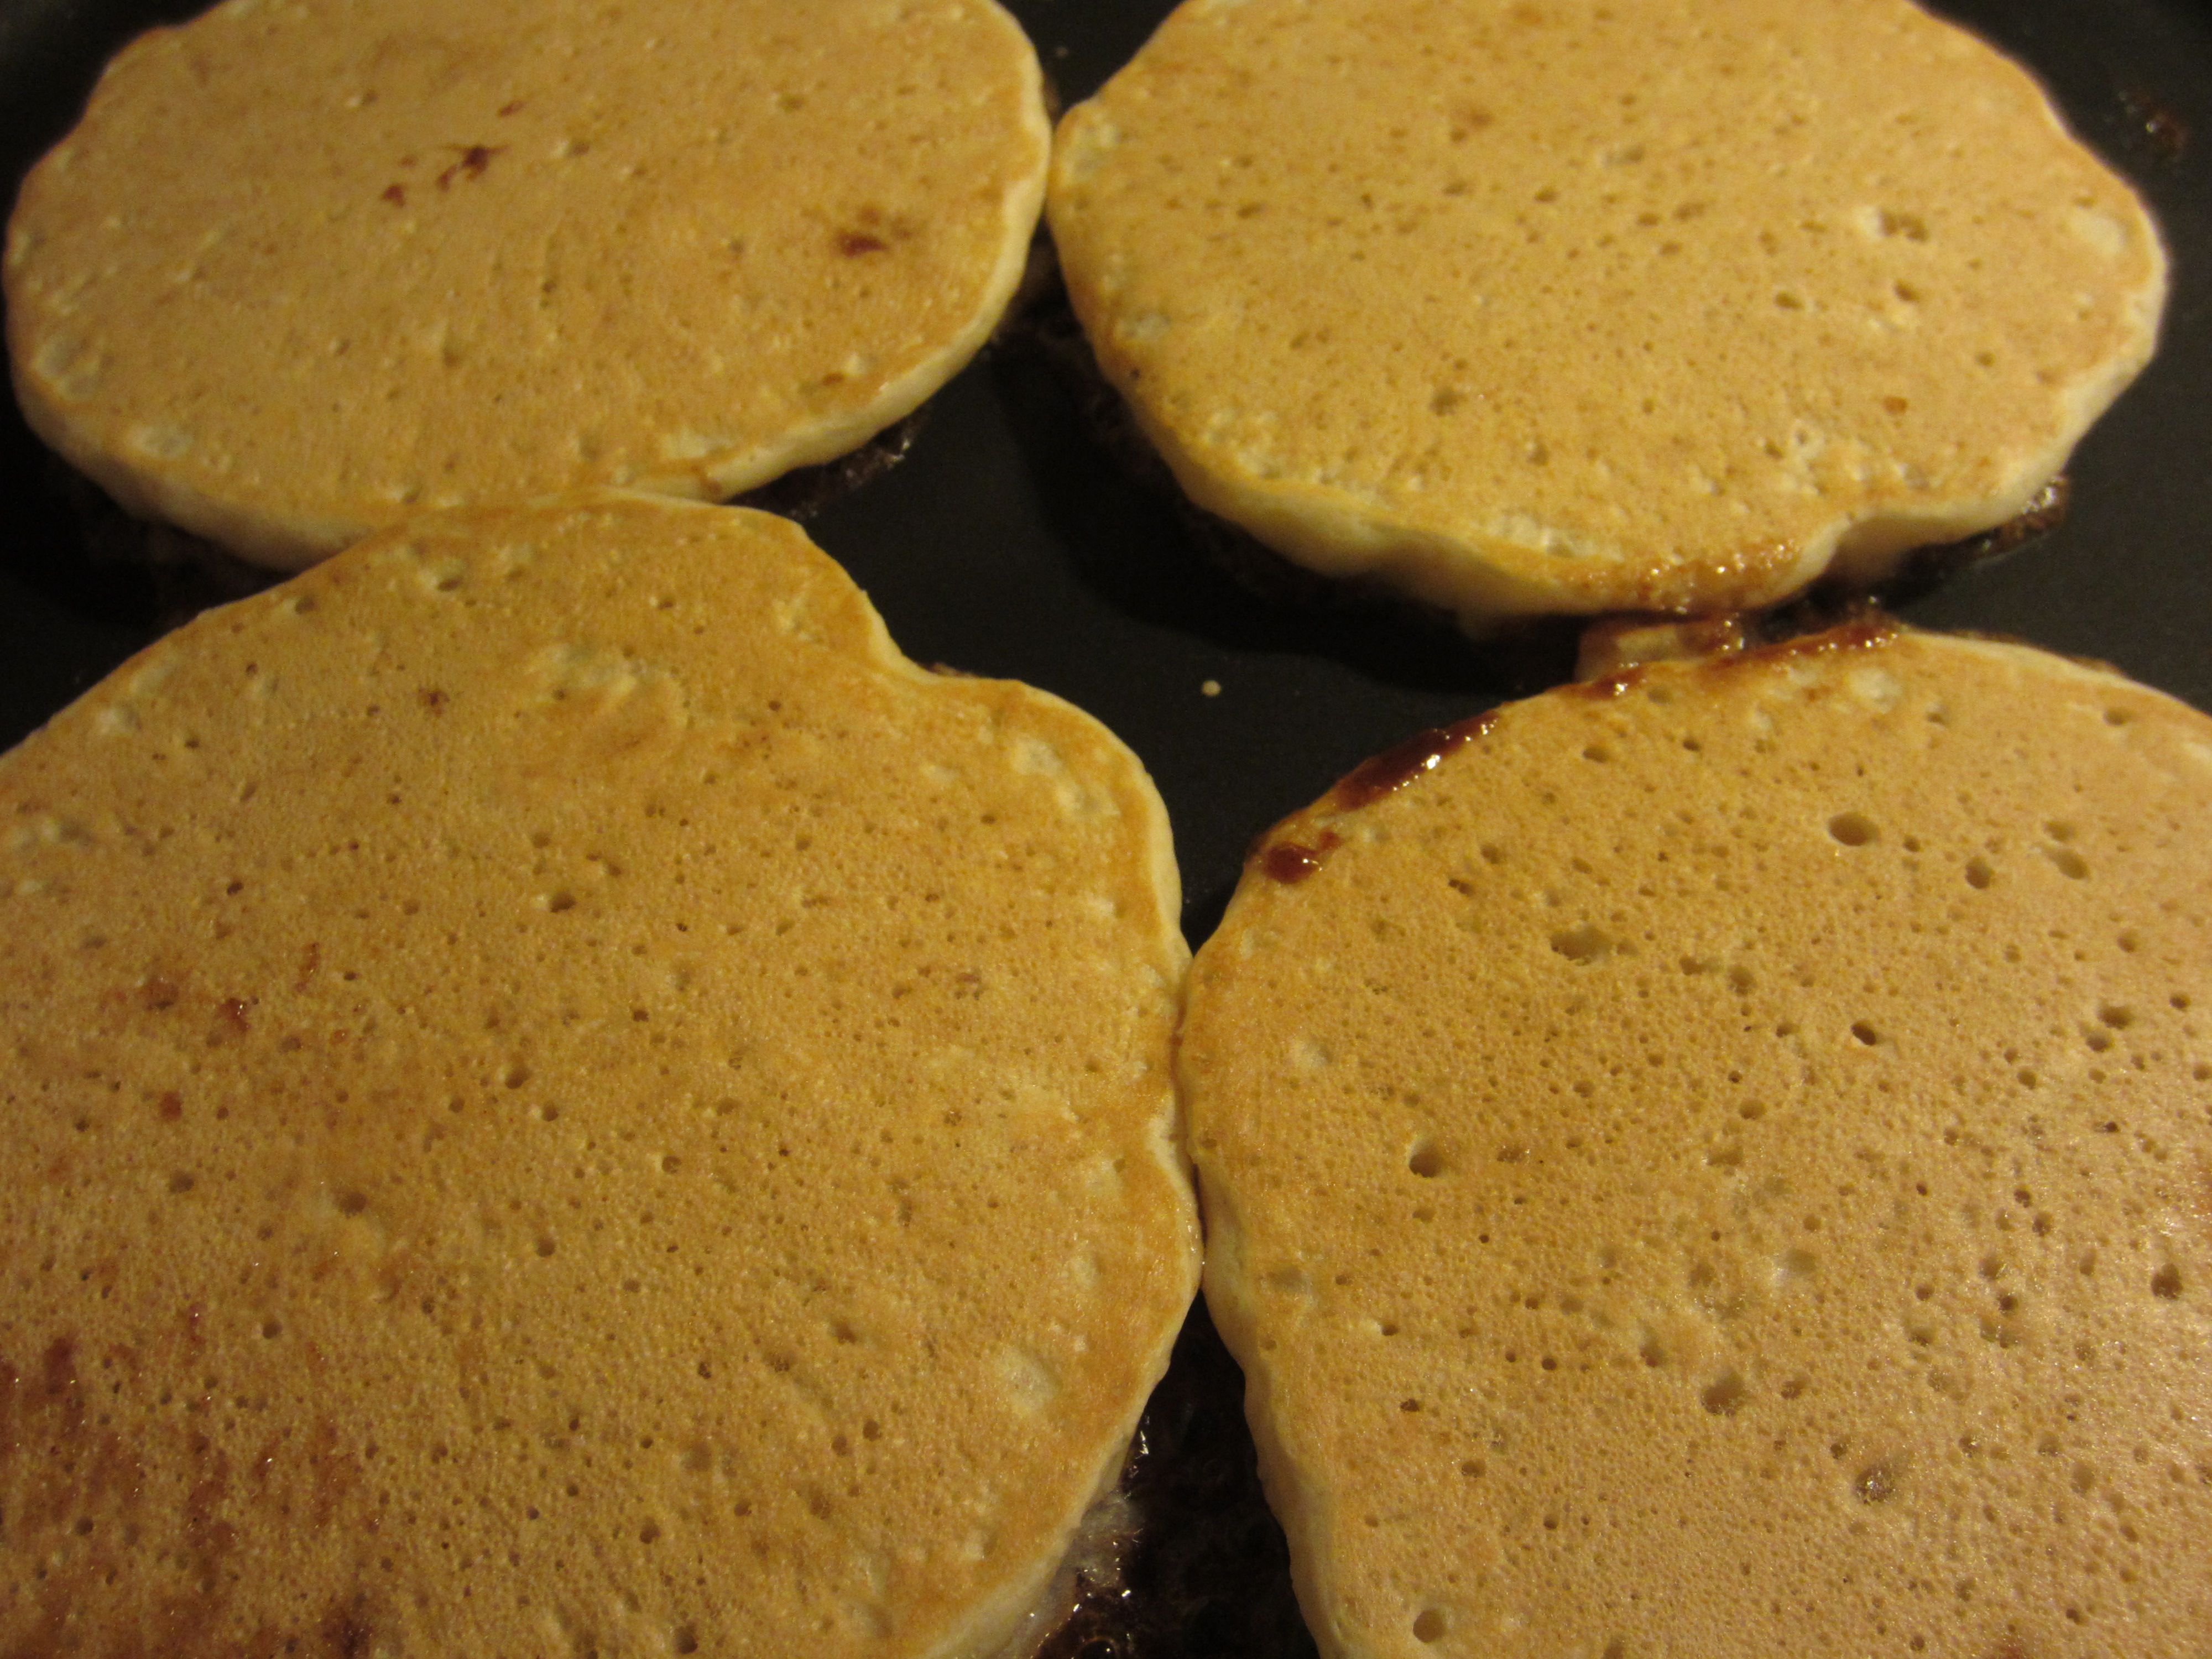
Next, I use my 1/3 cup measuring cup to plop some batter on my griddle like so:


IMG_7458

…and once you can see some little bubbles popping through the top of your pancakes, you are ready to swirrrrrl! Your first few might be ugly. Give those to the kids and make them feel special for getting the first ones.

IMG_7460

Create a pretty swirl like this, making sure to keep the cinnamon mixture away from the edge of the pancake to avoid a mess (although these will still be delicious tasting no matter how sloppy you make them!)

IMG_7461

Flip them as carefully as you can, and let them do their cooky thang for a few minutes, or until they are cooked through.

IMG_7463

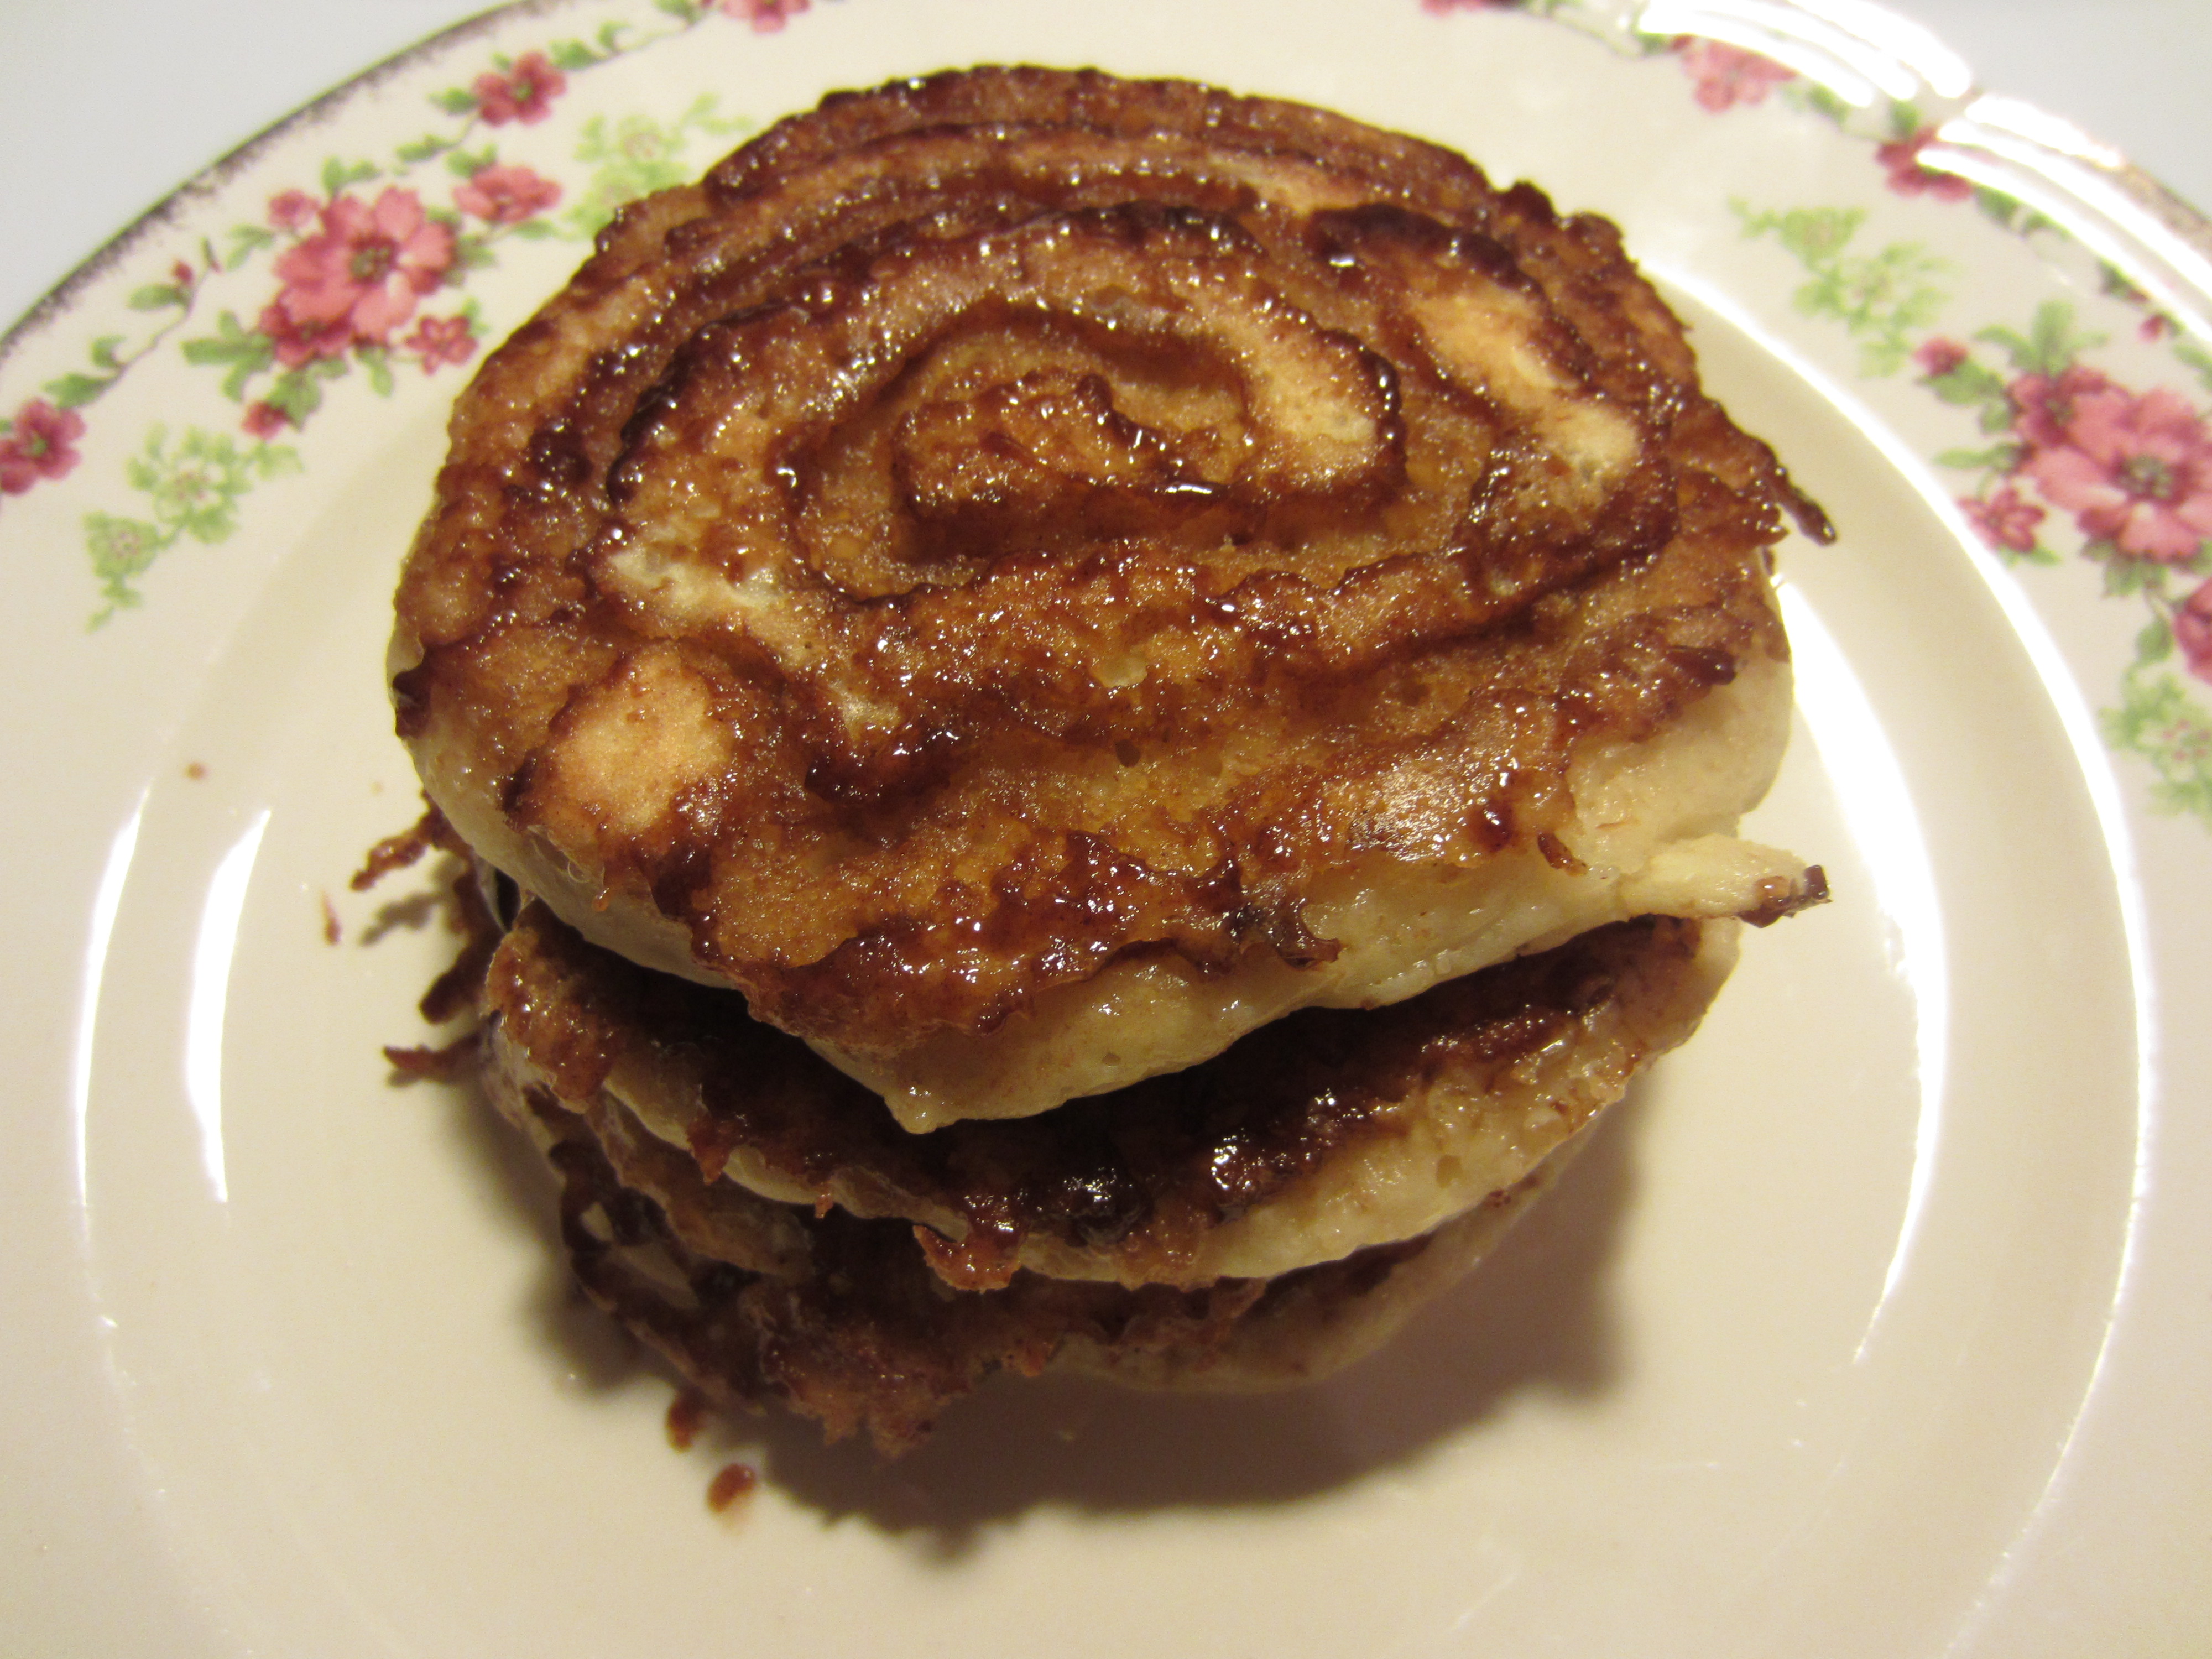
What a gorgeous stack of pancakes! Shrove would be proud! Haha.

CROSS SECTION:


IMG_7466

Drool. Though it needs some icing for sure, and I have to say that my mom used to work at a cinnamon bun store, and I have natural skills for this kind of thing, so here is my favorite cinnamon roll icing recipe:

IMG_7456

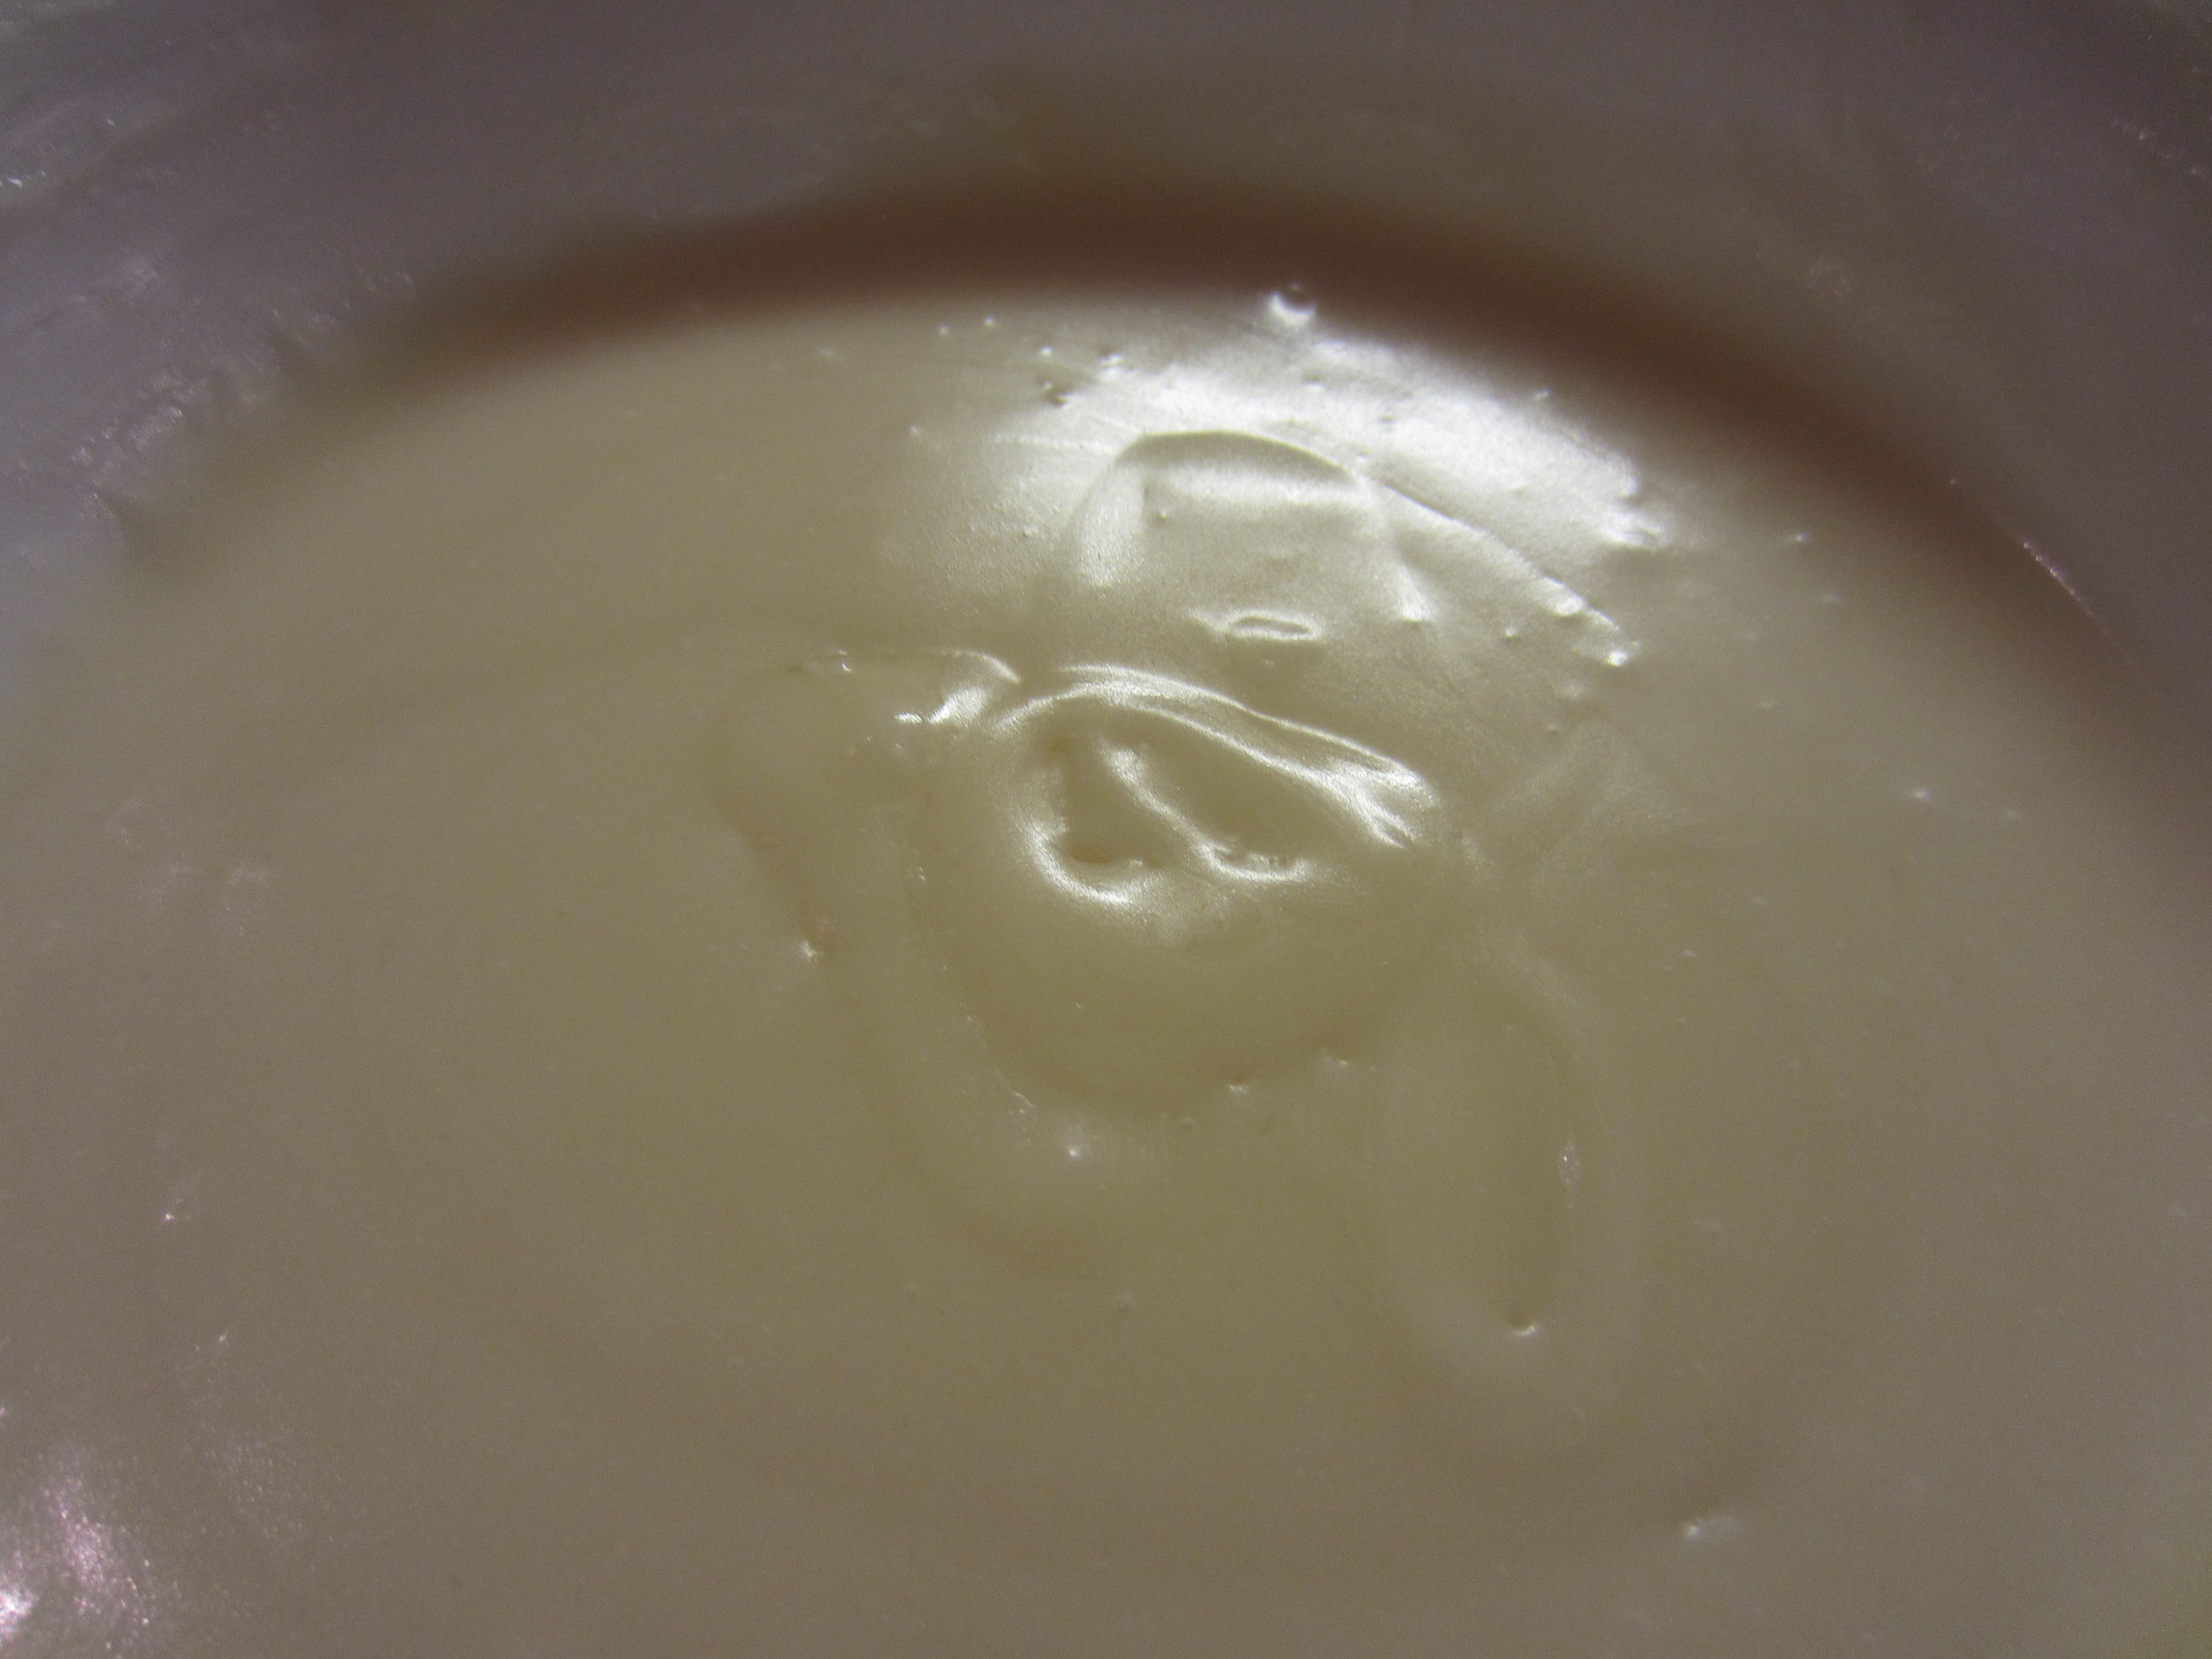
(And another cruddy photo!)

Cinnamon Roll Icing

1/2 cup plus 2 tablespoons of icing sugar

2 tablespoons of melted butter (I used vegan margarine to keep it dairy-free)

1 tablespoon of milk (I use almond or coconut milk)

1/4 tsp vanilla extract

a pinch of salt

Mix until it aint lumpy and spoon over warm pancakes (or double the recipe and use it for normal cinnamon buns!)


IMG_7467

OH GOLLY GOSH ISN’T THAT PERFECTION?!?!?!?!!

Just let it melt for a second:


IMG_7468

Oh baby. Yes.

Well, I am shutting off my mind and ending here so I can quickly share this with the deserving world!

Happy Pancake-Shroving and Fat Cell-Loathing

Hehehehe.

~Dot


Posted in Dairy-Free recipes, Dessert, Just writing about stuff..., Recipes, vegetarian/vegan recipes | Tagged , , , , , , , | 7 Comments

Button Monkey Tutorial

Introducing- Mr. Monkey:

IMG_9407I made this lil guy as a present for my Nephew, who should be arriving anytime now! My brother in law, Gabe, painted this sweet mural for the baby’s nursery, and as soon as I saw it I knew a button monkey needed to be added to the walls!

good monkey pic!Eek so cute! Look at the lil guy peeking over the crib!

Is it bad that this idea makes me want to paint something strange creeping over my baby’s crib?!?! Something like… this guy:

Screen Shot 2013-01-31 at 9.38.41 AM


“Hello, sleeping chiiiild.”

Hehehe. Oh. Hi, Salad Fingers!

ANYWAYS, back to the cute wittle monkey…

IMG_9334I sketched up a drawing of the monkey  onto a piece of card stock.

IMG_9335Feel free to steal this ‘template’ if ya want! Maybe one day I will learn how to make a real digitized template, but for now, I hope this works!!!

IMG_9336I sliced up the template and turned it into a stencil, which I can use for years to come!

IMG_9338Then I transferred the stencil, along with some details onto an 8×10″ canvas board. Sometimes I use mat board too- heck, I’ve even used a cereal box!

IMG_9339Next I added a quick coat of paint to Mr. Monkey, which did not have to be perfect- it is just to make sure that no white background shines through the buttons in the end.

IMG_9385Now it was on to the buttoning!!!! I sat my fat, pregnant self on the couch, and got ready… I can’t believe I’m already 35 weeks pregnant! Baby #5 sure went a lot faster than the first four!!!

IMG_9386For this lil guy I used some dark brown buttons, and some very cute light wooden buttons that I got from a friend! I’ve seen them at certain dollar stores too.

IMG_9388Step 1 with the buttoning is to work on the first layer. Start around the edges, getting as close as you can to the outline of the particular area you are covering. Then move to the inside. I use a glue gun to do this step, even though I’ve burned myself so bad with it recently- I’m telling you, glue-gunning should be classified as an extreme sport. Check out this blister:

IMG_9461It doesn’t look that bad, but it went all second-degree on me! Check out that sweet lil horse while yer at it 😉

Back to the monkey… again….

IMG_9389After your first layer of buttons, which is meant to cover as much space as possible without overlapping anything, start using more buttons to cover up any of the background and to straighten out the edge lines. Check it out:

IMG_9391Aw, his little tummy. I try to keep it to 2 layers- I’ll use three layers if I need to, but if you try to find buttons that are a good fit, 2 layers should be doable!

IMG_9392Since this monkey was made up of different color sections, he was a bit more challenging to do than one of my more simple button creatures, such as my elephant. So if you are just starting out, I’d recommend that you try your hand at a more simple critter- Here is my tutorial on the button elephant. 

IMG_9393These button animals can definitely take some button-hunting skills to find the right sized/shaped buttons! I found some neat oval-shaped ones which worked perfectly for his tail!

You should also notice that I marked off lines where the frame was going to hit the monkey- You can’t frame over buttons, so if you are making a button creature that is going to hit the edges of the frame, be mindful of where to stop buttoning!

IMG_9396I even used pliers to snap a few buttons (busted buttons- what!?!?!) to make a nice, clean edge for the frame to hit.

IMG_9397AND I WAS ALMOST DONE!!!

IMG_9398For the eyes, I used some more BUSTED BUTTONS like that, then covered up the bottoms like this:

IMG_9399There are lots of neat little tips and tricks I’m learning as I go about how to make these buttonly creations. Oh, spell check, put your red squiggles away. Don’t tell me ‘Buttonly’ isn’t a word!

IMG_9401After his nose and mouth were done, he was ready to frame!!!

IMG_9414He was pretty excited. He has no idea that I plan on suffocating him in bubble wrap, then shoving him into a tight-fitting box, only to be man-handled by the friendly, not-friendly workers of Canada Post.
Monkey CollageI think that turned out pretty well!

I hope you try your hand at using buttons as your weapon of choice in your next DIY project!!!

While we’re here, check out some of the other button creatures I’ve been breeding over on the Facebook Album I’ve devoted to this awesome zoo. And ‘like’ my page while you’re at it- I could always a confidence boost 😉

OOH! Reminder! I have a Valentine’s Day sale going on at over at my Etsy Shop– Use the code ‘VDAY20’ at the checkout to get 20% off your entire order!

Buy yer lover something like this:

IMG_9376

Or, better yet, these:

IMG_5898

Cuz why wouldn’t you want weapons dangling from your ears?

“What do these have to do with Valentine’s Day?”,  you ask?  Arrows are so… 1700’s… Cupid needs to catch up with the times. Or at least the he needs to catch up to the Wild West.

Although, I do have some pretty cool Arrow Jewelry too.

And on that note,

Happy monkey-making, and booty-shaking. You do that on Thursday afternoons, right?

~Dot

Posted in Button Art, Craft Tutorials, Uncategorized | Tagged , , , , , , , , , , , , , , | 10 Comments

Angel Food Cake of Perfection

Issssn’t this a little slice o’ Heaven:

IMG_4708

This is the best angel food cake with strawberry cream… it’s perfection.

I ain’t no food blogger, but I like food, and the consensus was that I should share a food post on my neglected-for-over-a-week blog, so I chose something glorious! Maybe get used to the blog being neglected for a bit because I am only SIX WEEKS away from squirting out baby #5!!!! That went by way too fast! Can’t wait to meet Miss Flora Nightingale 🙂

Although, I have mastered the womanly art of breastfeeding while using the computer- a must-have skill for todays’ distracted busy mother haha- so maybe I will have MORE time to share my creative endeavors with you all. In any case, let’s make the best cake you will ever sink your chompers into.

IMG_4670

I suppose you could use a boxed mix to make the main part of this cake- the strawberry cream will make up for it a bit, but I am the queen of lazy, and even I think it is a good idea to make the real thing!! This means a whole dozen egg whites, but it is so worth the extra effort- and it’s always good to learn some new skills!

I use a sliiiightly modified version of America’s Test Kitchen’s recipe for angel food cake- Click that link for the recipe, along with some more-detailed instructions on how to make this fluffy mountain of love. The original recipe in my cookbook called for almond extract, but I like it better without, also, I can’t be bothered to buy cake flour, so I just make my own– it’s easy peasy and works just fine! And I don’t grind my sugar superfine- and I’ve had perfect results… So I’m lazy… and  sometimes it works out 😉

IMG_4671

Beat your egg whites and cream of tartar for around a minute, until they are bubbly, then add half of your sugar, and beat for a few more minutes until soft peaks form- they should flop down off of your beater like they do up there ^^^

I really don’t know how else to explain what your egg whites will look like when they reach the right stage, so I took a photo that I think will be of help:

IMG_4672

Dinosaur battle.

Dino lost.

It was sad 😦

IMG_4673

After you clean dinosaur blood and ammo from your counter, gently fold in your flour mixture until it is just nicely incorporated.

IMG_4677

Spoon your batter into an UN-GREASED angel food cake pan, smooth off the top, and hit the pan on the counter for a second, to kill any bubbles that may be hiding inside.

IMG_4681

Bake the cake. And put on your pretty shoes:

shoesiesAdd a filter to the photo to disguise the fact that you don’t shave your legs…

IMG_4682

To prevent the cake from falling, balance it on a wine bottle or something of the sort while it is cooling. Let it cool for around an hour. Waiting sucks, so do something fun like this while you are waiting.

IMG_4679

While the cake is cooling, you could also get started on the strawberry cream… that makes more sense than starting a new project, but I like to multi-task for mental health purposes 😉

This recipe is from my brother in law Richard. I don’t know why, but me and my fam call him ‘Uncle Richard.’ So thanks, Uncle Richard for this recipe. And readers, please don’t be put-off by the fact that this is Uncle Richard’s recipe- I know ‘Martha Stewart’ sounds more trustworthy, but you will soon be praising the name of Uncle Richard.

Get yourself an 8 oz tub of defrosted, frozen strawberries in syrup (hubby got raspberries accidentally but they worked fine too), and strain the liquid into a small pot, and set aside the berries for later.

IMG_4680Add one package of unflavored gelatin, or Gélatine as they say in french apparently, and heat and stir until the gelatin has dissolved in the berry syrup. Add the syrup back to the berries, and refrigerate to cool, until your cake is ready to decorate!

IMG_4683Whip up 2 cups of whipping cream with 1/4 of a cup of sugar, (you might want to do the dino battle test again) and fold in the cooled berry mixture carefully, but thoroughly.

IMG_4684

Man I wish I could eat that again! I bet the dairy-free option of coconut milk ‘whipped cream’ would be amazing with this cake- I will have to try that some time!!

IMG_4689After you’ve loosened the cooled cake from the pan (just use a knife to slowly release the sides), slice it in half like a big, sweet bagel of amazingness, and pile it high with the strawberry cream.

IMG_4690Put the lid on, and give this cake a generous full-body spa treatment with it’s strawberry cream mask. It’s really good for closing the pours, and the antioxidants in the berries will add a good 10+ years to it’s life. Too bad this cake is destined to be demolished within a day.

IMG_4694 Don’t you forget to ice the hole. That picture is creeping me out a bit, so let’s try a different angle:

IMG_4707 MMmmmmmmmmm

IMG_4708Yeah, it tastes as good as it looks- maybe even better. This is the kind of cake that you could eat half of. It is pretty light and not too terribly sweet. I am making a peach berry pie today- and while I’m eating it I will be thinking about this cake the whole time. Shhh.

Well, I hope this has inspired you to try something new!!! Save those extra 12 egg yolks to make some lemon curd or hollandaise sauce or something like that.

This would be such a perfect cake for Valentines Day, dontcha think????

Cheesy segue (which is apparently how you spell ‘segway’) warning: SPEAKING of Valentines Day, check out my new Valentines Day collection of neat jewelry I listed on Etsy! You will find something for everyone- even the anti-valentines.

Here is one of my favorites:

IMG_9008This is a suuuper tiny and dainty bracelet- the heart charm is smaller than the eraser on a pencil and the chain is baaasicallly microscopic.

My absolute personal favorite piece would have to be this creeper though:

IMG_9078

Why is this huge cockroach accessory in my Valentine’s Day Collection? Because not everyone loves this gushy holiday! This 2.5 inch roach falls from a 24″ sturdy chain, right at cleavage level, where it seems like he would perch and lap up sweat. Sorry for that.

ANYWAYS,

Happy Strawberry Creaming, or at least Angel food Dreaming 😉

~Dot

Posted in Dessert, Recipes, Uncategorized | Tagged , , , , , | 6 Comments