
Back before Halloween, I introduced you to my massive window:
 It posed a real problem when it came to two of the more important things in my life: decorating and
 not wearing clothes decorating.
Well, I found a solution for halloween and made this creepy life-sized witch silhouette to hang up:
 Very nice… but not very Christmassy! As some of you know, and will get to know better, I love paper. And I love sewing paper. I hate scrapbooking, I hate sewing (even though I did a brief stint of that in my pre-autistic child days here… YES it’s a Myspace account.) but I love sewing paper. My stupid twin sister is such a good sewer. She sells her awesome original dresses here. Check out some of these things:

I have this one!!! I love it so much!!! Cute lil Rockabilly Gal dress! 
This one is so darn pretty. I’m so jealous of her sewing and design skills- can you believe she comes up with this stuff!?!?

All her dresses have such perfect details too! She even uses random vintage lace and other sweet things! You have to check out her shop and give her a ‘like’ on Happy Yellow Dress’s Facebook Page too.
ANYWAYSSS back to the more important business of sewing paper!!!! I decided to hang some paper snowflake garlands in front of that big old window:

Oh I have even better pictures to show you! Just wait!
 For these snowflakes, I used my big snowflake punch from Michaels, but you can definitely just make paper snowflakes, the old-fashioned way too.

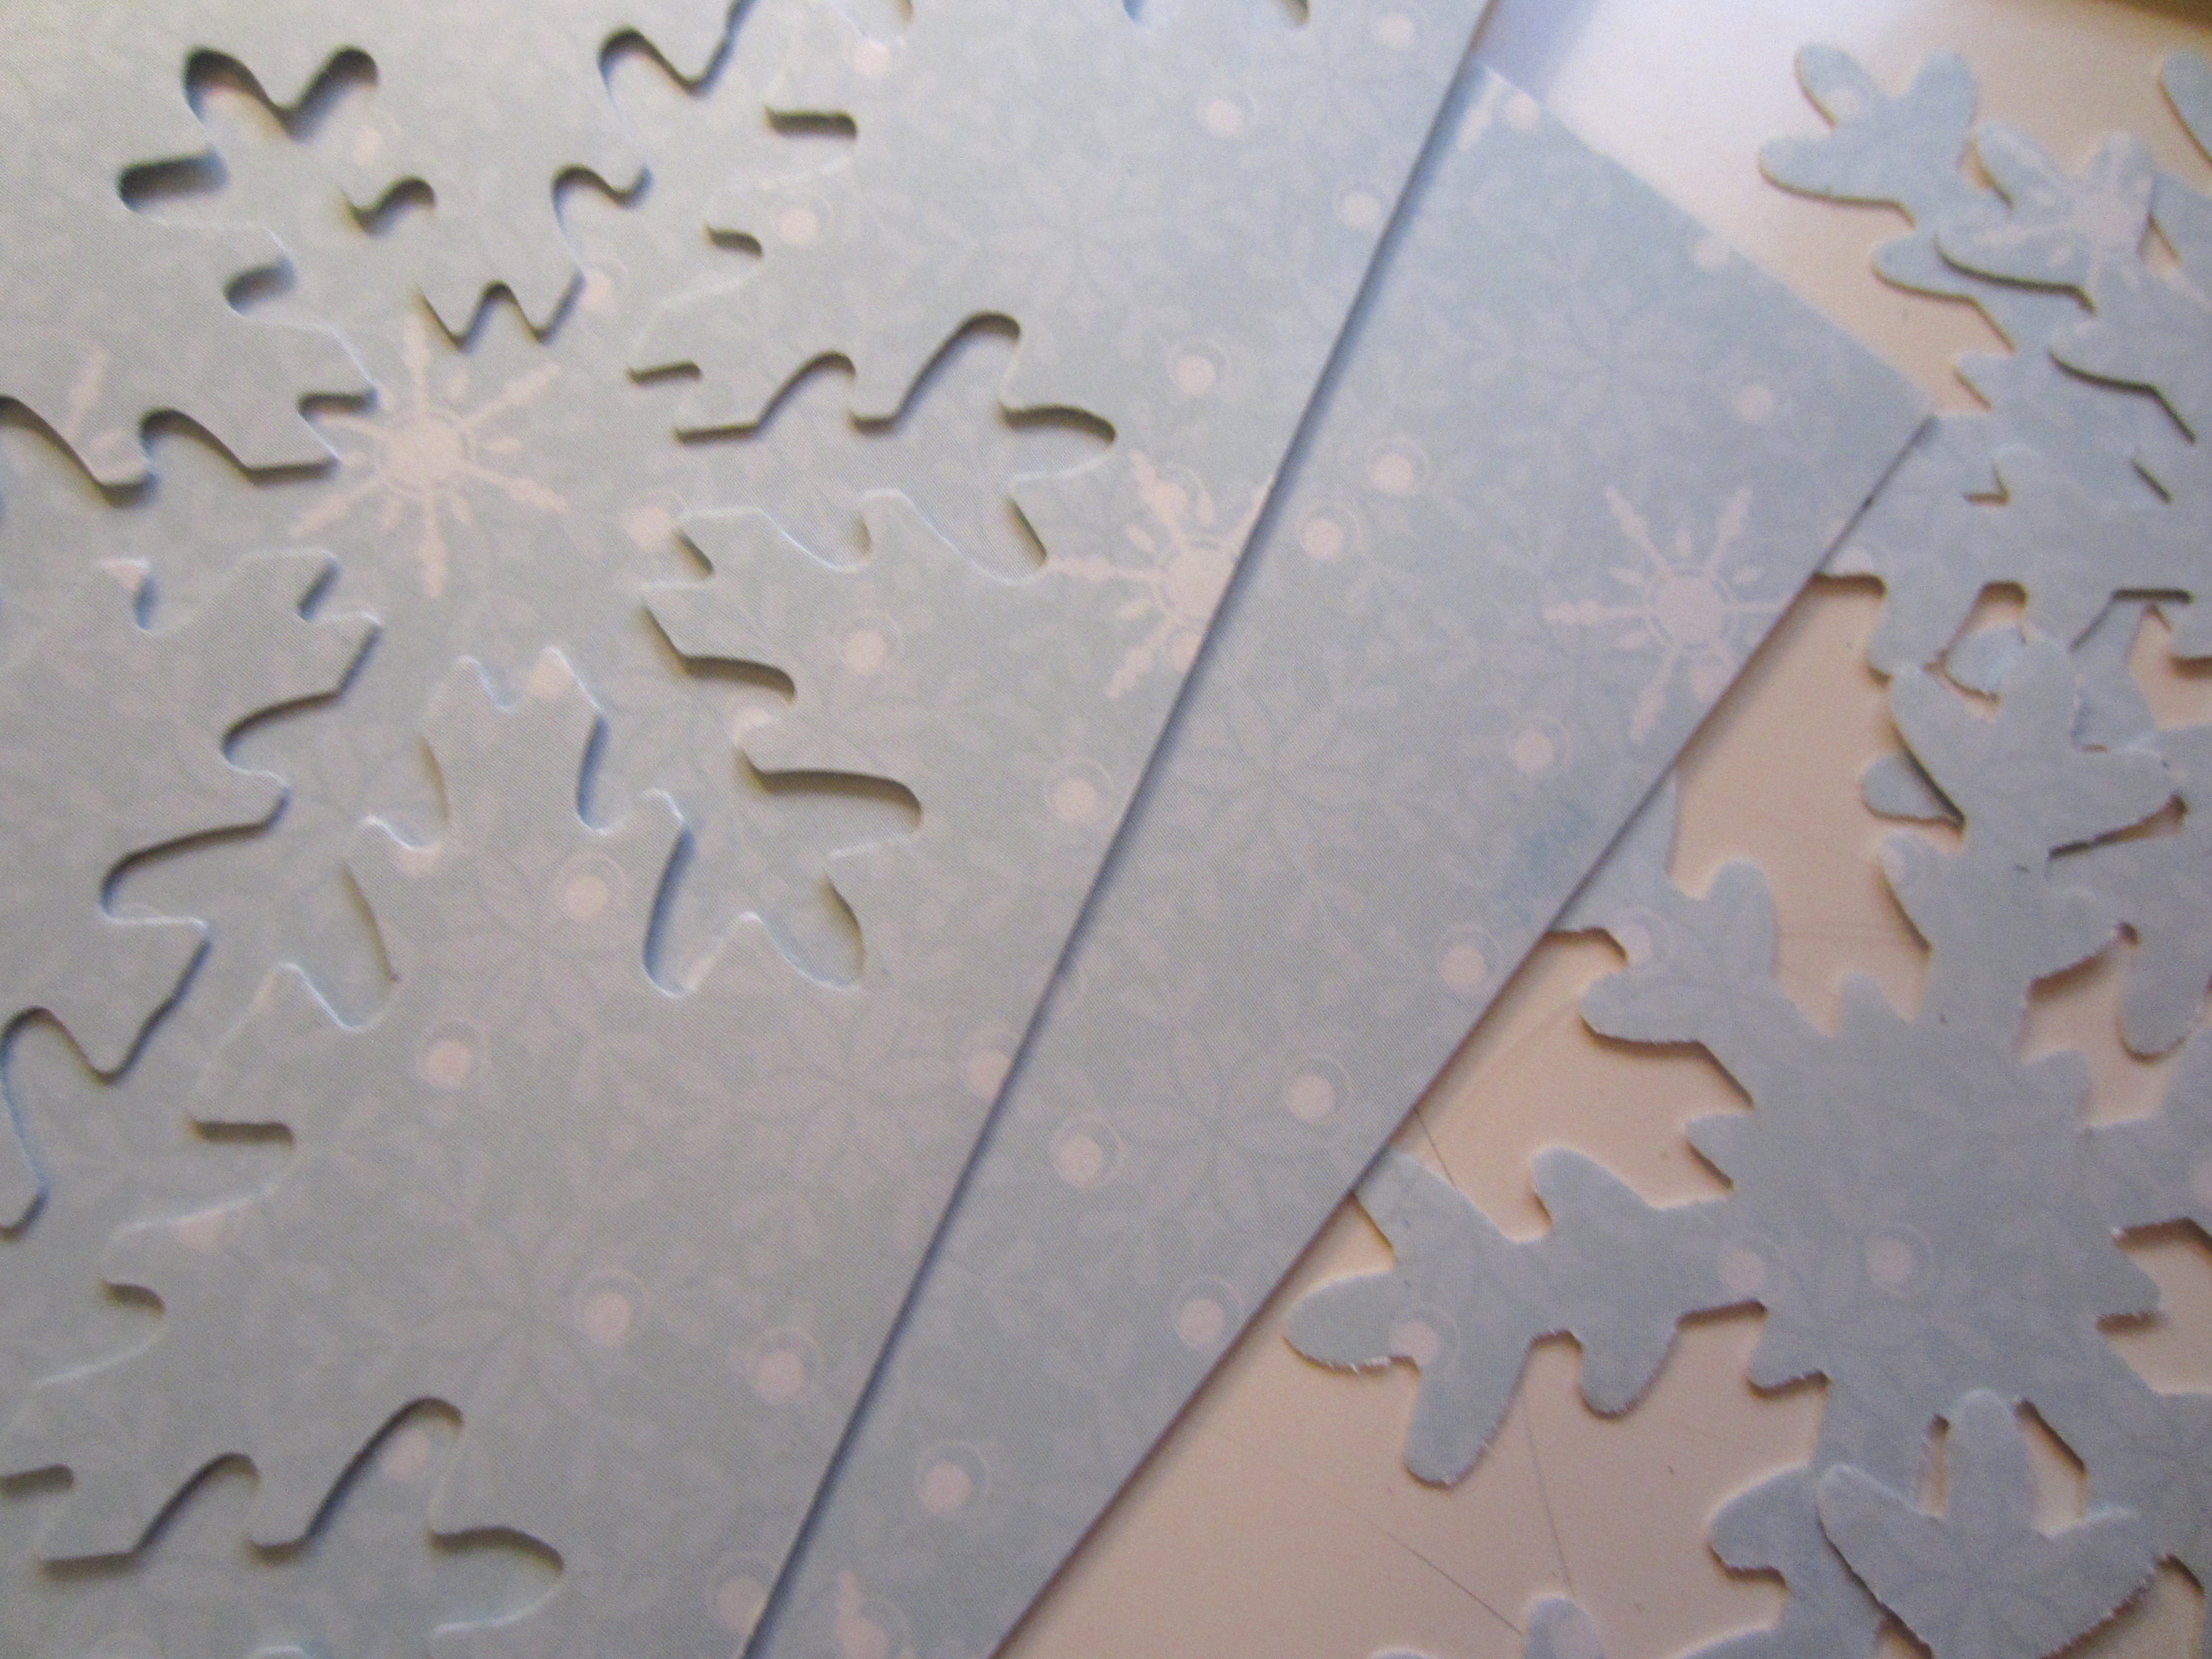
I used a variety of wintery card stock to make my snowflakes- such as this blue snowy pattern and this magical disco stuff:


Voila!
 I wrote down some quick measurements and a plan… I used 8 garlands that were around 60 inches long for my huge 45″x72″ window. I think a bunch of shorter garlands would look so pretty hanging from any front window!
 I organized my snowflakes into piles before I got out my (dusty) sewing machine.
 I took a test ride on some scrap paper just to get back in the swing of things. Sewing paper is such a good feeling. I can’t describe the satisfaction! You will have to see for yourself 😉
 To start the garland, make sure you have a good 4+ inch tail of (white or other matching) thread to start. This tail of thread is what you are going to use to hang the garland. Place the foot of your sewing machine at the middle of the snowflake, and anchor the thread by sewing back and forth a couple of times. This will prevent the stitches from coming out!
Next, using a straight stitch, simply sew a straight line right through your paper. Keep sewing, even when you run off the edge of the paper, and lightly tug the snowflake you just sewed to help the thread come along and not get stuck. Just practice on some scrap paper until you get the hang of this- you will become a pro really quick!
 Now, if you want to keep the distance between each snowflake the same, just make sure to measure each of the sewn areas. I used the edge of my sewing machine and marked a spot to gauge where I would add my next snowflake. I left about 3 inches between where I started and stopped sewing.
 Try to keep the snowflakes that come off the sewing machine in a straight line. They can get tangled pretty easily, and since they are PAPER… they can be fragile. On your last snowflake, anchor it like you did the first one, but trim off the tails as close as you can to the paper.
 To store these while you are waiting to finish the others, or while they are sitting in a box waiting for next Christmas, just carefully acordian-fold the garland into a little pile like this. I like to store each garland in a separate envelope to keep them safe and untangled.
 What a beautiful pile of garland!!!!
Now- to get back up to the DREADED WINDOWWWWWWW :S
 Since I’m up here, I might as well clean it right?
 All I did to hang these was stick em to the top of the window molding with some scotch tape. Nothin fancy at all. I spaced the the threads about 6″ apart from each other, leaving around 4″ of space between each snowflake garland.
 Let’s pause here because I just need to showcase my AMAZING 12 passenger van. Look at that beautiful beast!!! Cool story- Our van died and we were in need of a bigger one anyways, since we reproduce like rodents. After the church had prayed about it for us, I got a message that someone (a family who needed to upgrade to a 15 passenger van because they too, reproduce like rodents) wanted to GIVE us this van!!! I love when things work out so perfectly and how when you really need something you can be taken care of 🙂 Thanks Anita/God!
Pardon the cheesy break, but I just had to share! Back to crafting!
I got stuck up there as usual, but this time hubby was home to rescue me and my pregnant cankles.
 Thanks, Galen!
 Look at those snowflakes hanging up there! I love them!!!
 But my window area was still missing something…
 MUCH better! I made a nifty light-up Christmas tree- I was way too cheap to buy one (those things are SO expensive!) So I made it! I’ll share that tutorial in a couple of days 😉
Anyways, now that me and my window are happy, I’m going to get to work on preparing some easy, festive Christmas goodies which I will be sharing from December 1st-12th in my 12 Days of Christmas Snacktivities blogging marathon hehehe. It will be fun! Minimal to zero baking required. SO excited to share all these fun snacks with you!!!
Happy window dressing and big-van-blessing!!!
~Dot


