
HELLO LONG LOST BLOGOSPHERE!
I’m back with a vengeance. Not really, but I am back with something good.
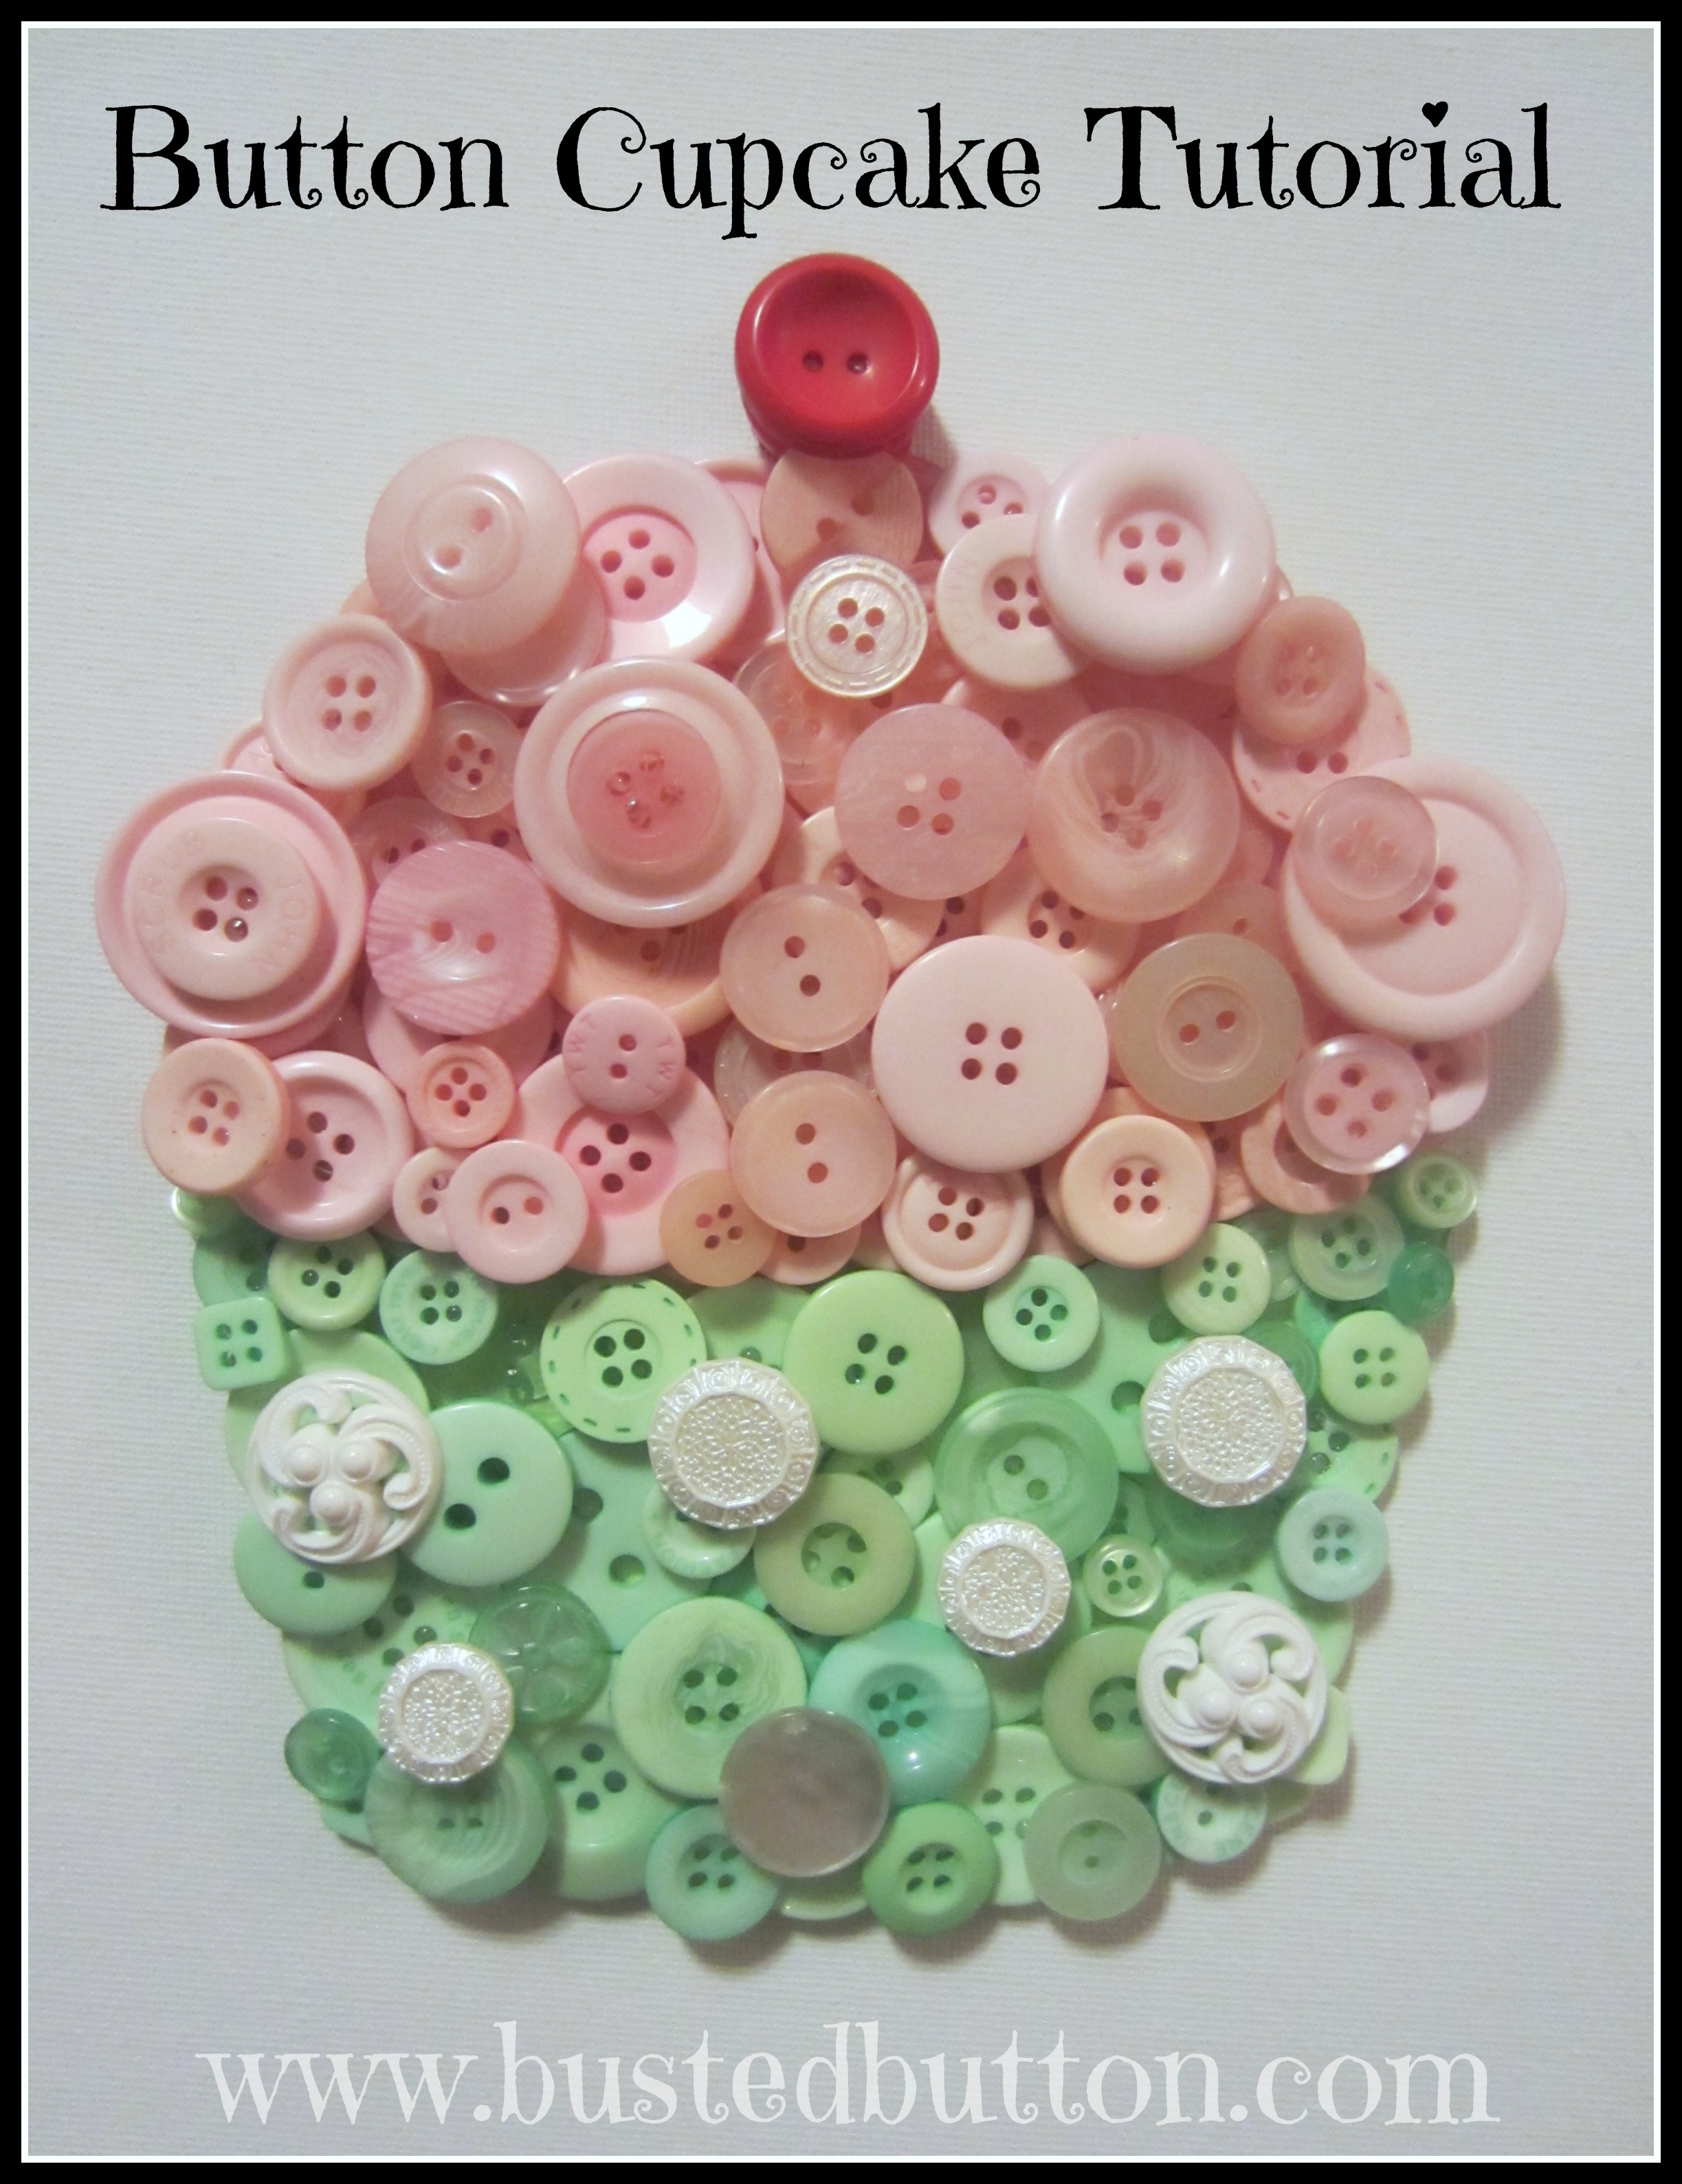
Button cupcakes!!! And, because I have been neglecting my precious blog, I will share all of my secrets!
Firstly, here is what I’ve been doing the past few weeks:
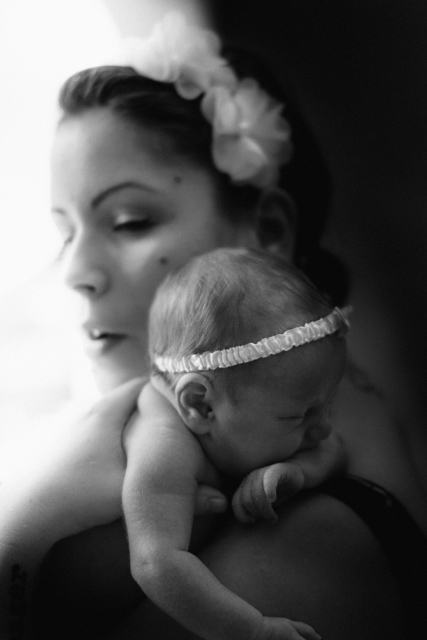
Posing naturally with my precious newborn!
(Thanks Jody Wiger Photography for the awesome photo. She took so many beautiful pictures which I will be sharing soon!)
Though I have been neglecting my blog, I am as active as ever on my Facebook Page, so check that out and give me a ‘like’ if you want to keep up with my crazy brain, and take part in my billion giveaways (I’m addicted to giving stuff away).
NOW! Back to the button cupcake tutorial! This will be kind of a quick one, because I am juggling kids and glue, so if you want a bit more detail, you can check out my button elephant tutorial here. OR for even MORE detail, check out my button monkey tutorial here.
Let’s get this party started-
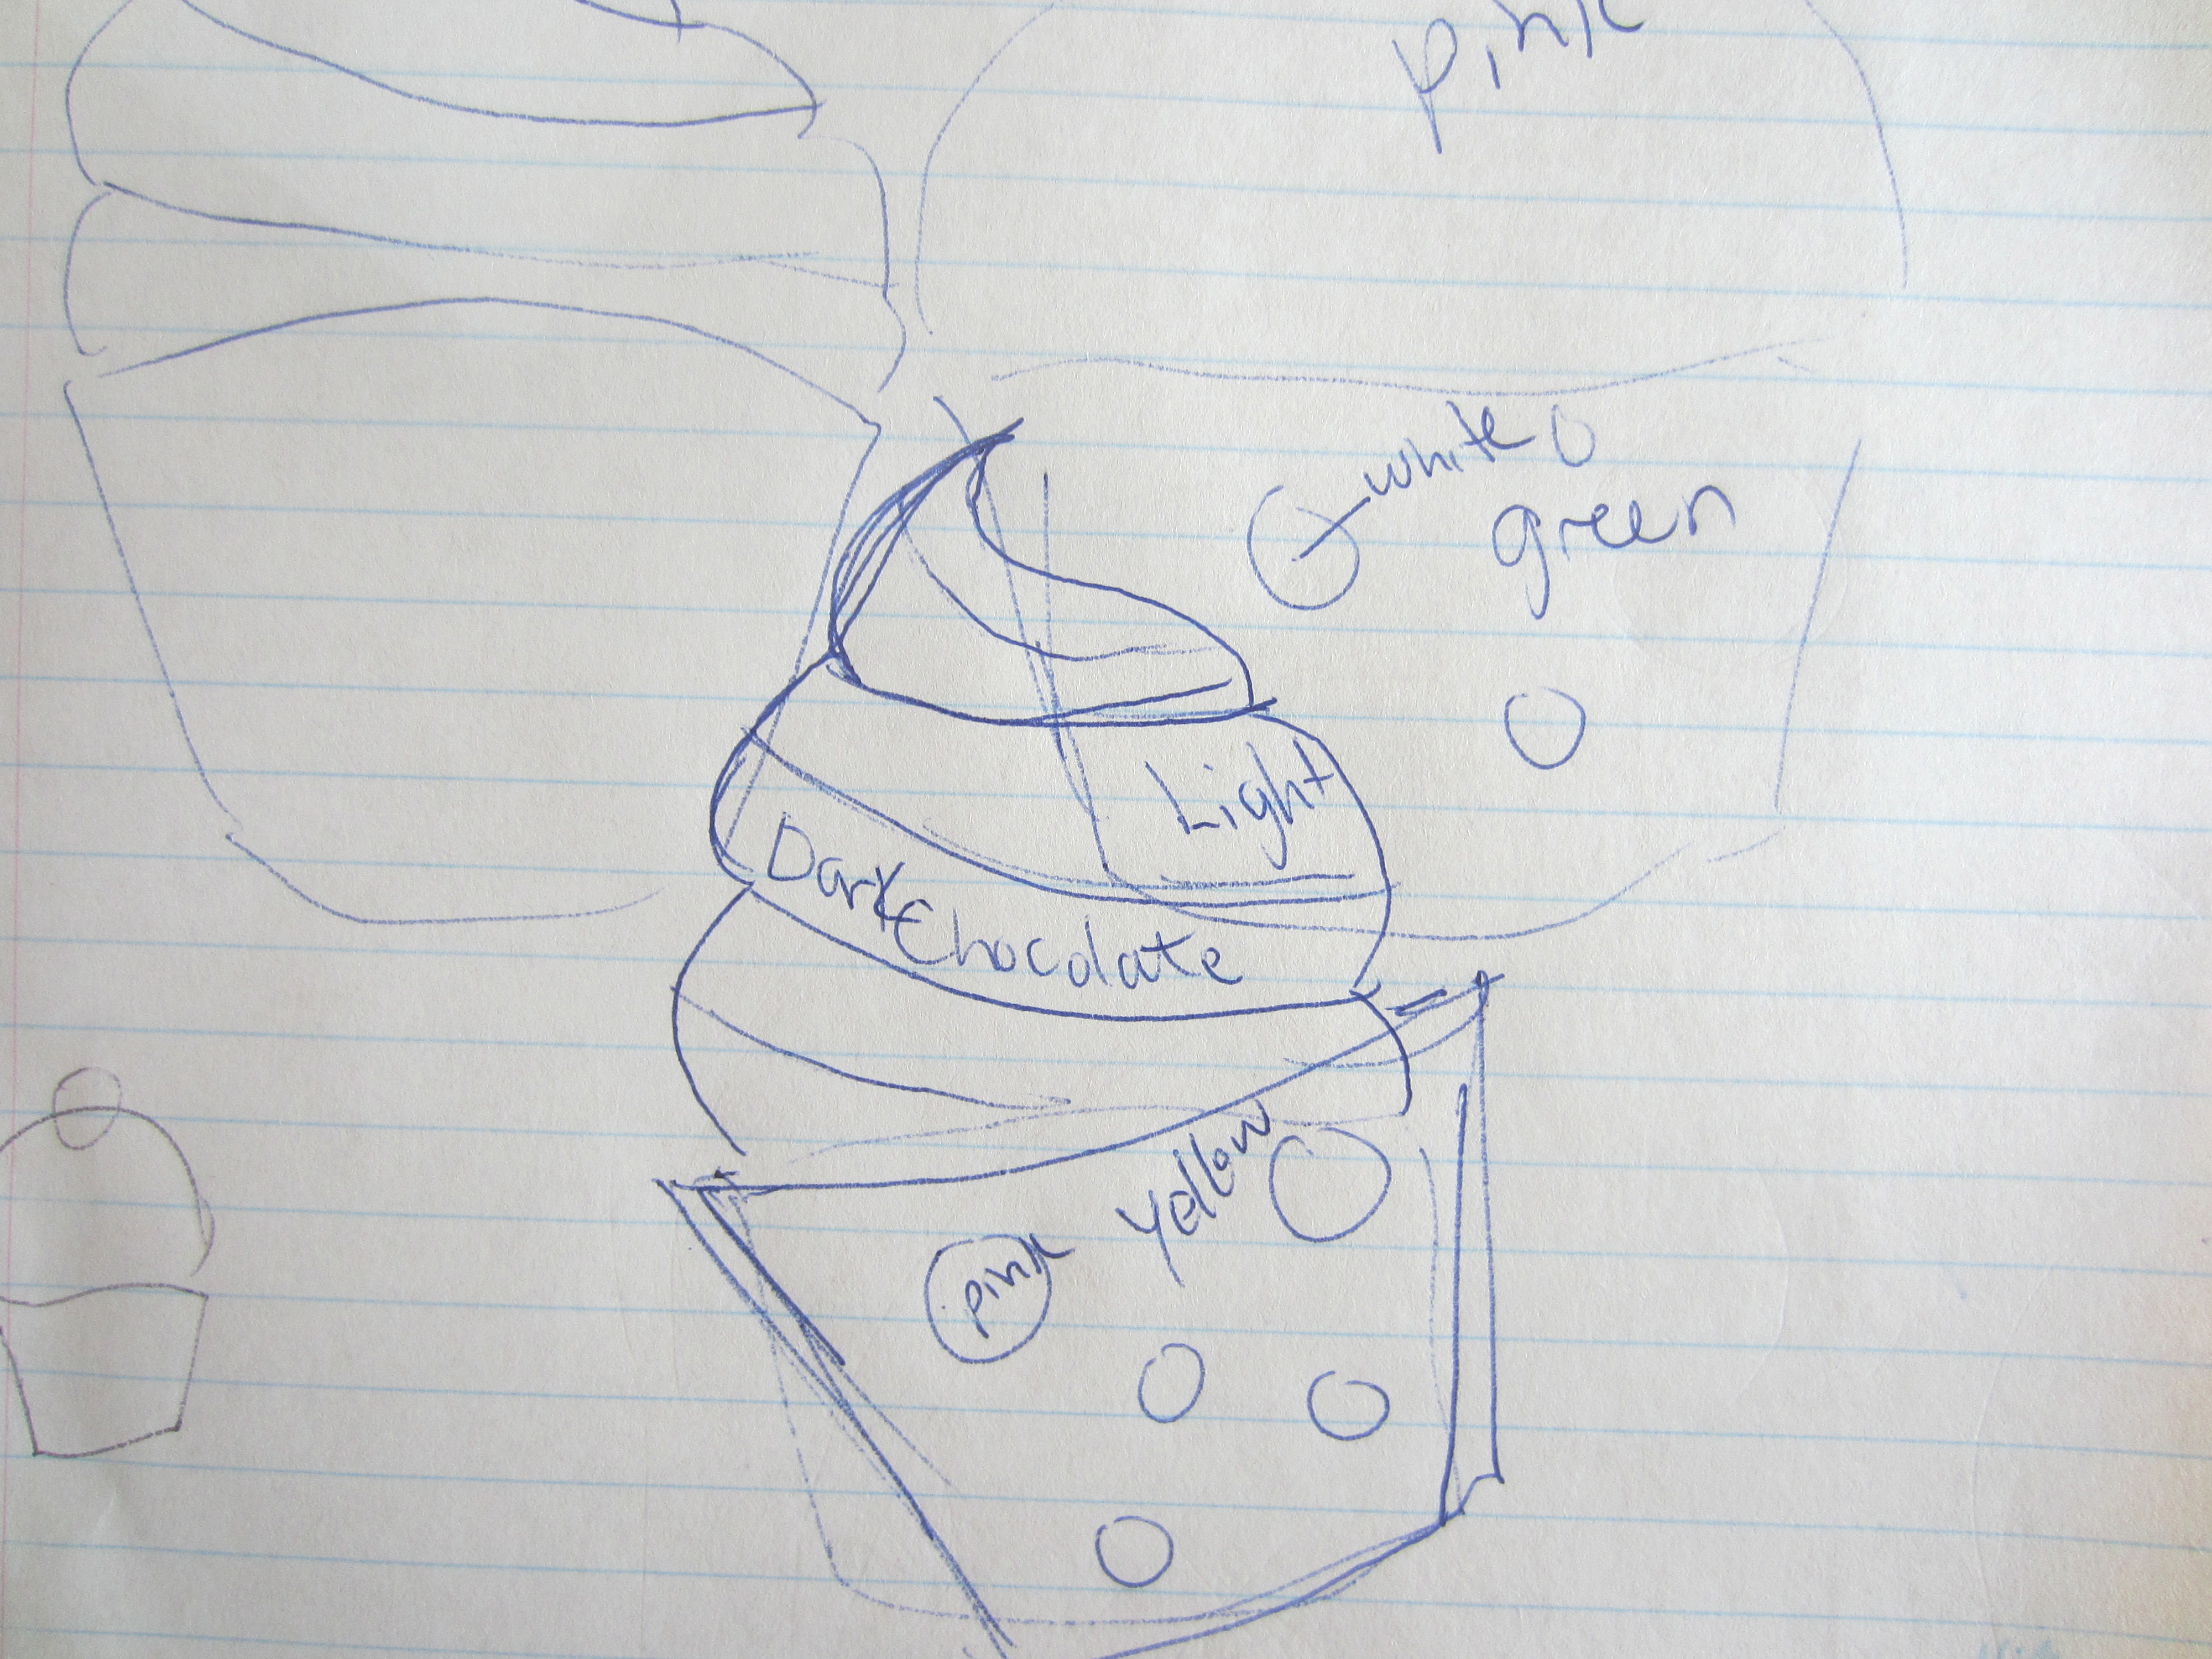
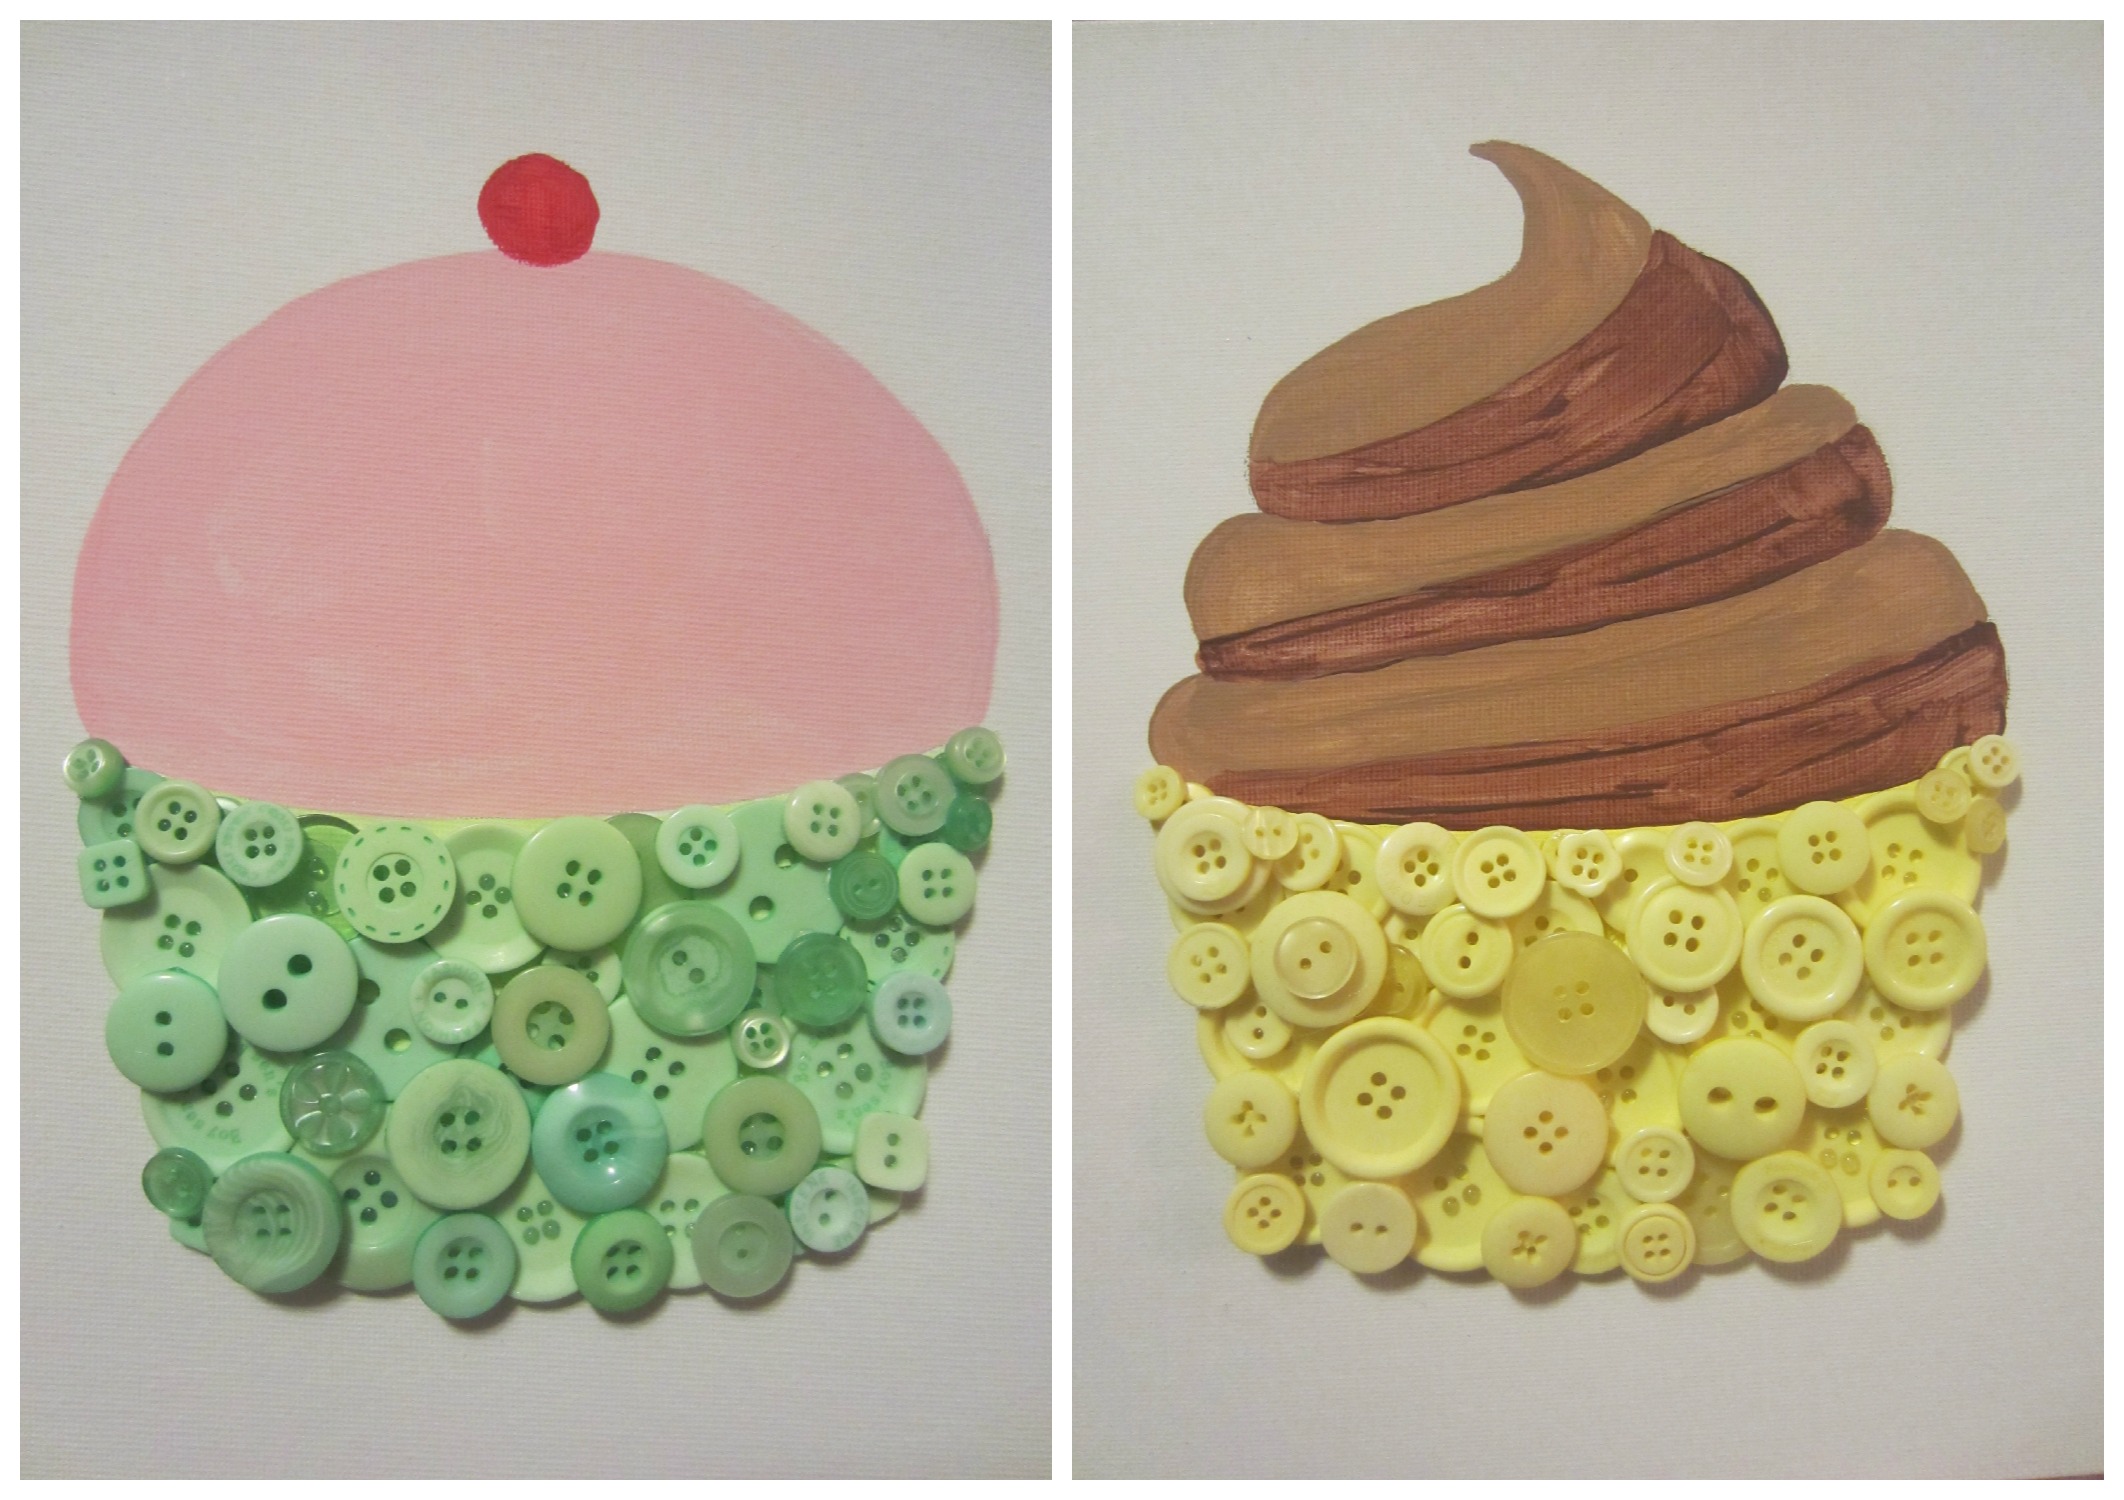
Step 1: Design the cupcakes!
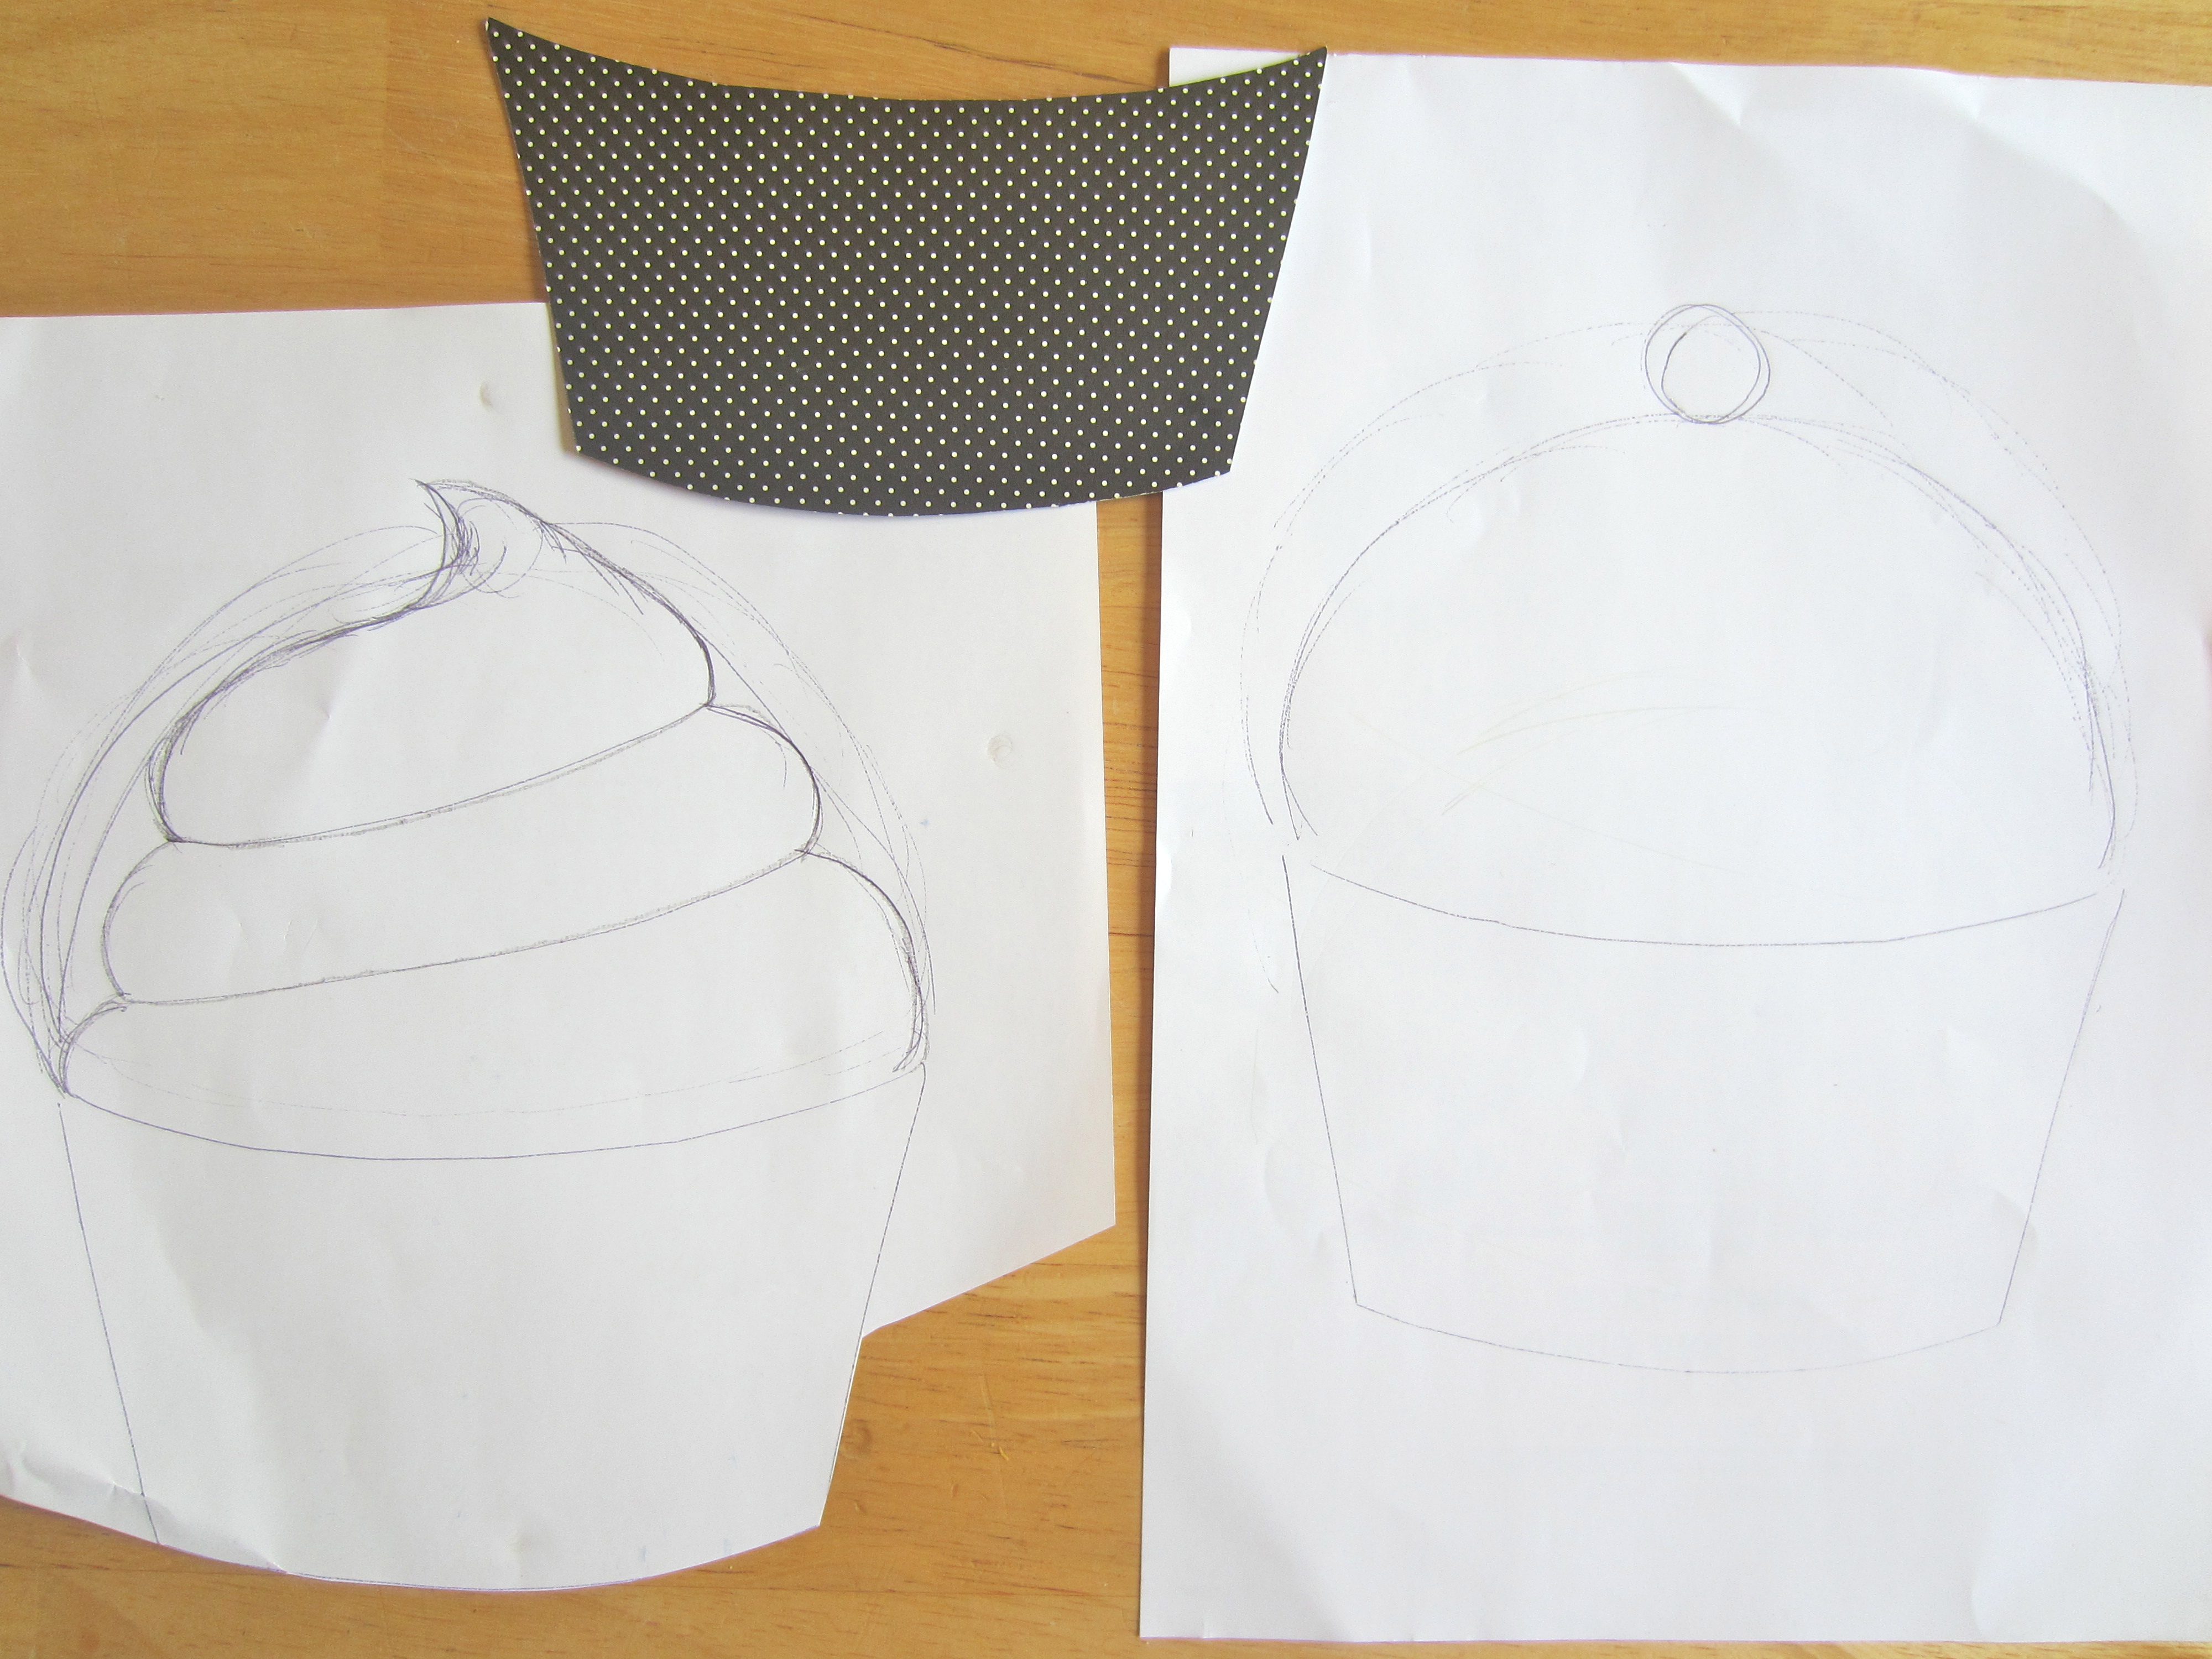
Step 2: Create templates -or use mine! if you want! I really don’t mind if you want to snag my ideas and designs. I grew up with 9 siblings, so sharing has never been an issue for me. Although if you do feel like giving me some credit, that would be sweet! I might get annoyed if I find my actual photos on Etsy being used to sell someone else’s stuff though (IT HAPPENED! Hahaa silly people, just use your own photos- mine aren’t even that great!) But anyways, I am honored when people are inspired by my artwork- and I get inspired by other people too, so go ahead and copy away! 🙂
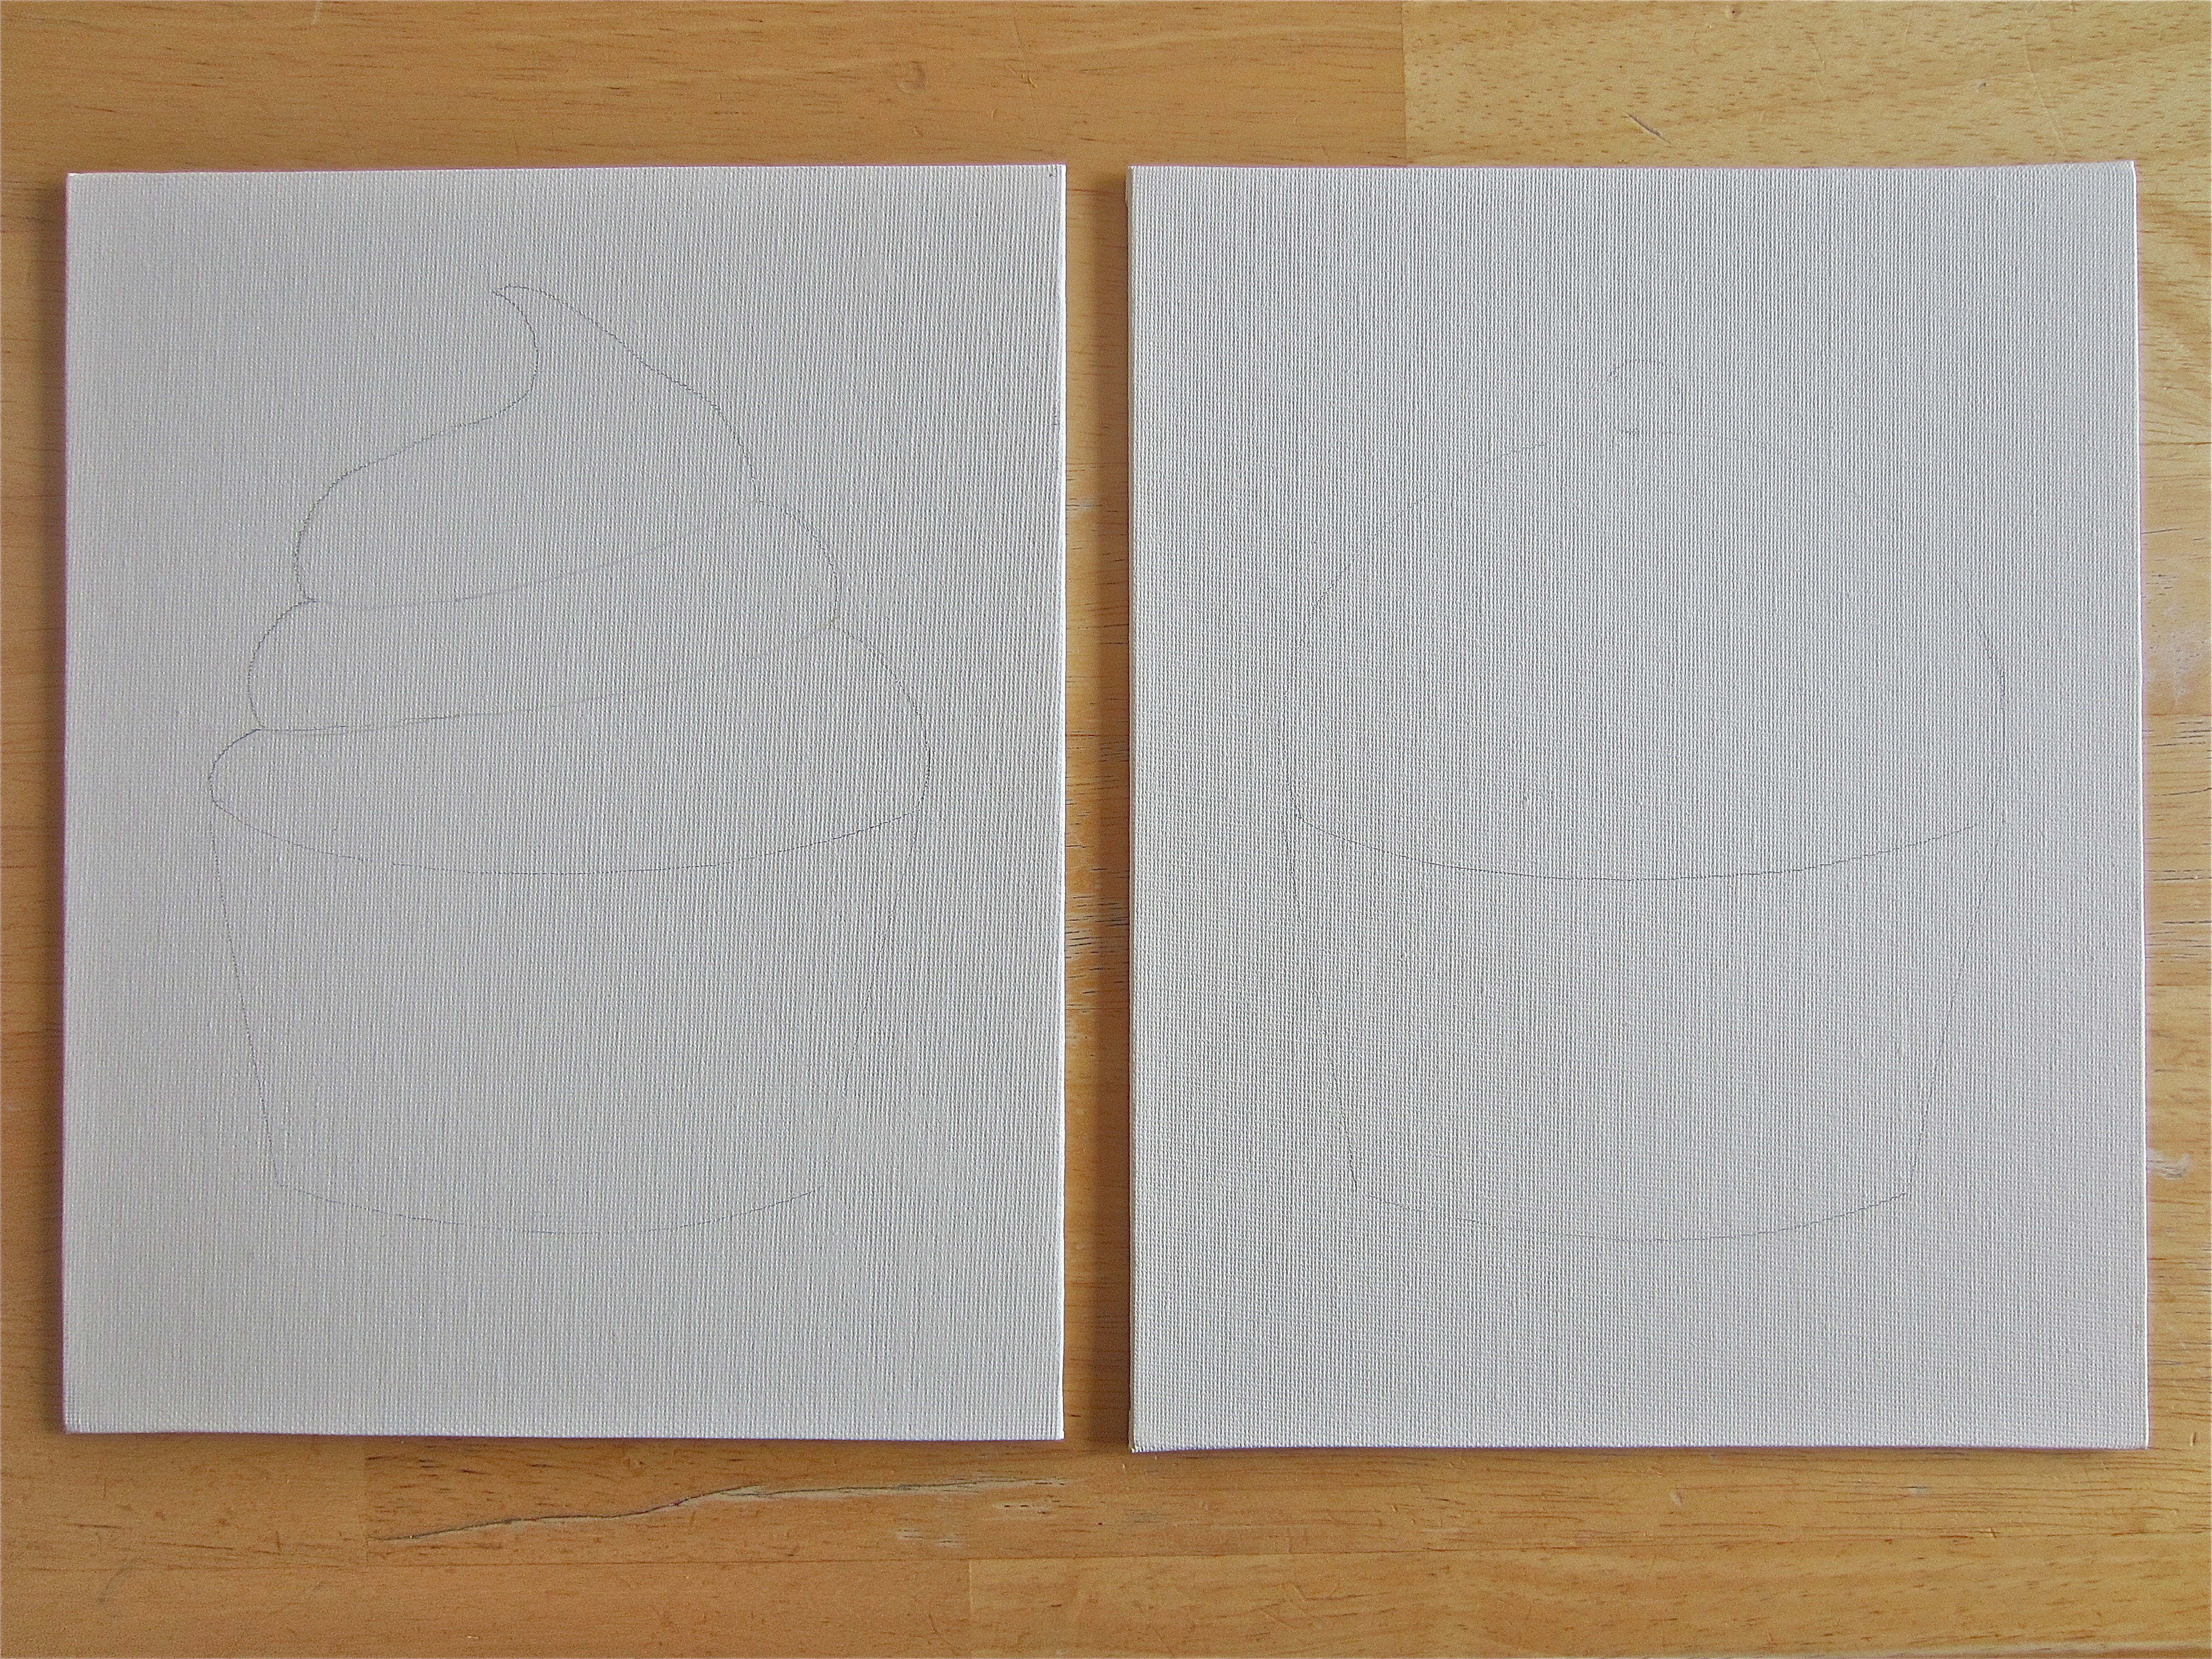
Step 3: Lightly transfer the cupcakes onto 8×10 canvas boards. (You can get these at any store that sells craft supplies.)
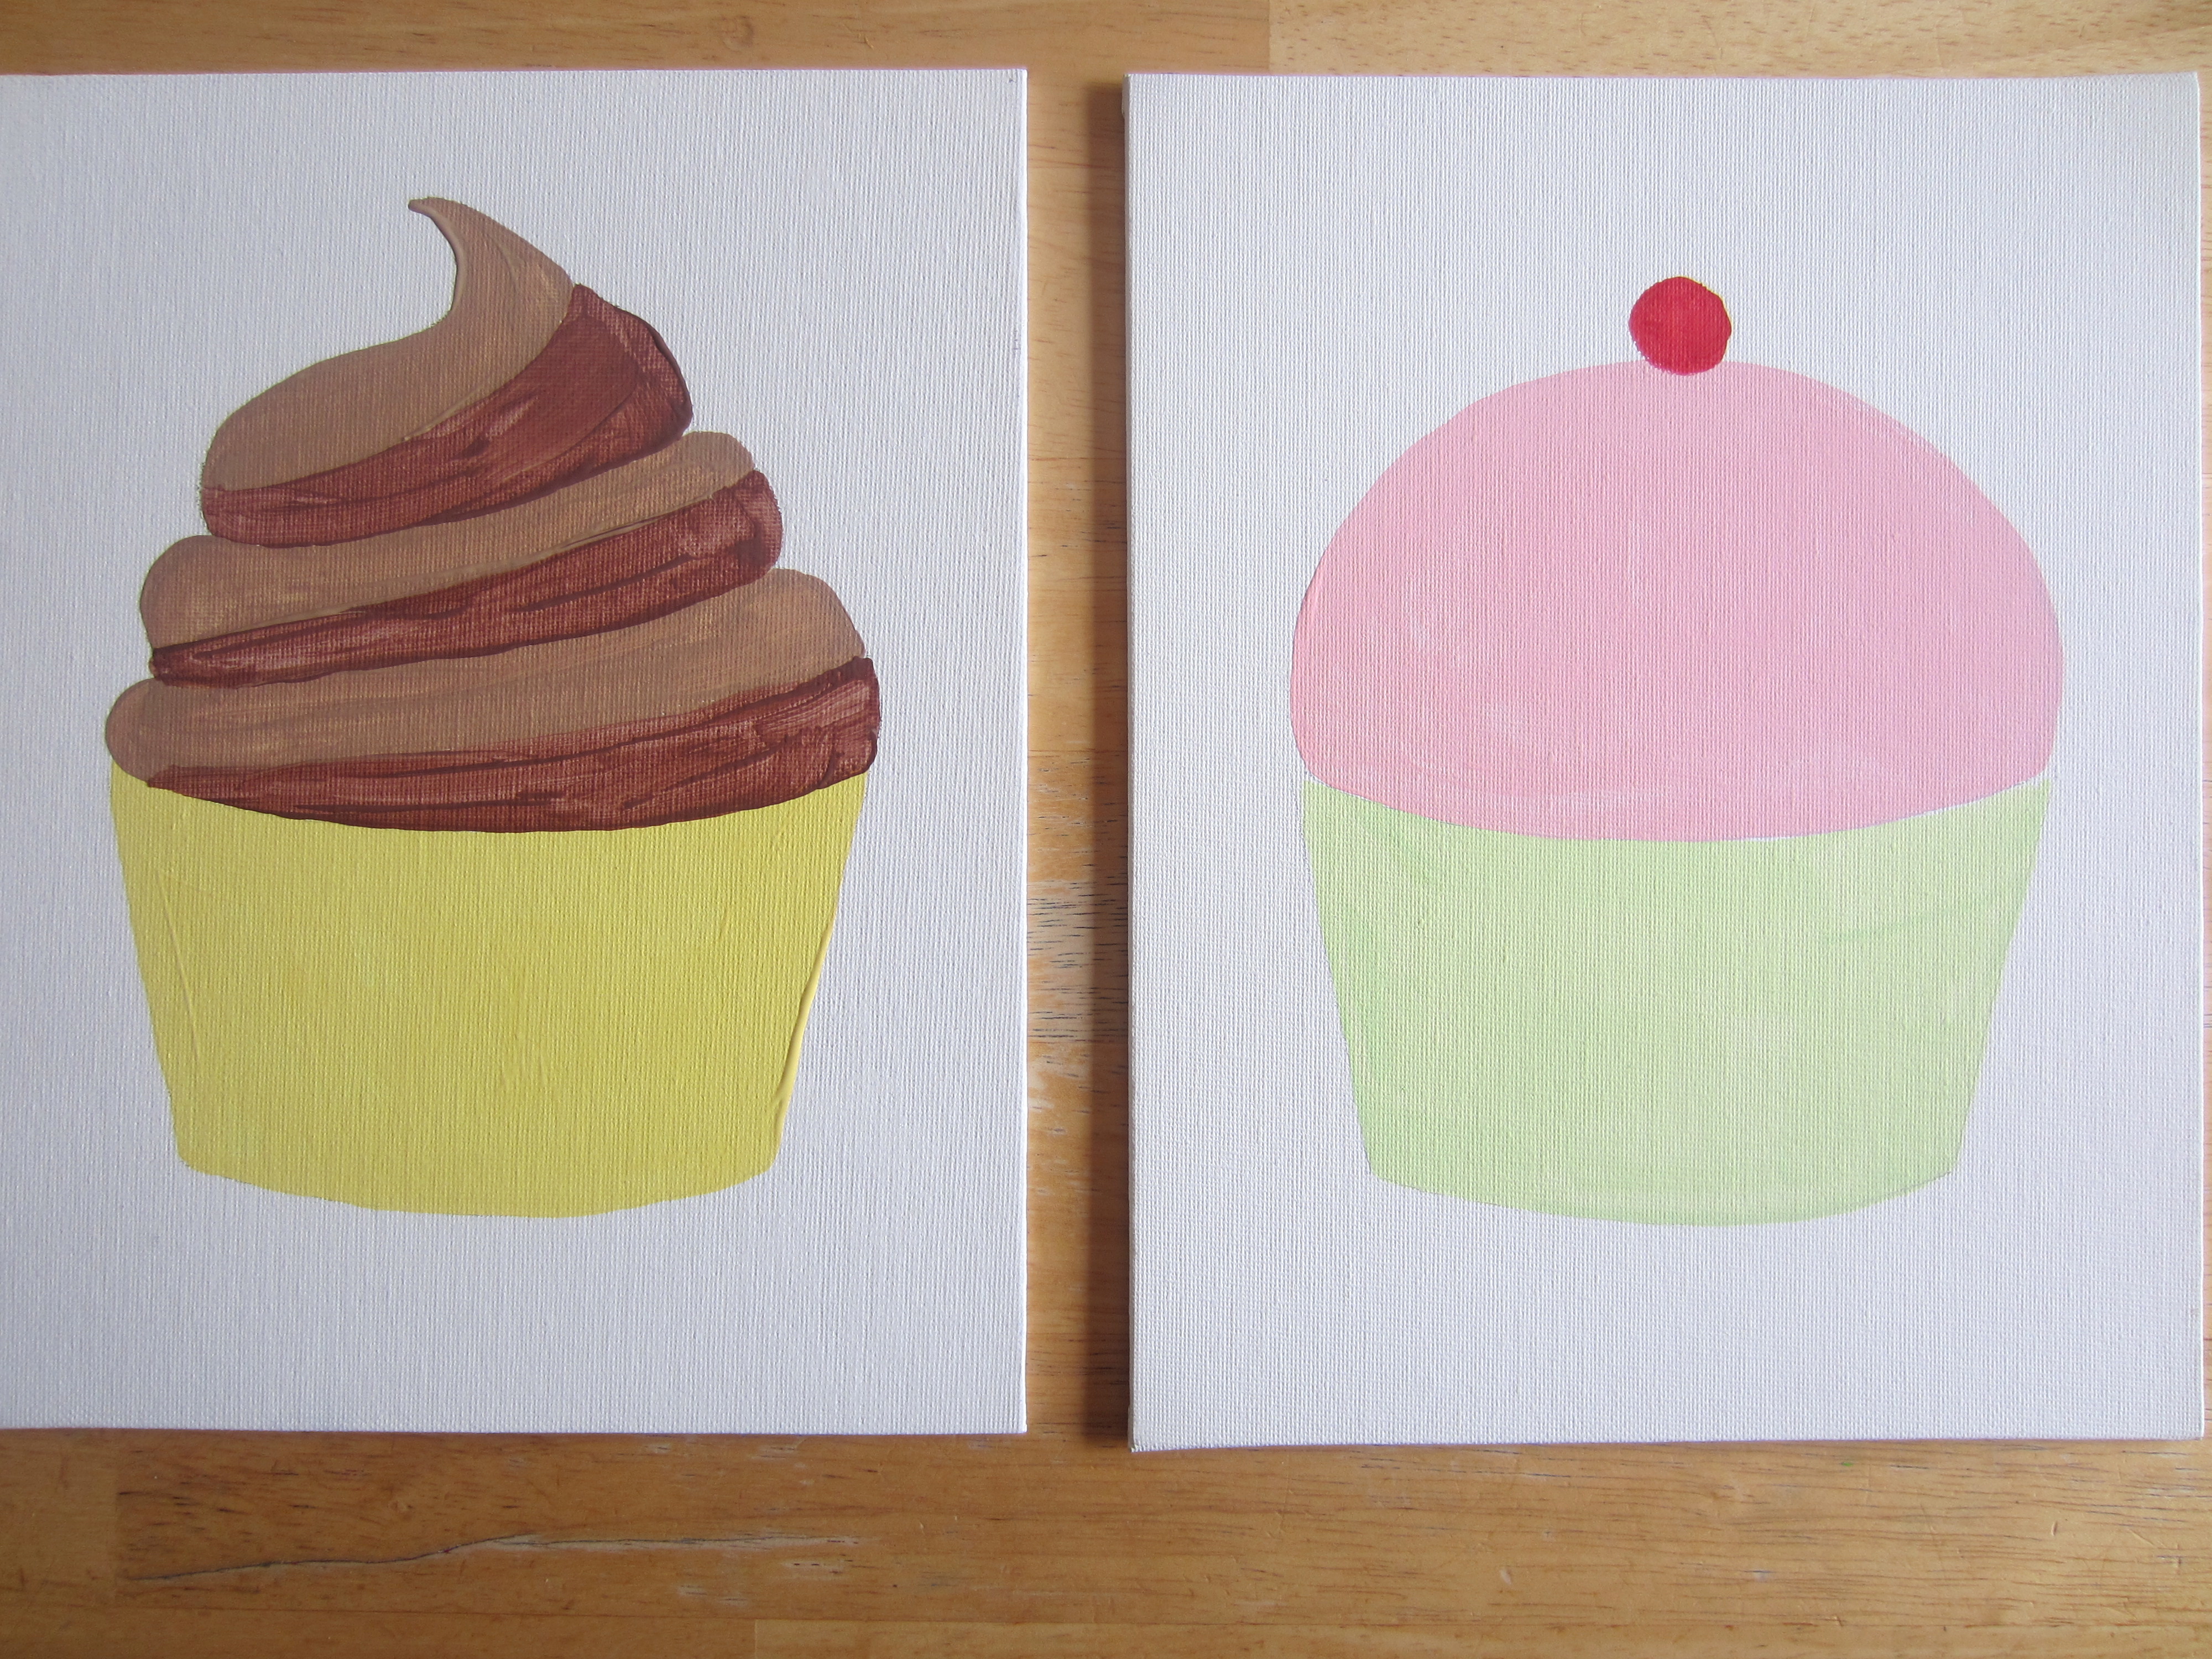
Step 4: Paint in the cupcakes. (I used acrylics.) This step ensures that the button holes don’t reveal white underneath.
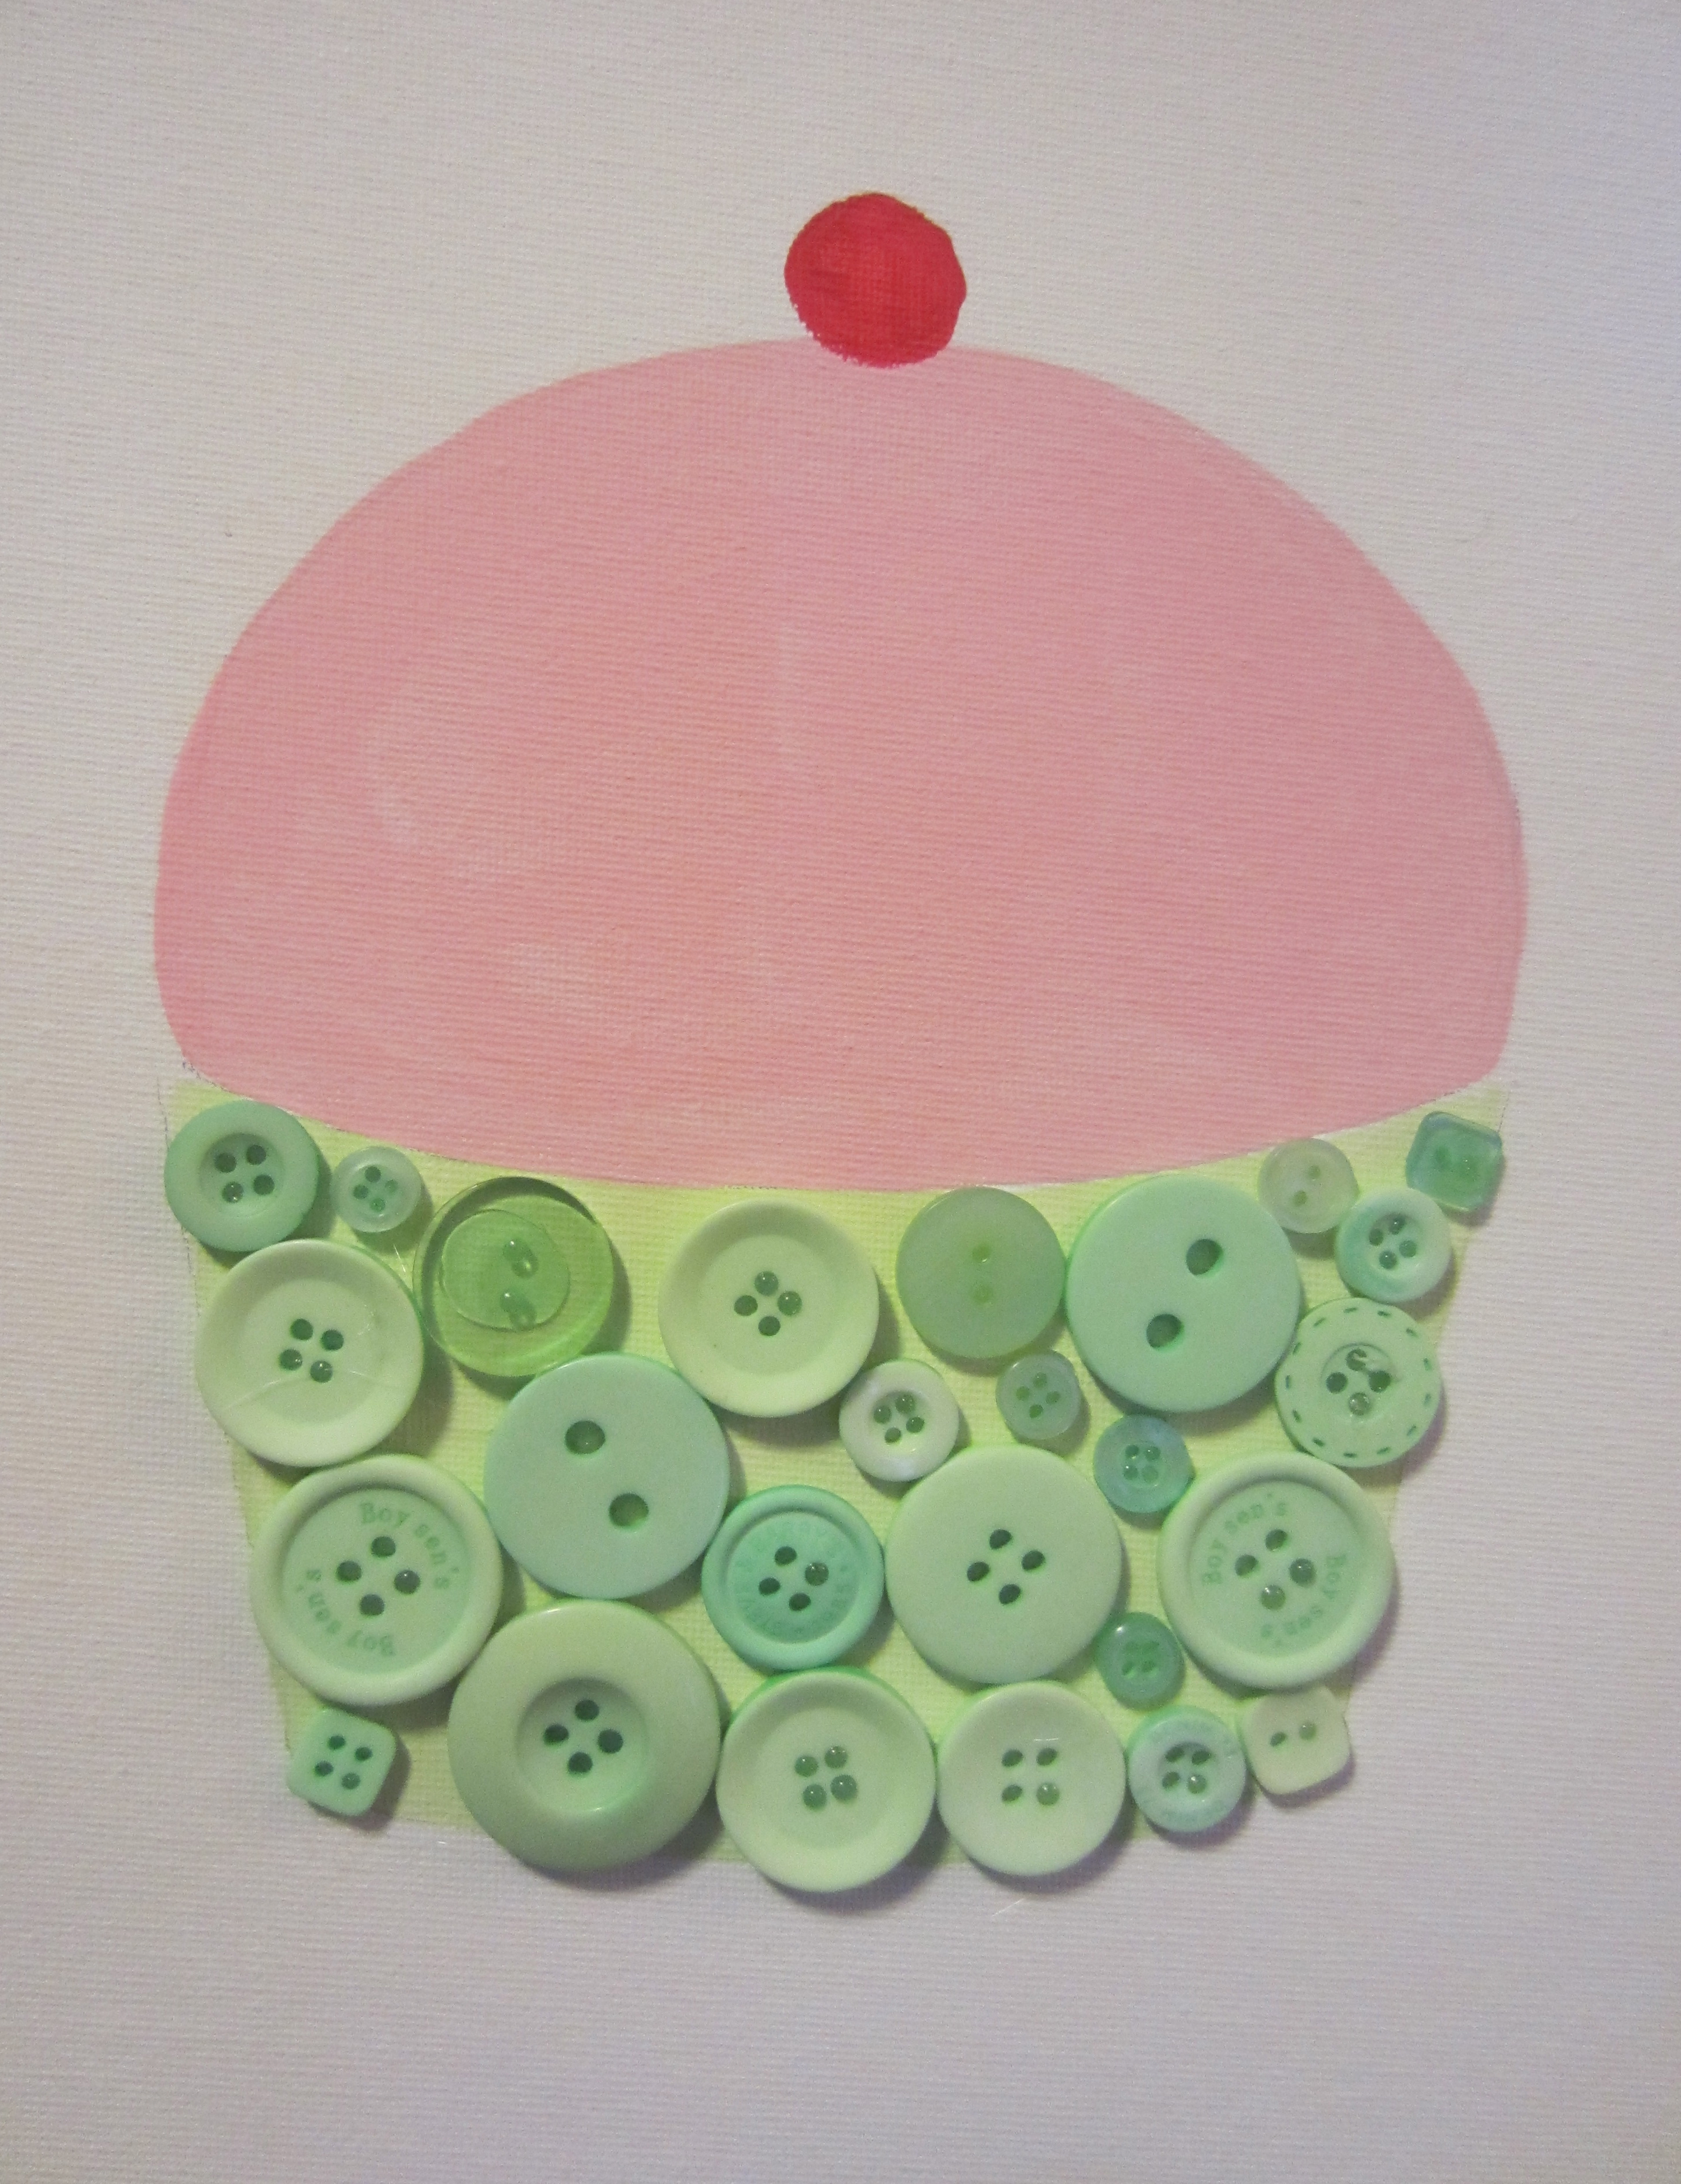
Step 5: Add the first color/layer of buttons- start around the edges.
Step 6: Add the second layer of buttons, making sure to cover any spaces. Start around the edges, adding buttons over the first layer- this helps you get a straight line.
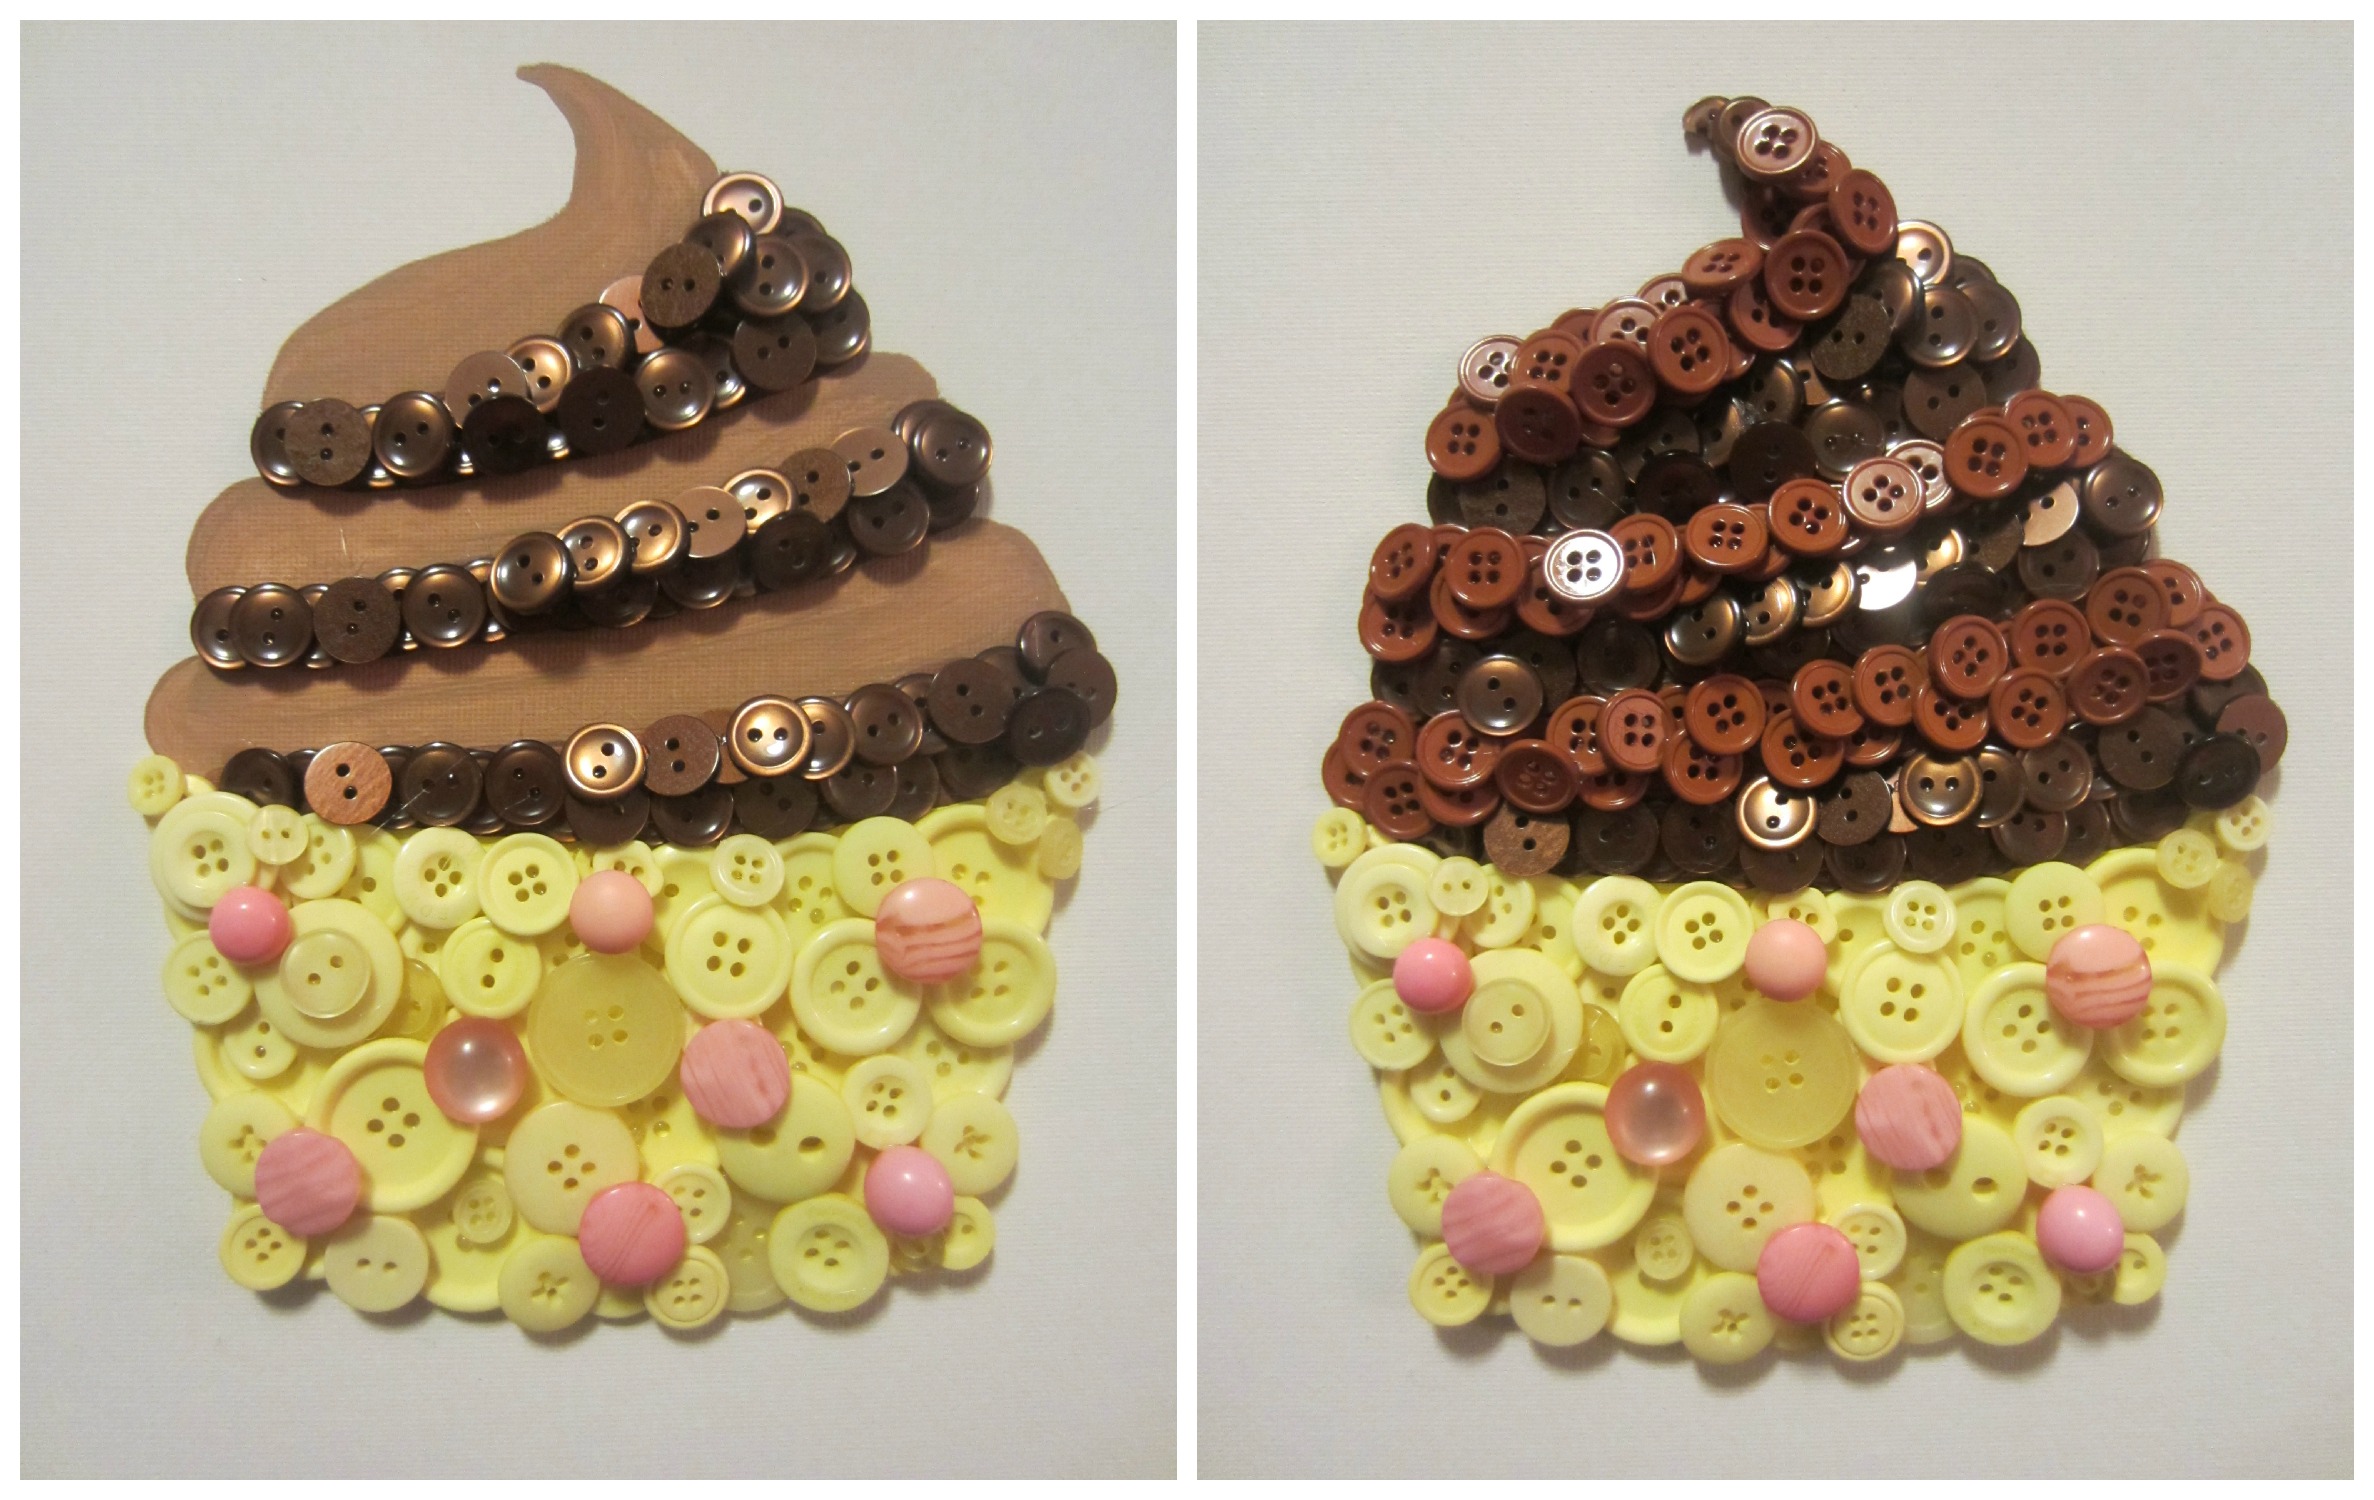

Step 7: Pretty please with a cherry on top. And polkadots on the bottom. Embellish those babies with some finishing touches!
Oh good- the writing is back to normal now! Darn technology.
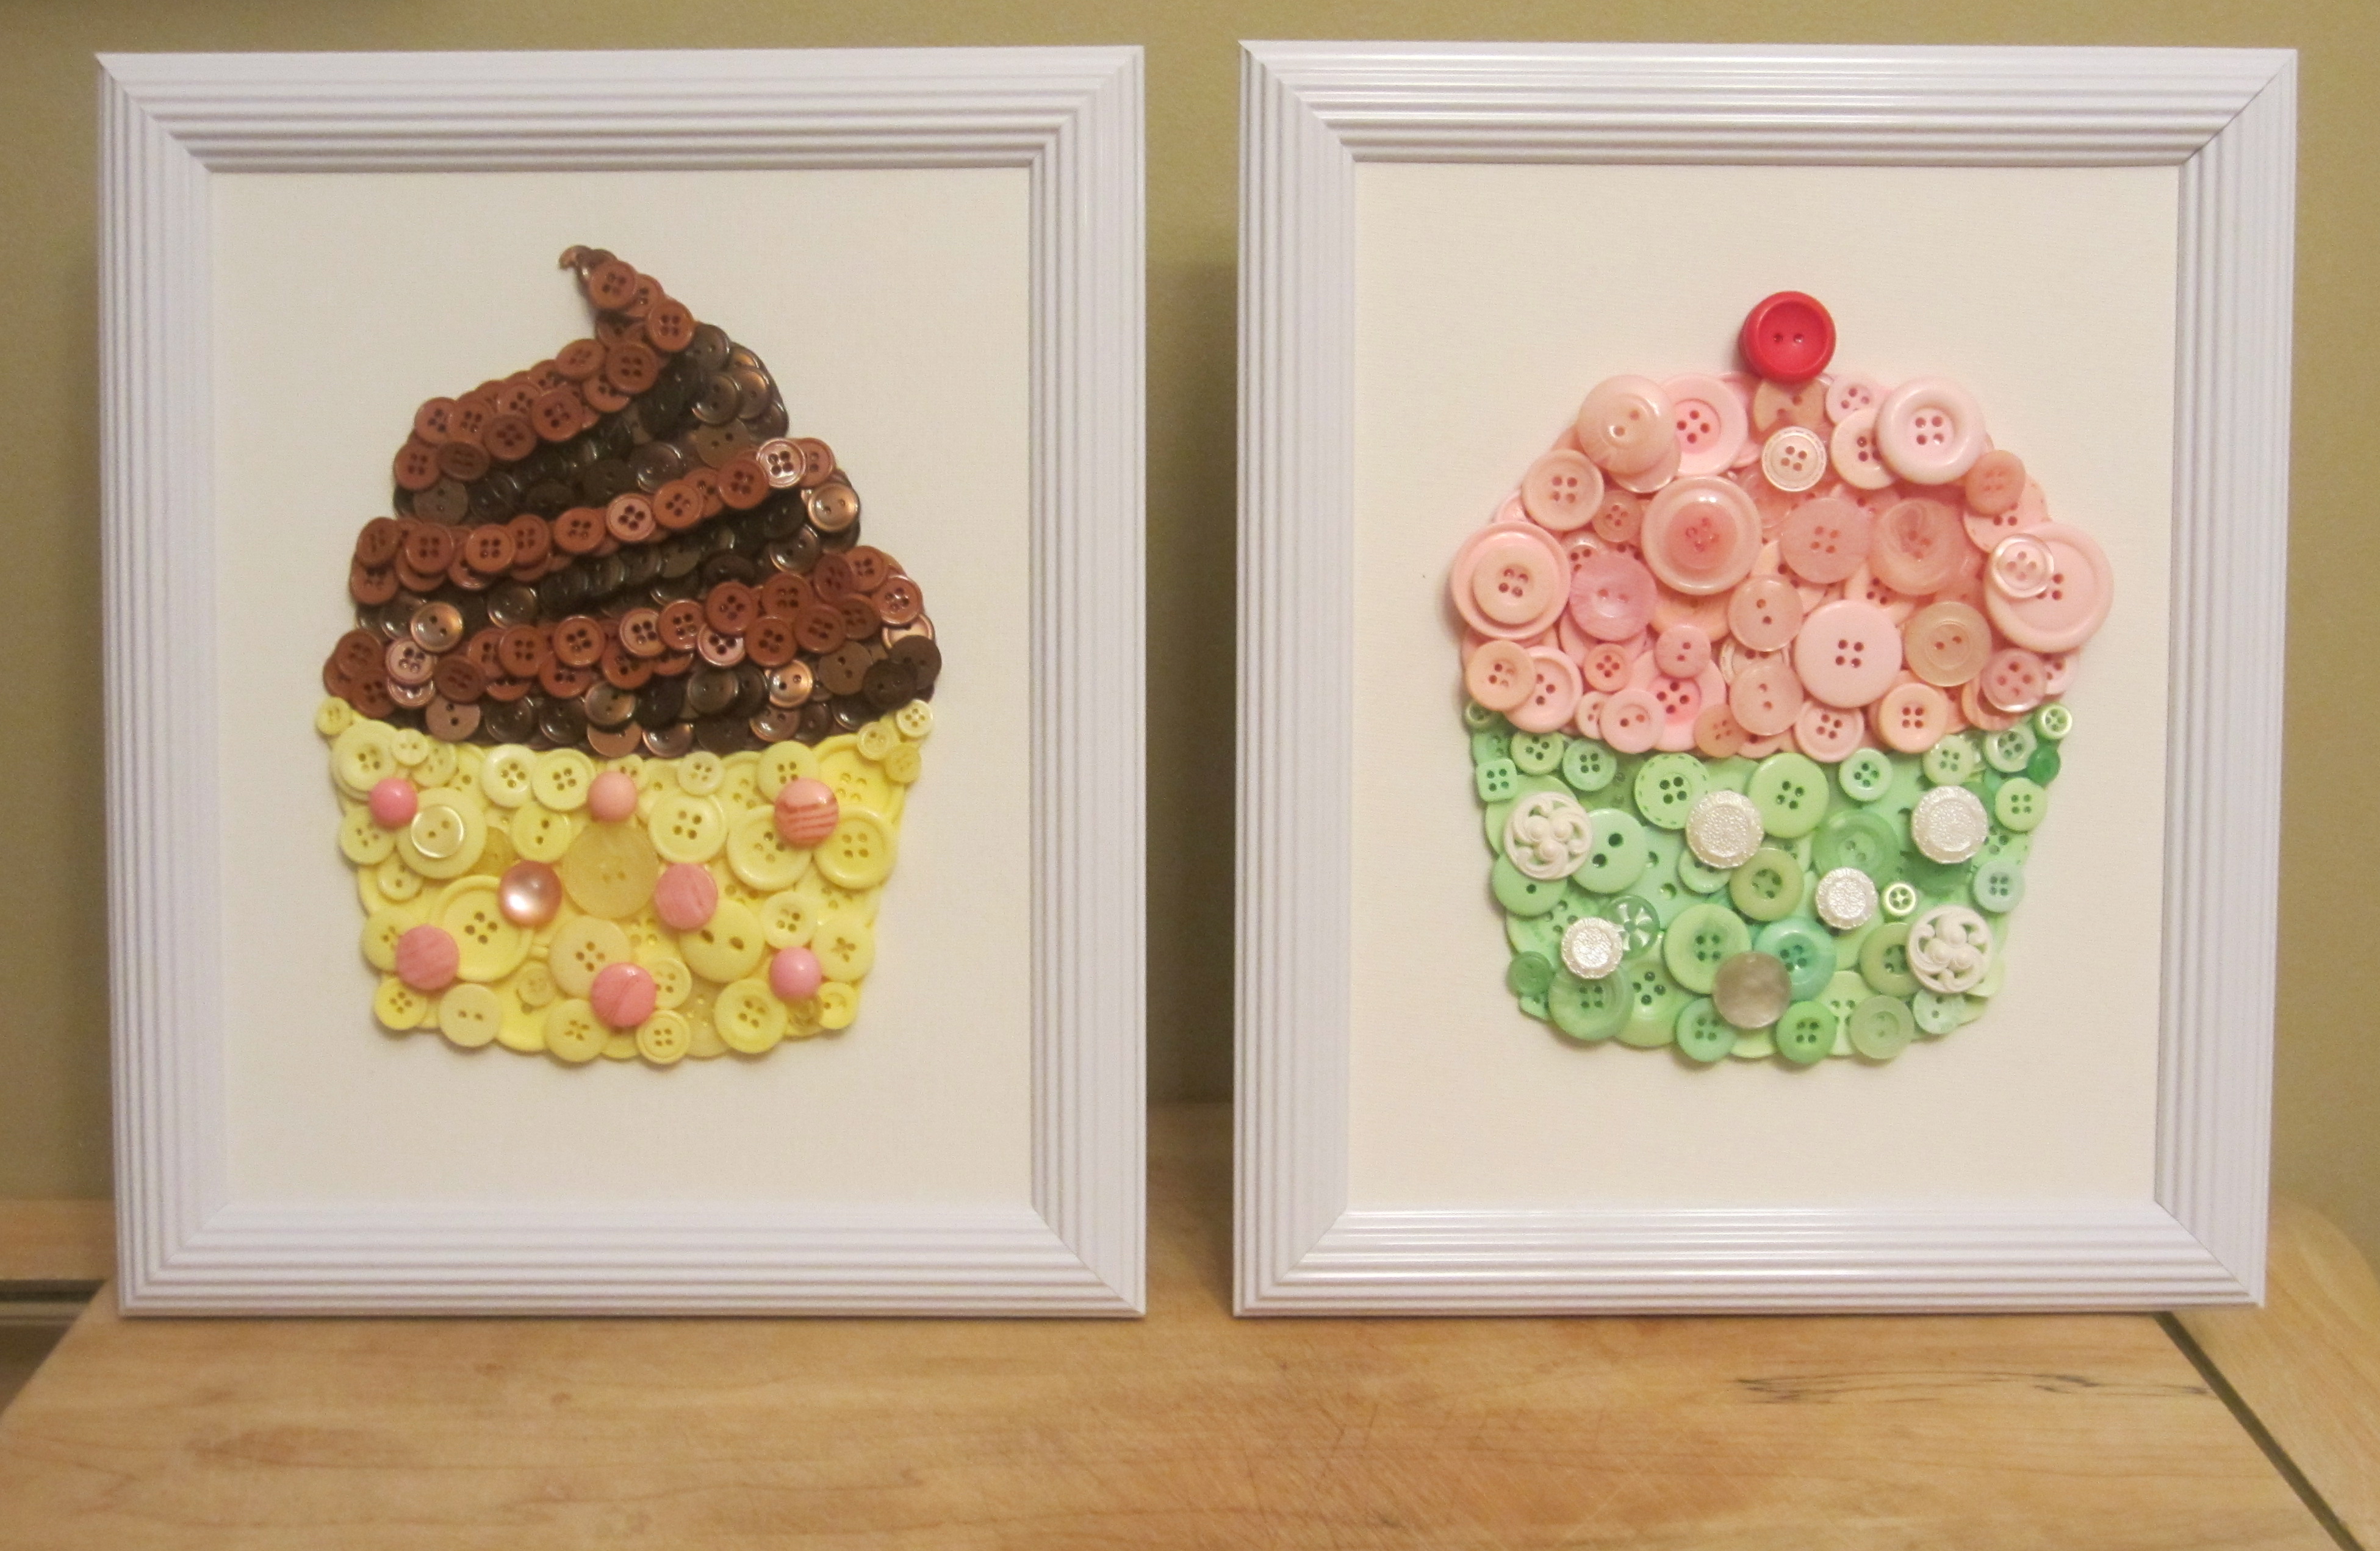
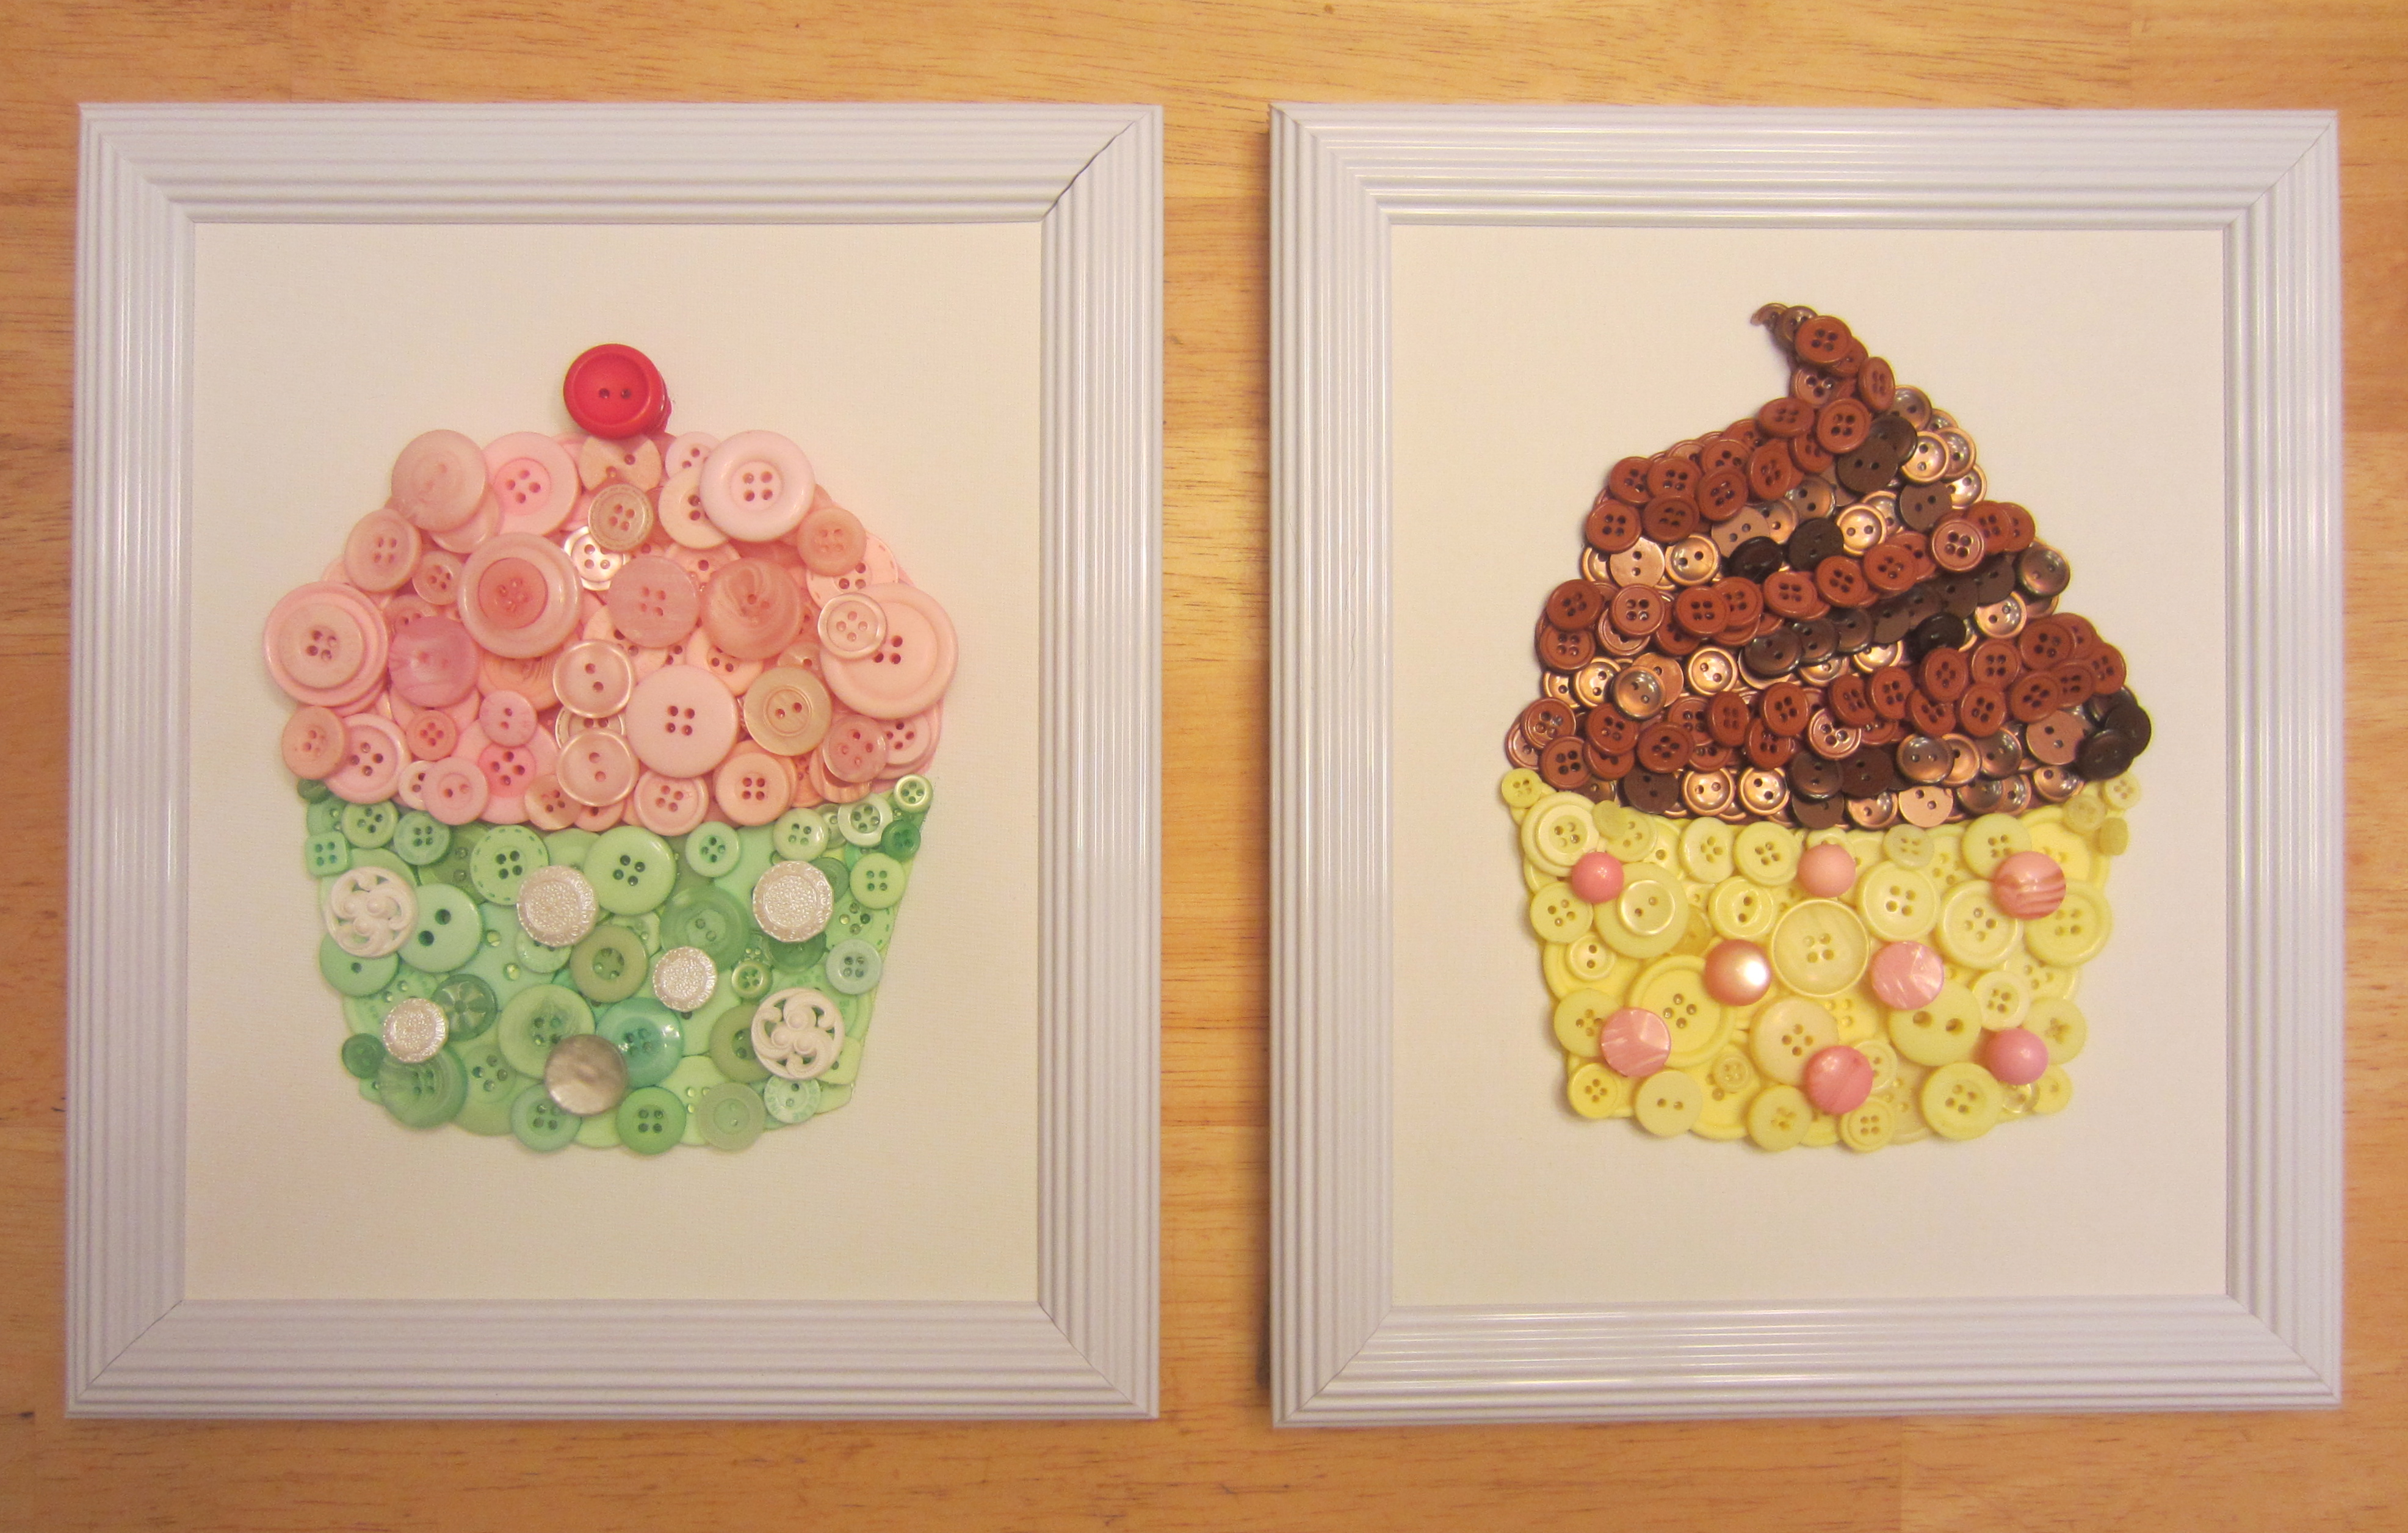
Step 8: Frame (without the glass- these are 3-D so the glass doesn’t fit!)- My fave frames to use are nice thick, white ones. The gal who ordered these wants to hang them above her stove (CUTE!) So she is going to frame them in shadow boxes to keep them clean!
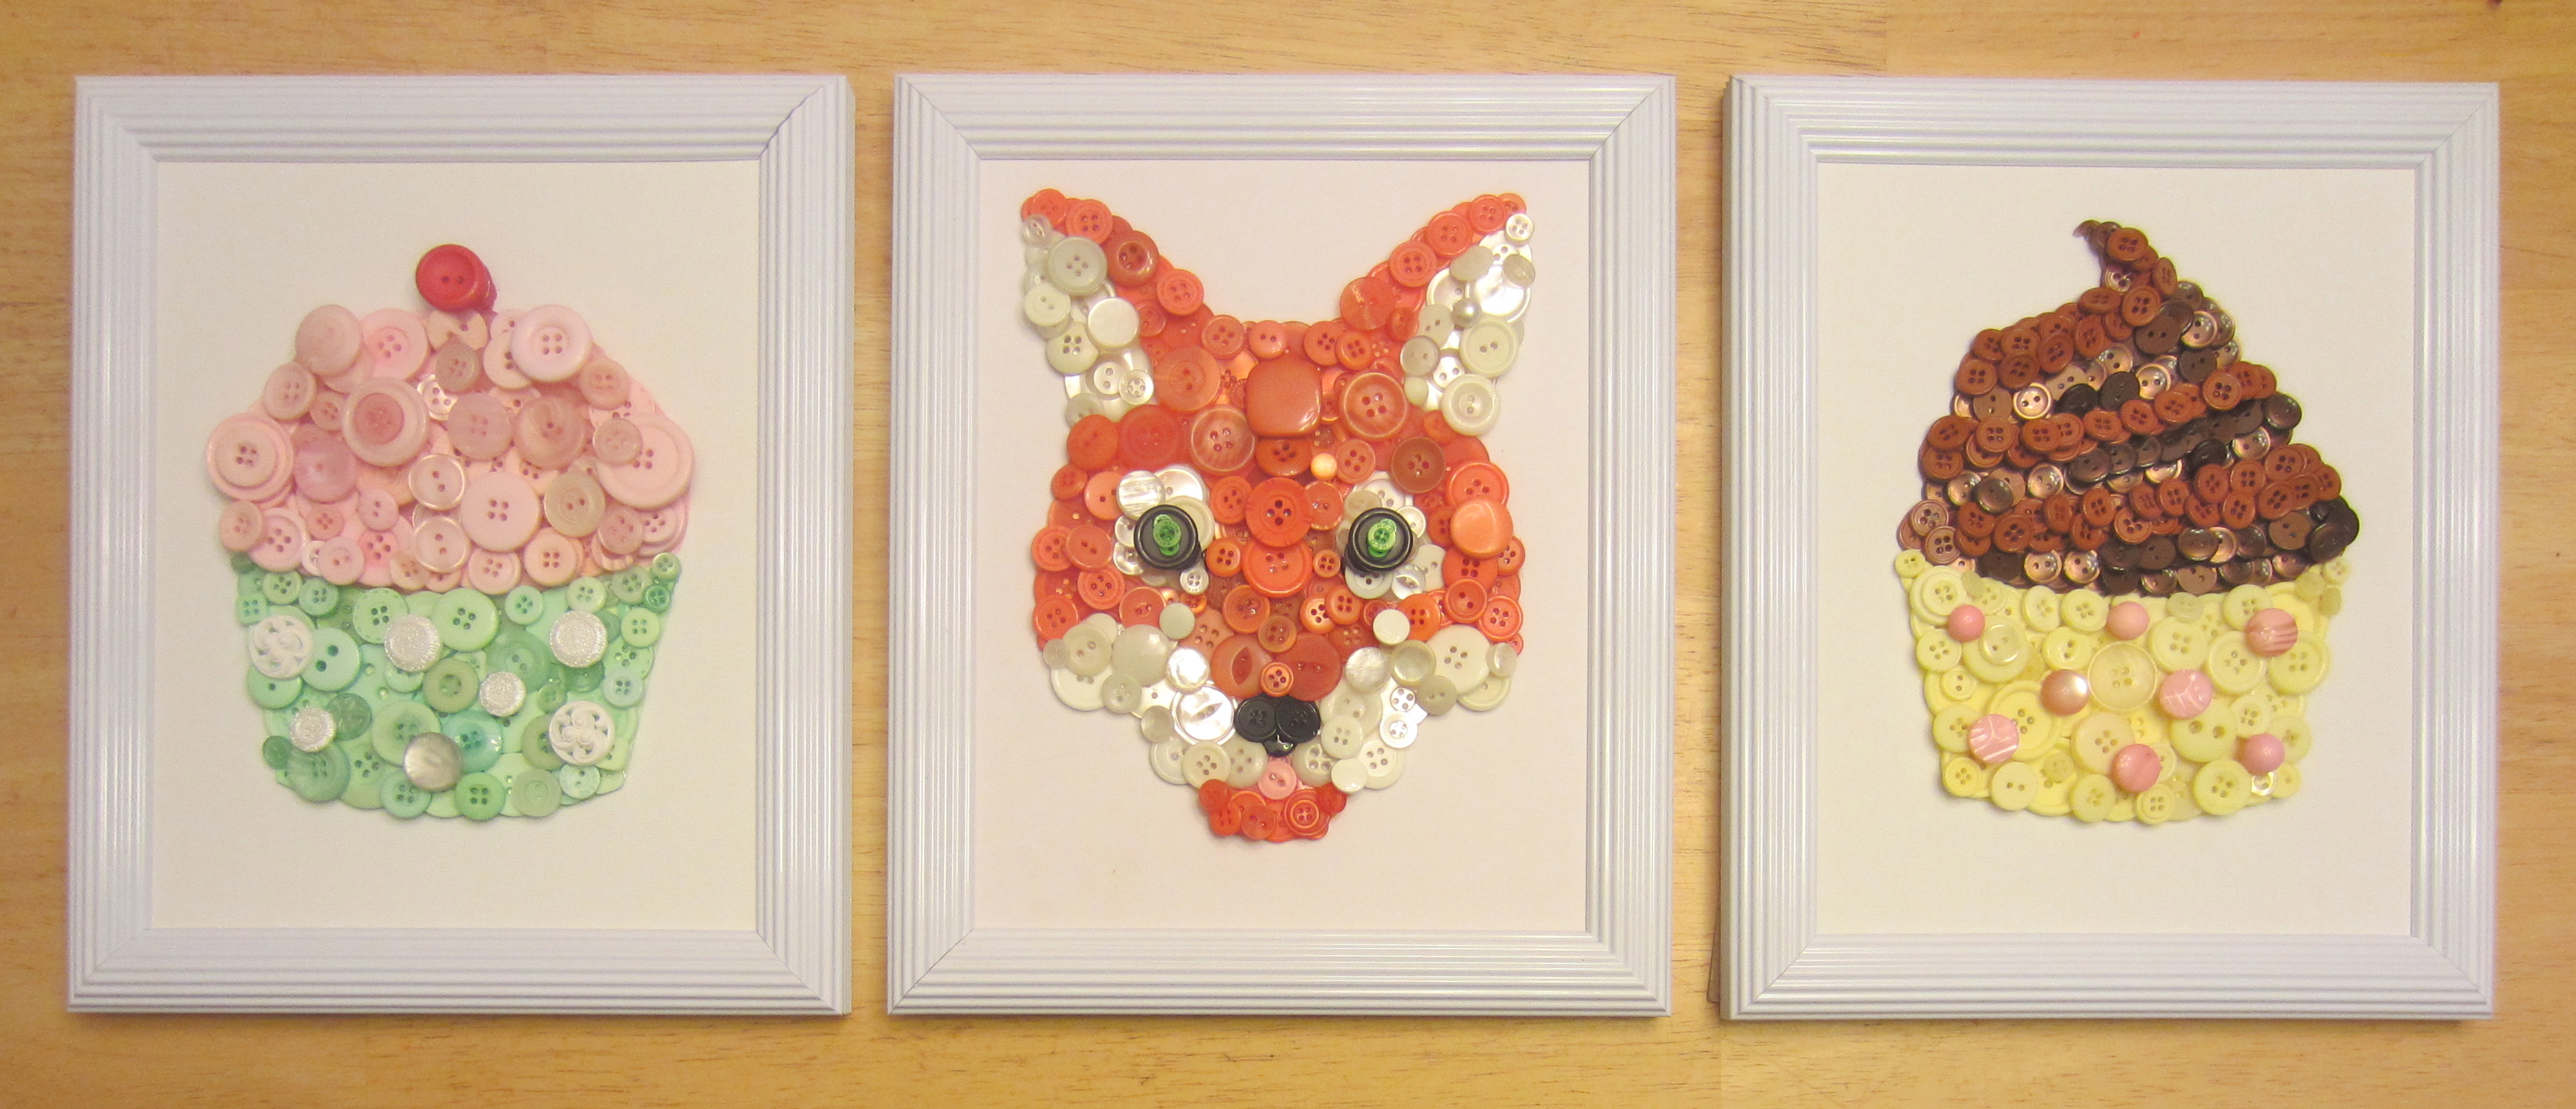
Step 9: FEED THEM TO A HUNGRY FOX!!!!!!!!
Let me introduce you to Monsieur Fox:
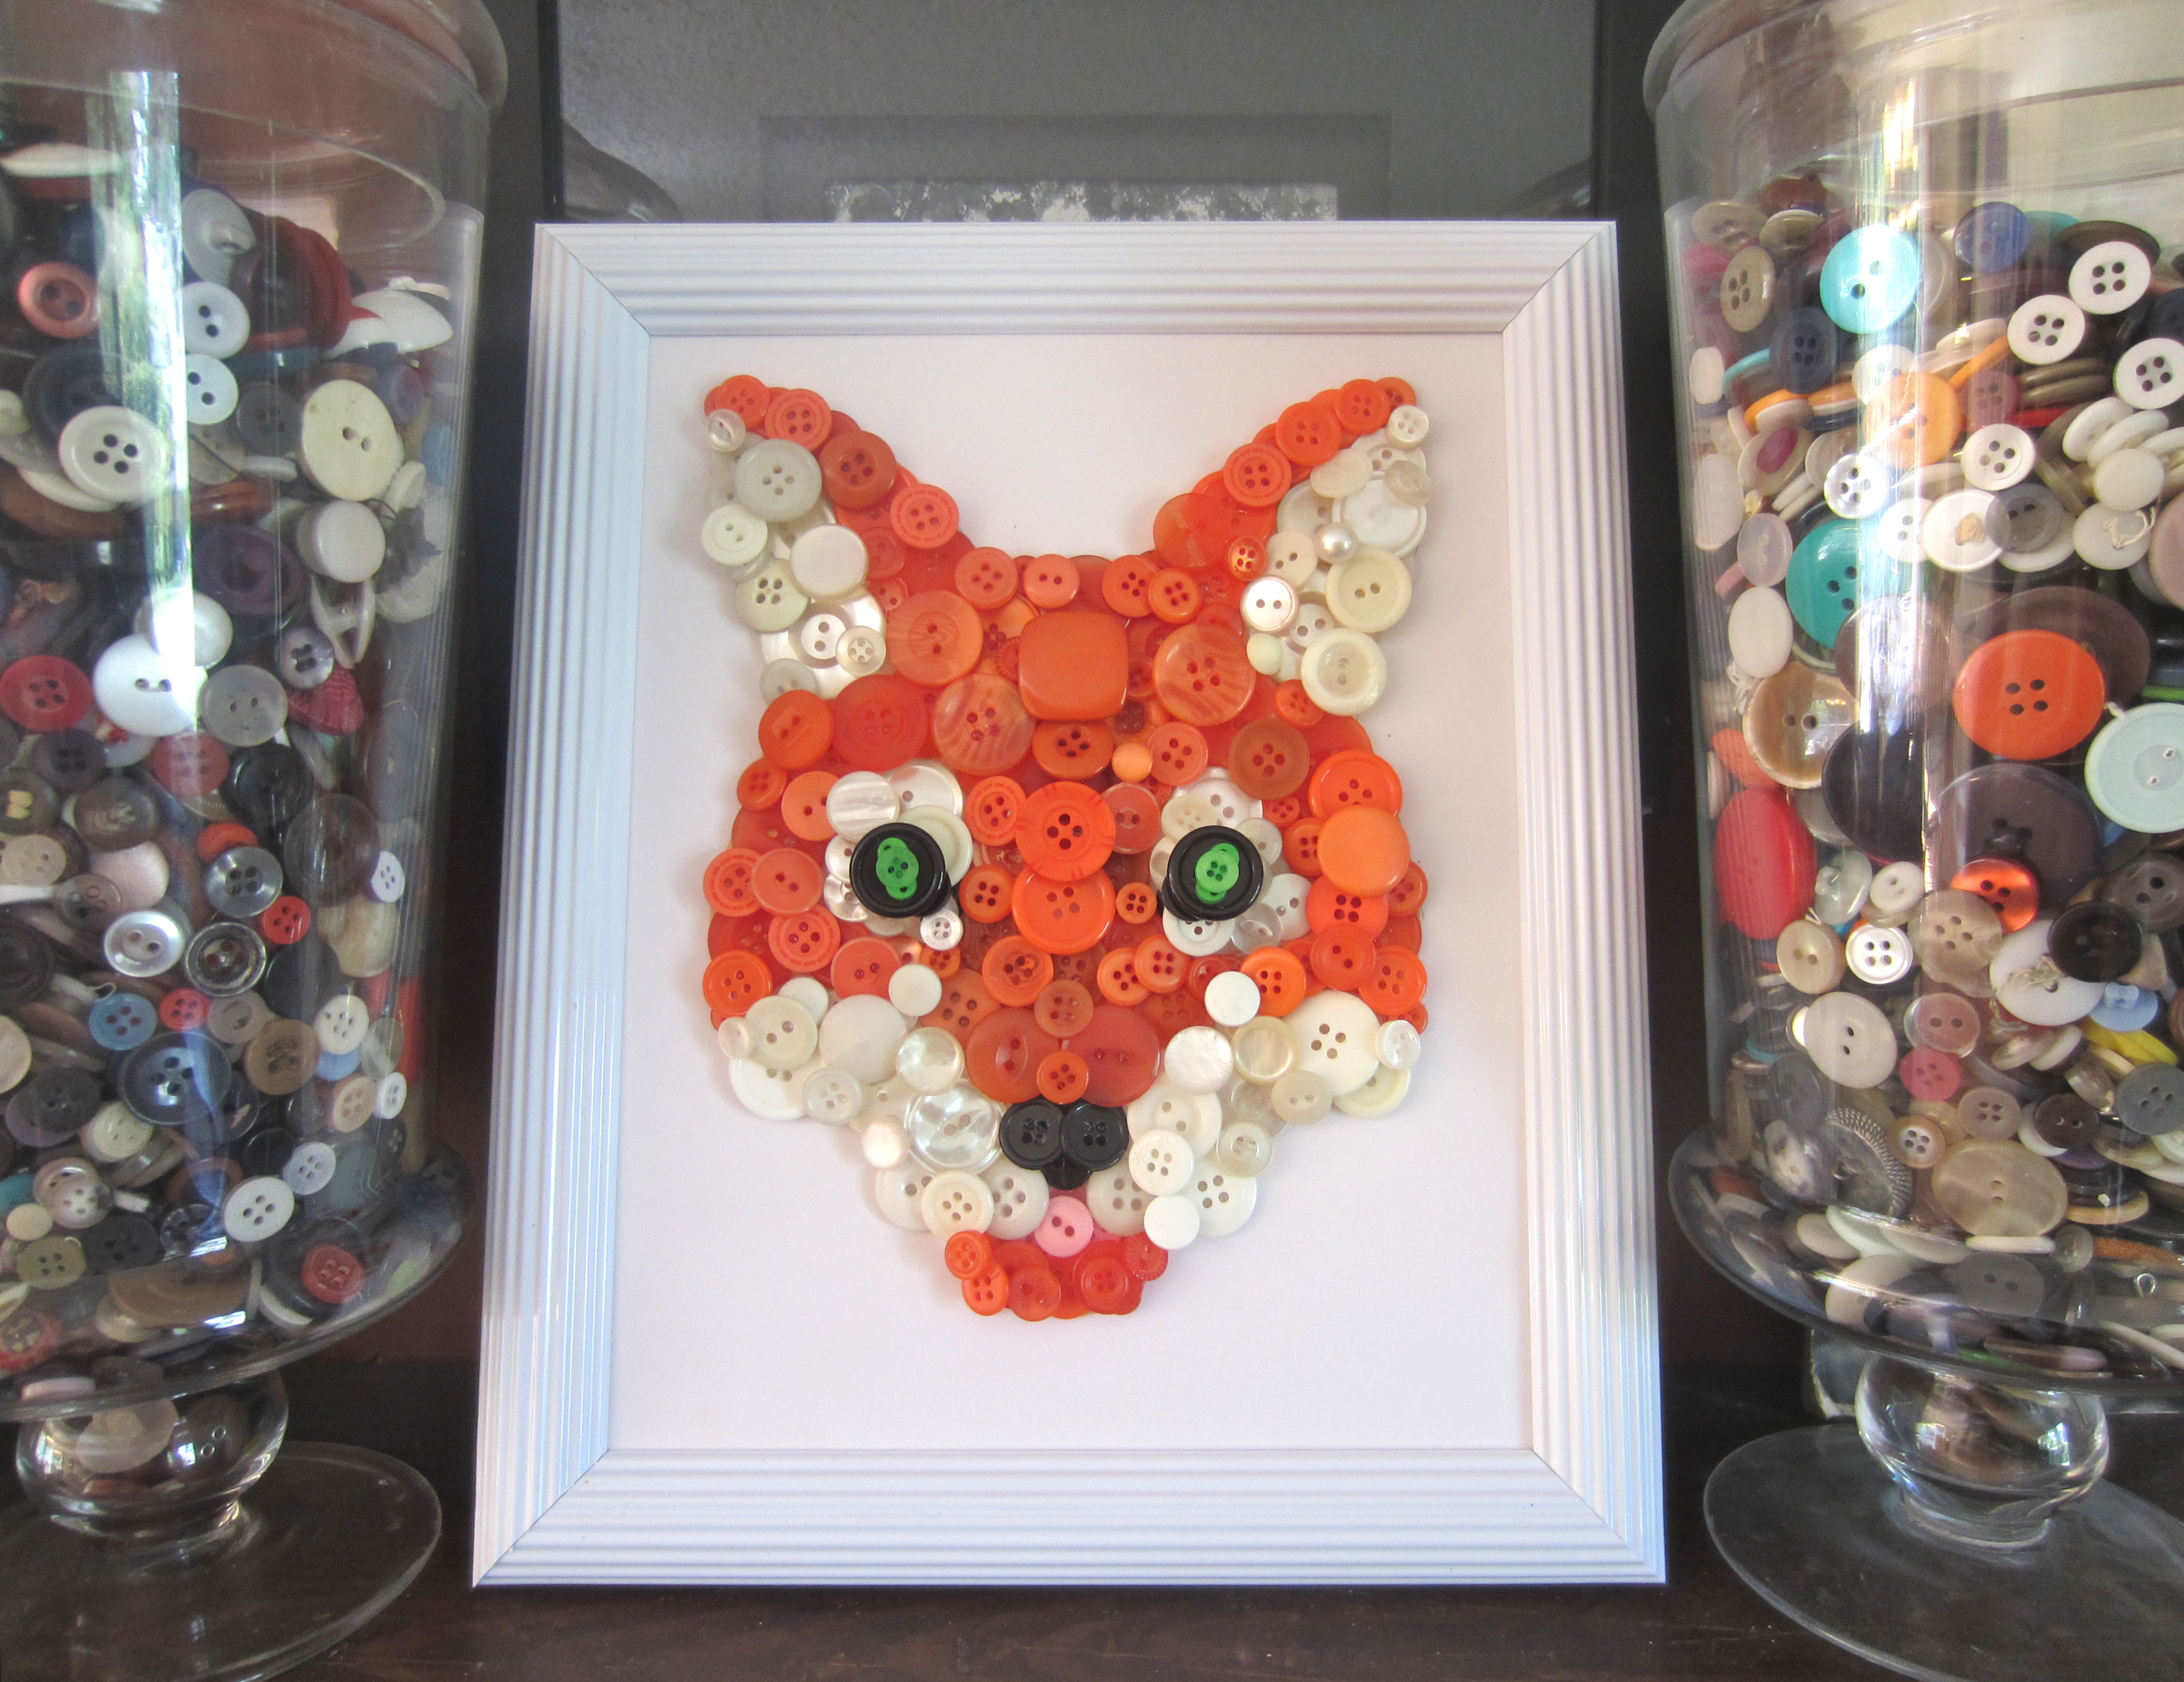 Here he is being hugged between a very small portion of my ever-growing button collection.
Well I hope you enjoyed that tutorial- and give it a try! While yer here, I have a painting up for sale on etsy (this is a rare occasion because I mainly do custom paintings) So check that out here and save 50 bucks while yer at it!
 Happy Buttoning!!!!
~Dot


Pingback: The Little Button Mermaid (With Instructions!) | Busted Button
Dot, hi! This looks like the one you sent me! I can’t wait until our reno is over and I can hang it!
❤ ❤ your reno is gonna be amazing!!!
Pingback: Up, Up and Away! | Busted Button
I’ve always wondered, where you get your buttons from
I’ve been wondering where you get your buttons?
I love the favorite findings buttons from joann.com 🙂 and I really love finding old buttons at thrift shops 🙂
Pingback: DIY Cupcake Button Crafts | iCreativeIdeas.com
Pingback: 12 Button Art Tutorials | Busted Button
Pingback: 26 Innovative and Beautiful Button Crafts and Projects - DIY & Crafts
Pingback: Creative Crafts Made With Buttons
Pingback: 60+ Free Craft Tutorials for Button Lovers | Underground Crafter
Pingback: 14 Unique Buttons Crafts - DIYCraftsGuru
Pingback: 26 Bright Ways to Use Buttons for Learning – My Blog
Pingback: 26 Bright Ways to Use Buttons for Learning | Far World News
Pingback: 26 Bright Ways to Use Buttons for Learning - NWS100
Pingback: 26 Innovative and Beautiful Button Crafts and Projects – myhealthycoach
Pingback: 29 DIY Button Art Ideas (Repurpose Old Buttons) - lineup-mag